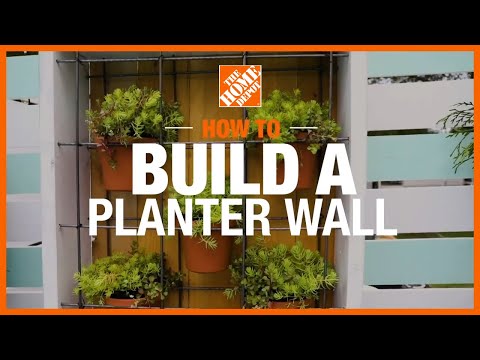
How to Make a Planter Wall
Last updated September 7, 2023
A planter wall is a fresh and striking way to showcase your plant collection. Instead of shopping around for the perfect frame, create your own for a personalized touch that complements your unique style. This hanging wall can be painted or stained to match a specific color scheme or leave the materials in their natural state for a more rustic-looking texture. See below for instructions on how to make a floating planter wall.
Difficulty:
Advanced
Duration:
2-4 hours
Table of Contents
Measure and Cut Wood and Metal Rods
Mark and Drill
Stain or Paint
Screw and Glue
Assemble
Backing
Measure and Cut Wood and Metal Rods

- Cut the 2- x 8-inch x 8-foot lumber to the following lengths: (2) at 64-inches and (2) at 35-inches.
- Cut the 3/4- x 6-inch x 6-foot wood fence pickets into the following pieces: (11) at 38-inches.
Use a hacksaw to cut the metal rods to the proper length.
- Cut the1/4- x 48-inches plain steel round rod: (16) at 37-inches.
- Cut the 1/4- x 72-inches plain steel round rod: (8) at 63-inches.
Mark and Drill

- For the two 64-inch lumber pieces:
Mark two rows 3/4-inch in from each edge at 4-inch / 12-inch / 20-inch / 28-inch / 36-inch / 44-inch / 52-inch / 60-inch. - For the 35-inch lumber pieces: Mark two rows 3/4-inch in from edge at 8-inch / 16-inch / 24-inch / 32-inch. There will be a 4-inch space left after the 32-inch mark. This is the bottom of the planter.
- Tape drill bit at 1-inch. This will ensure that you don't drill too far. Drill holes with a 1/4-inch drill bit at marks 1-inch deep.
Tip: Snap a chalk line down the length of each board 3/4-inch in from the edge to make measuring faster and easier.
Stain or Paint

- Stain or paint all lumber pieces.
- Spray paint the steel rods if desired. The steel rods will rust if exposed to weather. Painting them will prevent them from rusting.
Screw and Glue

- Screw and glue one of the 2- x 8- x 64-inch boards to the side of one of the 2- x 8- x 35-inch boards.
- This will form a “L” and is half of the planter.
Assemble

- Lay the assembled unit down on the ground and insert the steel rod into the holes. Make sure they are in holes firmly. Use a hammer to tap them into place if needed.
- Line the other 2- x 8- x 35-inch board on the opposite side, making sure the 4-inch space and holes match up with the opposite end. Insert the rod into holes – screw and glue to the bottom.
Line up the top piece and insert the rods into the holes vertically on the exterior of the horizontal rods. Screw and glue the lumber in place.
Backing

Screw and glue the wood fence picket to the back of the square to strengthen the unit. There were will a 3/4-inch gap from the top and bottom edges.
Wire Together

- Wire together where each rod intersects.
- Wire the front and back panels together in four places, keeping them 5 and 3/4-inches apart.
Hanging

- Hang the unit using brackets hidden on the back for clean look.
- You may also screw eye hooks into the top board and hang with a rope or chain.
Add Potted Plants

- The planter will hold a 6-inch pot in each square, up to 14 pots.
- You can use terra cotta or composite pots, but make sure it's a pot with a lip in order for it to sit securely on the metal rods.
- Plant herbs in each pot for your very own herb garden.
Building a custom planter wall is a fun and satisfying project for a DIYer. Need supplies for this project? Save time shopping with The Home Depot app. The Home Depot offers free delivery on over one million eligible items.