How to Make a Santa Gnome

Last updated April 7, 2025
Learn how to make this Santa gnome Christmas decor using pine boughs and moss. According to Scandinavian folklore, these mythological gnomes, or “nisse” creatures, signify the winter solstice and holiday season.
For this version, you’ll need to forage outdoors for greenery and prune an evergreen tree, such as pine, juniper, cypress or fir. You can also source greenery from the bottom of your Christmas tree. Next, you’ll create a cone-shaped mossy hat using chicken wire
and sheet moss liner. You can decorate your Santa gnome using Christmas ornaments to create a nose and hat topper or get creative with other similar materials. For example, the mustache in our version is made from yarn.
Difficulty:
Beginner
Duration:
2-4 hours
Table of Contents
Source the Greenery
Create the Base
Cut the Chicken Wire
Shape the Hat
Wrap Hat With Moss
Fit Hat on Base
Source the Greenery

- Look around your yard (or get permission to forage in your neighbor’s yard) and trim some branches.
- Try to find branches that are thick at the base and full throughout.
- Use sharp garden shears and gardening gloves to protect your hands.
Create the Base

- Pull together several branches that are full at the base and bundle them together.
- Secure the branches with floral wire.
- Pull in other greenery as needed to fill out the bottom of the gnome’s body.
Cut the Chicken Wire

- Wearing your gardening gloves and using shears, cut a piece of chicken wire that’s 1-foot long and 1/2-foot wide. This will serve as the structure for the gnome’s hat.
Shape the Hat

- Bend your chicken wire into a cone-shaped hat, keeping it wider at the base and narrower at the top.
- As you roll it into a cone, tuck the cut end of the wire around the other cut end to secure the shape.
Wrap Hat With Moss

- Fill a bucket with water and drench the sheet moss.
- After five minutes, drain the water from the bucket and gently squeeze out the moss.
- Take big pieces of the moss and wrap them around the base of the hat.
- Secure the moss with floral wire.
- Repeat these steps until the entire wire cone is covered with moss.
Fit Hat on Base

- Fit the Santa gnome hat on the tied base of the pine bundle.
- Push it down for a snug fit. If it’s not snug, add more pine branches to your bundle.
Decorate Your Gnome

- Use one ornament for the nose and one ornament for the top of the hat.
- Cut a piece of floral wire and thread it through the loop on top of the ornament and secure to the tip of the hat. Repeat for the nose.
- If you’re making a gnome with a tipped over hat, bend your hat over to one side to give it this look.
Add a Mustache

Take some yarn and use this simple method to help make the mustache for your Santa gnome.
- Hold the end of the yard between your thumb and forefinger. Wrap the yarn down to your elbow and back up and around your hand.
- Wrap the yarn 20 times to create a full mustache. Cut it free of the yarn ball when done.
- Cut a 6-inch piece of yarn. Wrap the piece around the middle of the mustache and tie it in a knot.
- Using the excess of your 6-inch piece of yarn, secure the mustache to the pine bundle just at the base of the gnome’s hat, below the ornament nose.
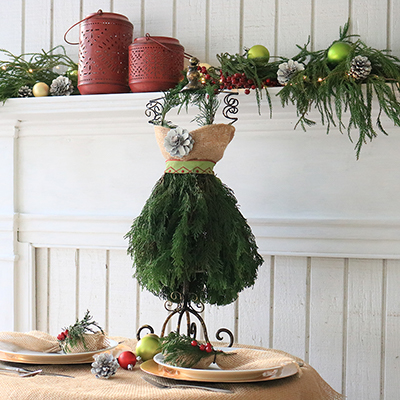
Decorate With Your Santa Gnome

Enjoy the magic of the holiday season and decorate a mantel with your Santa gnome. Alternatively, create a trio of Santa gnomes and place them by a doorway inside or out on the deck, porch or entryway.
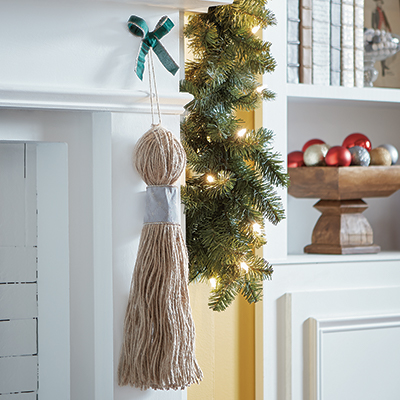
Complete your festive scene using fresh garland and Christmas lights.
This DIY Santa gnome adds natural and old-world charm to your Christmas decorations. To ensure the Santa gnome’s live greenery lasts throughout the holiday season, lightly
spritz the moss with water every two to three days. Keep the gnome away from heating vents and direct sunlight if possible. You can also spray the moss and pine branches with anti-desiccant spray to help seal in moisture.
When you’re ready to get the materials and tools you need to make a Santa gnome, The Home Depot delivers online orders when and where you need them.
Photography and styling assistance provided by Lucy Mercer.