How to Make a Star Christmas Card Holder

Last updated September 7, 2023
The holidays mean recieving all types of greetings from family and friends, especially in the mail. Have the perfect place to display your greeting cards and holiday notes. Follow this guide to learn how to make a Star Christmas Card Holder using a Christmas craft board you’ve already prepared. Read on for step-by-step instructions.
Difficulty:
Beginner
Duration:
Under 2 hours
Table of Contents
Gather Tools & Materials
Measure Nail Holes
Add Nails
Wrap Twine
Fill Card Holder
Gather Tools & Materials

You can complete your new Star Christmas Card Holder in about an hour with the following tools and materials:
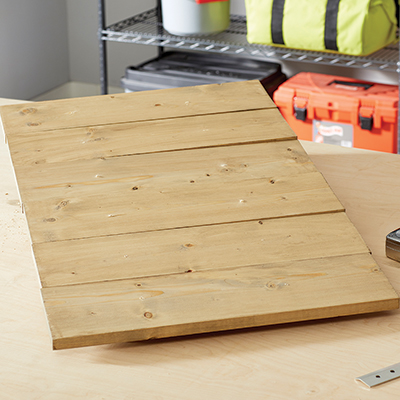
- Completed Christmas craft board
- Five decorative or plain nails
- Hammer
- Twine
- Clothespins
- Ruler
- Pencil
Measure Nail Holes

Measure and mark the nail holes for the star.
- The top nail will be on the top board centered at 10 inches from each edge.
- The next two nails will be on the third board down 1 inch from the side.
- The last two nails will be on the bottom board 2 inches from each side.
Add Nails

- Use the five nails to hammer in the points of the star.
- Be careful not to hammer the nails in all the way.
- Leave about 1/2 inch of nail exposed above the board.
Wrap Twine

Use your twine to create the star shape.
- Start by tying your twine to the bottom left nail.
- Take the twine up and wrap it around the top nail, down to the bottom right nail, up to the left middle nail, then across to the right middle nail.
- Finally, take the twine back to the bottom left nail and tie it in place.
Fill Card Holder

Once your card holder is complete, use clothespins to add your Christmas cards.
Put all those warm greetings from family and friends on full display. Making your own Star Christmas card holder will give your holiday decor a personal touch. Looking for boards, a hammer or nails to complete your project? The Home Depot delivers online orders when and where you need them.