How to Make a Washer Toss Set
Published September 5, 2023
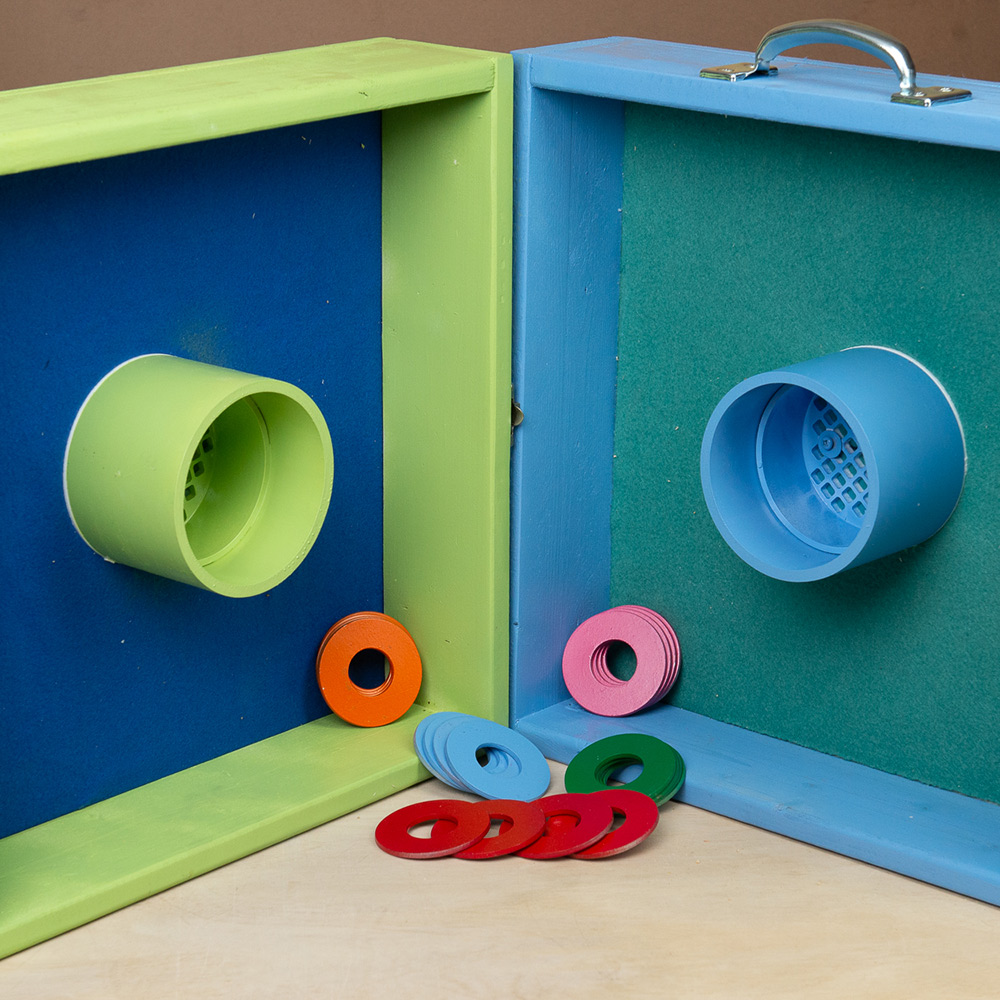
A washer toss set is a classic game for outdoor backyard fun. This guide explains how to create your own using a few raw materials. See below for a set of detailed instructions.
Difficulty:
Intermediate
Duration:
Under 2 hours
Table of Contents
Cut the Plywood and PVC Pipe
Assemble the Sides
Paint
Install the Carpet, Felt or Fleece
Attach the Base to the Sides
Place the PVC Pipe
Cut the Plywood and PVC Pipe
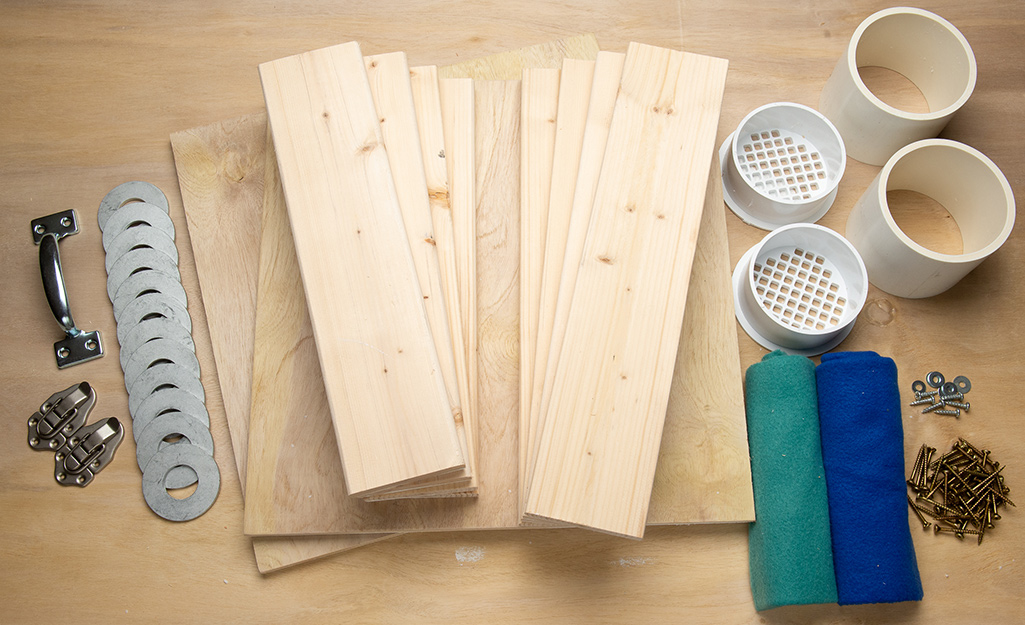
Cut the plywood and PVC pieces to the measurements outlined below. Clean up the edges with sandpaper but avoid rounding them. Sand the surfaces to smooth as needed.
- Four 1- x 4- x 16-inch boards
- Four 1- x 4- x 14 5/8-inch boards
- Two 16- x 16-inch squares of plywood
- Two 3 1/4-inch pieces of PVC pipe
Assemble the Sides
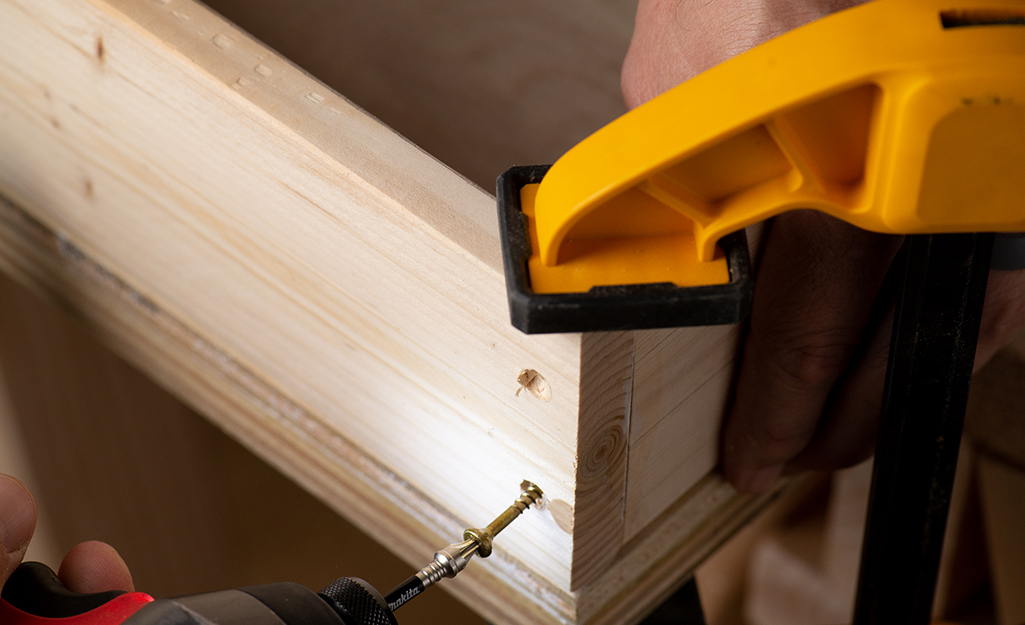
- Drill and countersink two pilot holes 3/8 inches from each end of each 16-inch board and 1 inch from each long edge.
- Make a 90 degree angle with one of the 1- x 4- x 16-inch pieces and one of the 1- x 4- x 14 5/8-inch pieces. Clamp them to one of the 16-inch squares to make sure they are square and level with each other. Join them with 1 1/2-inch wood screws.
- Make three more angles like the previous one.
- Join the angle assemblies together with wood screws to make two squares.
Paint
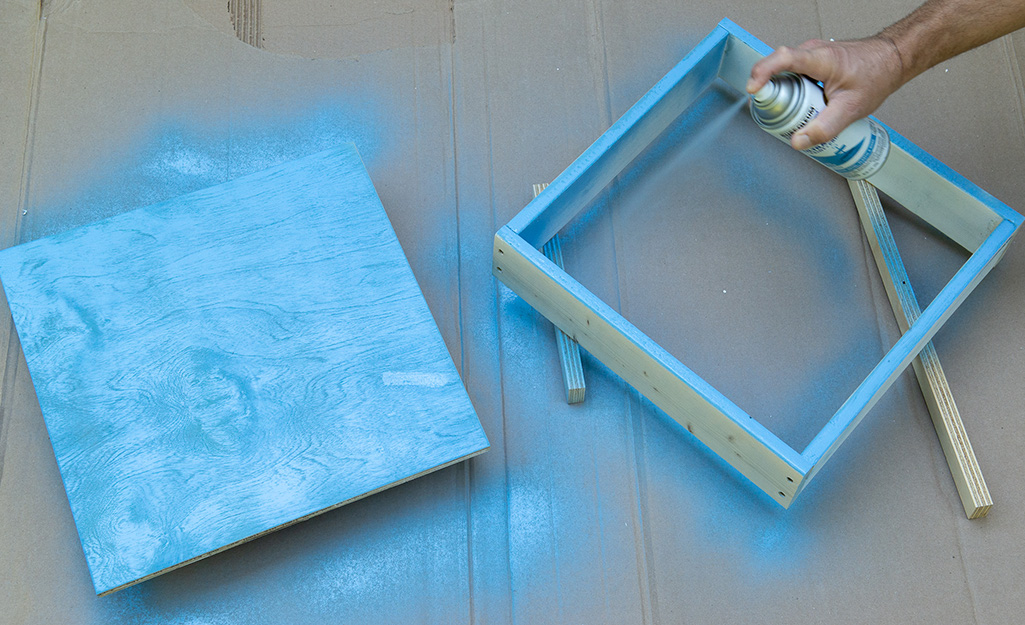
- If you want to paint the PVC pipe and drain, sand them and use spray paint that adheres to plastic.
- Paint the edges and one side of each plywood base, leaving one side unpainted to glue on the fabric.
- Paint both entire side assemblies, except for the edges where they will attach to the bases.
- You’ll need four washers for each player, and each person will need their own color.
Install the Carpet, Felt or Fleece
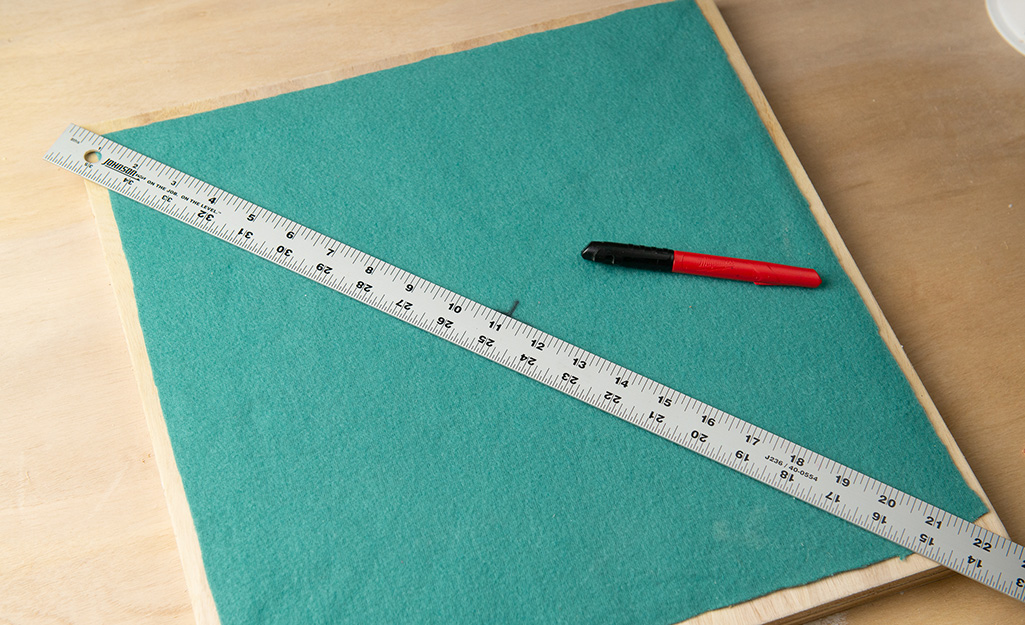
If using carpet:
- Find the center of your square by measuring across the middle from opposite corners. Make a line an inch or two long at the middle.
- Switch to the other pair of opposite corners and repeat. Where these two lines cross marks the center of the square.
- Use contact cement to attach the carpet to the base, but do not put any cement in the center where the circle will be cut.
- Be sure to leave an equal border of bare wood all the way around the carpet.
- Use a metal straightedge and a sharp utility knife to trim the carpet if needed.
- Align the PVC drain over the center of the carpet and use it as a guide to cut a circular hole.
- Repeat the process with the other box.
If using felt or fleece:
- Use spray adhesive to attach the fabric to the base. Make sure to leave a 3/4-inch border of bare wood all the way around.
- Fabric may be layered if a softer surface is desired. More padding will make gameplay quieter.
- Use a metal straightedge and a sharp utility knife to trim the fabric if needed.
- Find the center of your square by measuring across the middle from opposite corners. Make a line an inch or two long at the middle.
- Switch to the other pair of opposite corners and repeat. Where these two lines cross marks the center of the square.
- A felt tip marker works well for marking fabric.
- Repeat the process with the other box.
Attach the Base to the Sides
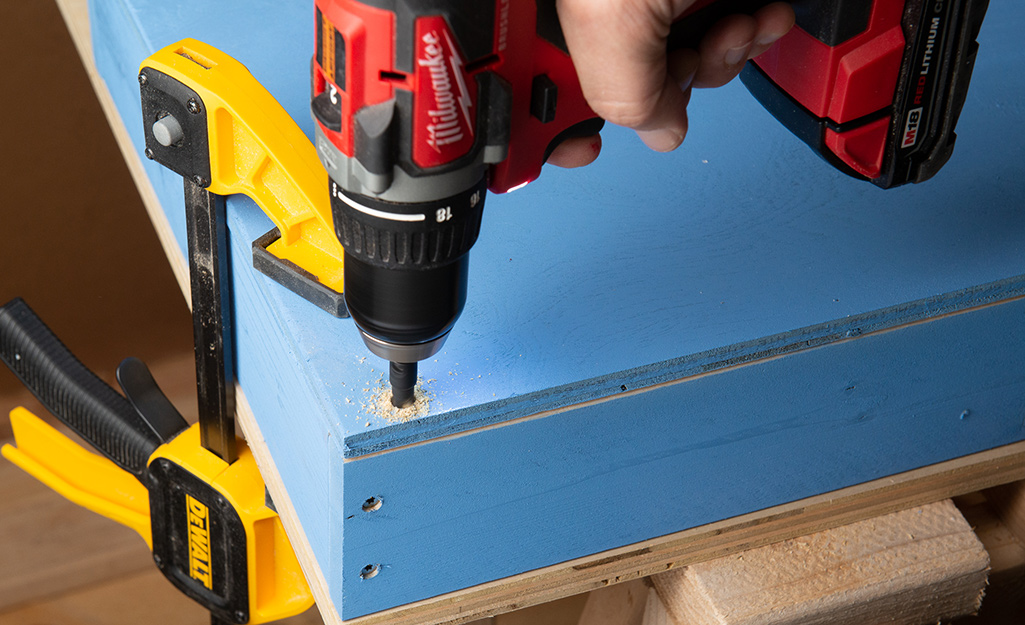
- Situate a 16-inch plywood square on top of one side square. Align the corners and clamp the whole piece to your work surface.
- Take note, the box isn’t likely to be perfectly square. It will need to be pushed into alignment with the square plywood base while clamping.
- Measure and mark 1 inch from each corner in both directions, and one at 8 inches on each side. These marks should be 3/8 inches from the outer edge.
- These countersunk holes will go through the base and into the sides.
- Use 12 wood screws to attach the base to the sides.
- Repeat the process with the other box.
Place the PVC Pipe
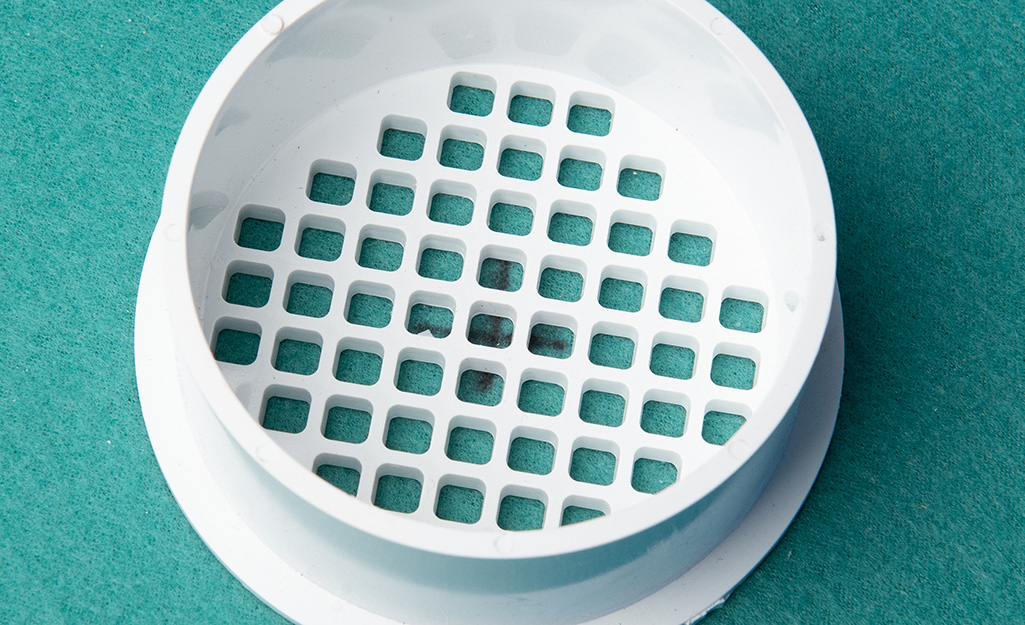
- Turn the drain upside down and drill three 1-inch wood screws with washers through the existing holes to secure it to the base.
- Use a small amount of PVC glue to attach the pipe to the drain’s flange.
- Repeat the process with the other box.
Attach the Latches and Handle
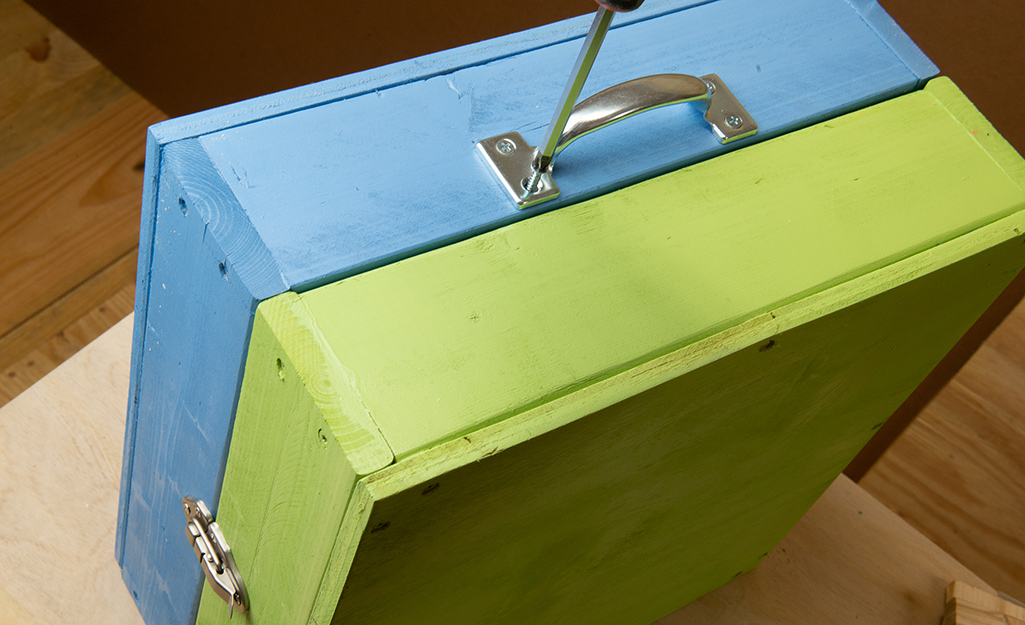
- Lay one box on your work surface and lay the other one on top of it. They should be face to face. When they are aligned correctly, clamp them to the table.
- Install the latches on opposite sides.
- Install the handle on a third side, leaving the fourth side with nothing on it.
Enjoy
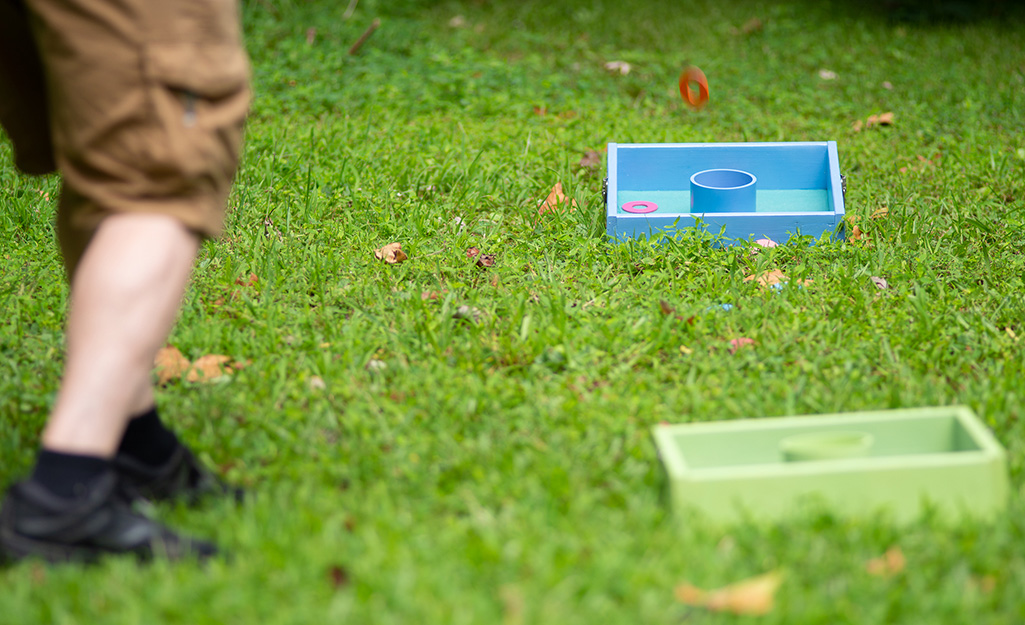
Carry your washer toss game outside and start playing!
When you’re ready to make your own washer toss set, shop our product selection for all the tools and materials. There's no need to worry if you don't have the tools necessary for this project. The Home Depot offers power tool rentals that don't require any maintenance and can be used for the duration of your project. The Home Depot also delivers online orders when and where you need them.


