How to Make a Witch Hat Door Hanger
Last updated September 7, 2023
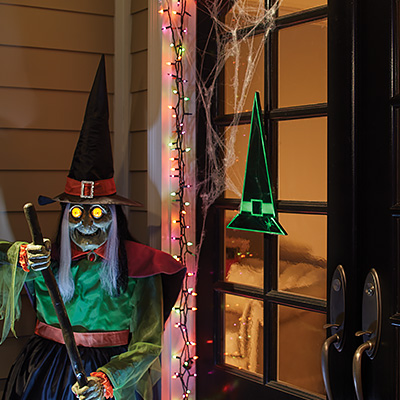
This Halloween decoration is spooky enough for the season but fun enough for even the littlest trick or treaters to enjoy. Plus, it's easy to craft. This guide outlines the steps needed to make a witch door hanger just in time to dress up your home for Halloween.
Difficulty:
Beginner
Duration:
Under 2 hours
Table of Contents
Measure and Mark
Cut Wood
Stain or Paint Boards
Build the Hat
Attach Hardware
Measure and Mark
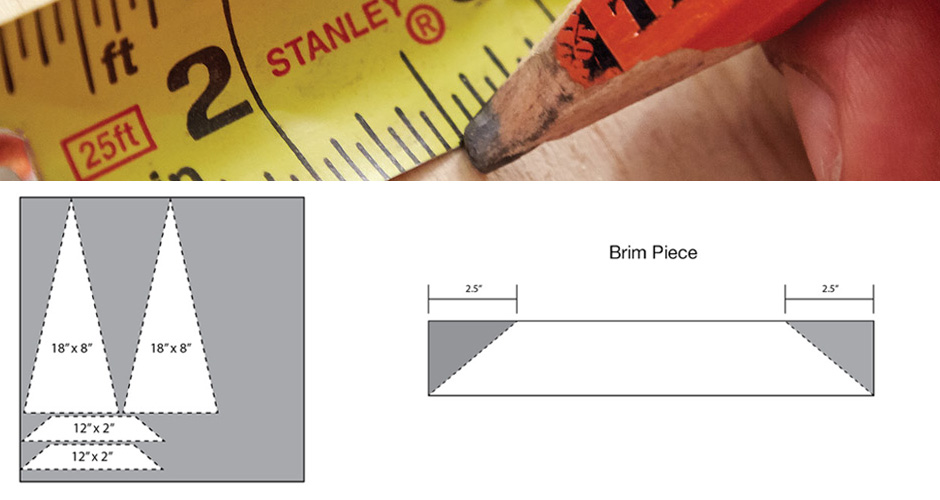
Start by purchasing 2 x 2 plywood large enough to cut out two triangles 18 inches tall and 8 inches wide for the hat. You'll also need enough wood to cut two 12-inch x 2-inch pieces for the hat brim. Next, refer to the diagrams to lay out your patten. Use a measuring tape and pencil to ensure that you have the exact measurements. You can lay out the brim pieces underneath the triangles, or you can cut two 2-inch x 12-inch pieces. If you cut the brim pieces individually, measure 2 1/2 inches in from each corner at the top of the wood piece, then draw a line and cut diagonally to the bottom corner as shown.
For the hat brim piece, measure 2 1/2 inches down each end and make a mark.
Cut List:
- Two 18- x 8-inch triangle pieces (hat)
- Two 12- x 2-inch trapezoid pieces (brim)
Cut Diagrams:
- Cut the following pieces out of the 2- x 2-foot sanded plywood as shown in the diagram
Cut Wood
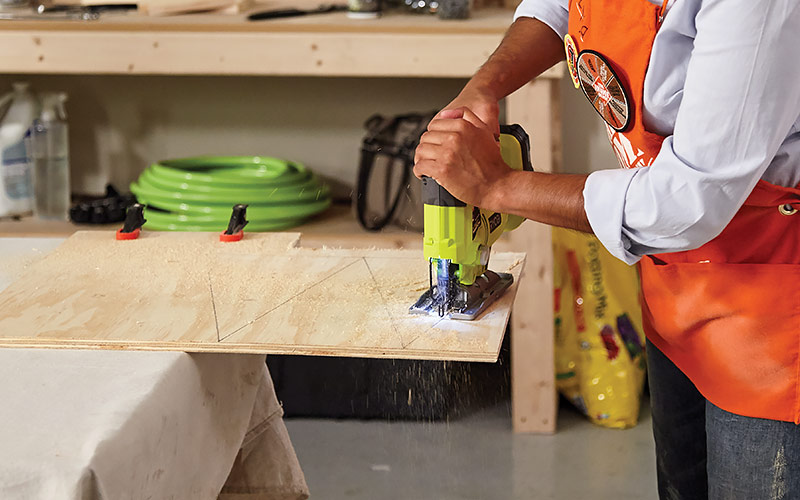
Use a jigsaw to cut out the shapes from the plywood.
For the hat brim piece, start with a rectangle, then use a jigsaw to cut the corner pieces and finish the shape.
Before painting, use a sanding block to smooth rough edges.
For the brim piece, use a jigsaw to cut the corner pieces and finish the shape.
Use a sanding block to smooth any rough edges.
Stain or Paint Boards

Next, stain or paint the boards prior to assembly, if desired. The witch hat featured in this article is painted gloss black with neon green trim, but you can use any color combination you'd like to finish your witch hat door hanger. Be sure to paint the sides of the wood to prevent moisture from seeping in.
Build the Hat
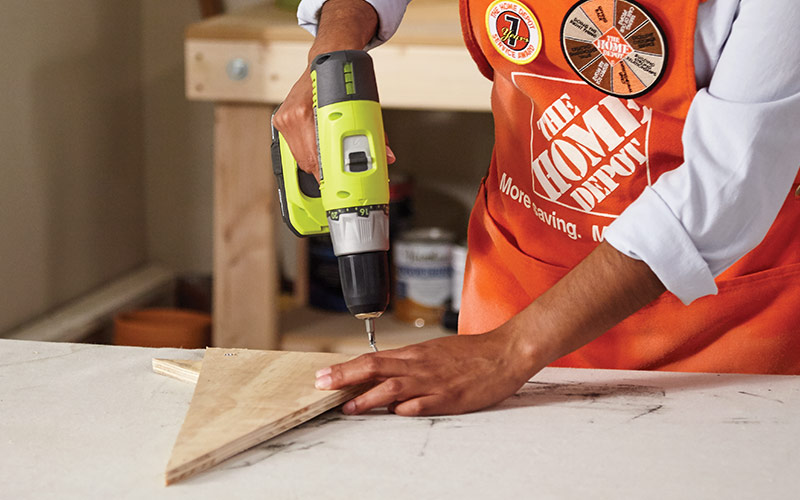
Place the hat brim face down so that the shorter side is at the top. Next, center the hat piece on top of the hat brim so that the bottom of each piece is aligned. Finally, attach the pieces together with wood screws. Work from the back of the hanger so the screws don't show through to the front side.
Attach Hardware
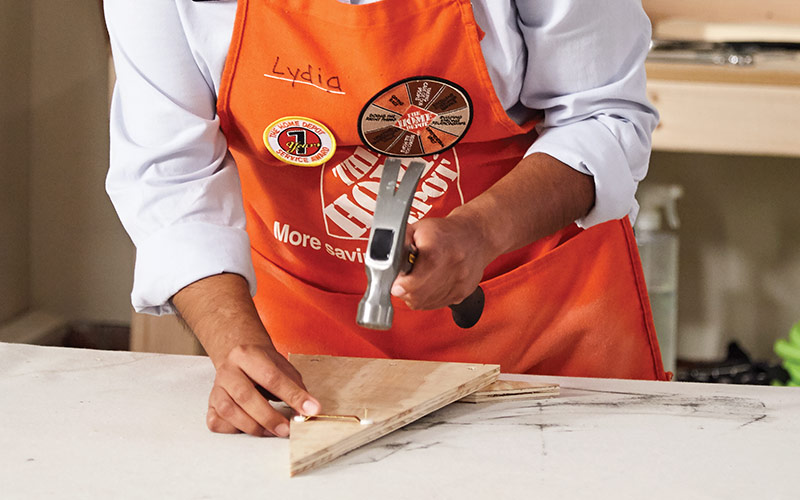
With the painted side of the hat face down, center and nail a sawtooth hanger near the top of the point. Touch up paint on the front of the door hanger if needed and let dry. Finish by adding a small felt circle to the bottom corners to keep the hanger from hitting against the door each time someone opens it.
A witch hat door hanger is just one of the many crafts you can make to spruce up your home for Halloween. If you don't have time for crafting, check out The Home Depot Mobile App to see this year's most popular Halloween decorations. Have your items delivered directly to your doorstep or choose to pick them up at your nearest The Home Depot.


