How to Make a Wood Stocking Door Hanger
Last updated September 7, 2023
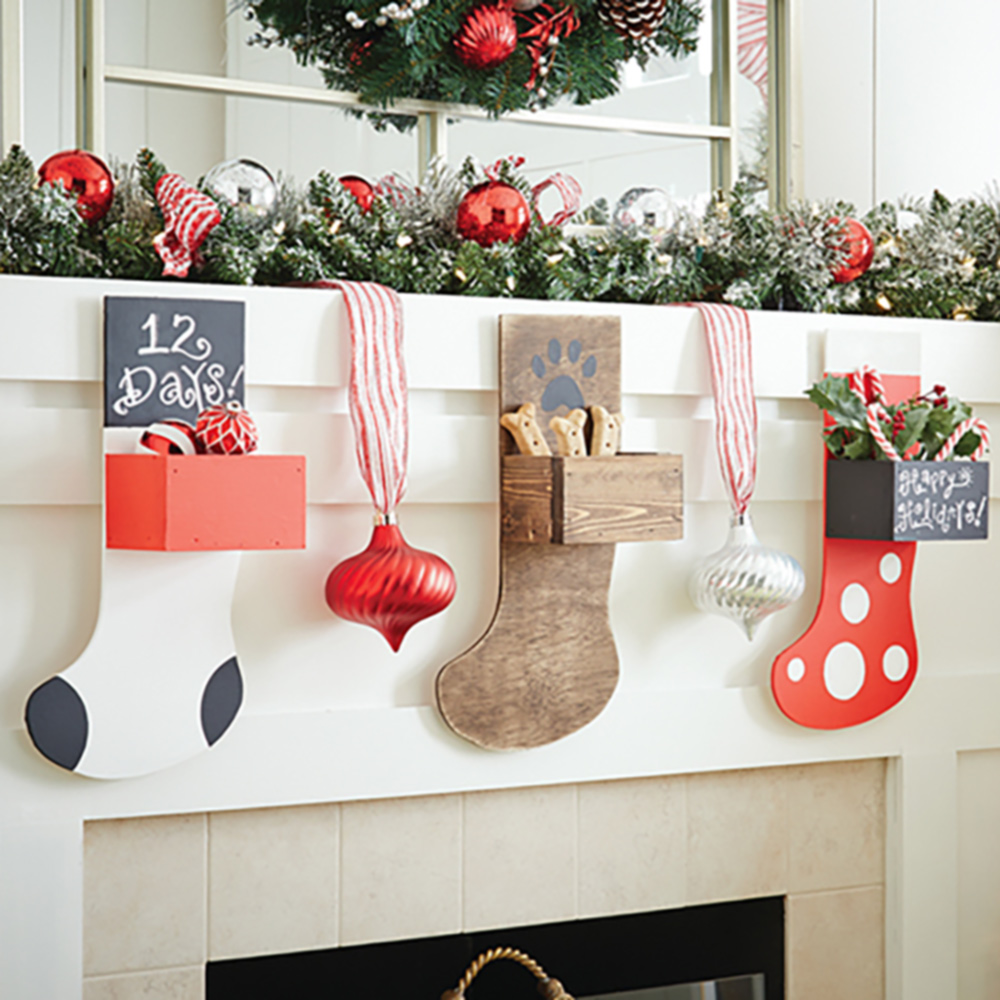
It's easy to craft a wood stocking door hanger to spruce up your home for the holidays. With just a few simple cuts, you can make several for your whole family to decorate and enjoy. Even better, the stockings can be hung along the fire place, on a front door, or even outside. This guide comes complete with a pattern and provides step-by-step instructions so you can make your own.
Difficulty:
Intermediate
Duration:
Under 2 hours
Table of Contents
Transfer Pattern to Wood
Cut Out Stockings
Cut Pieces for Box
Sand Boards and Paint Stockings
Build the Storage Box
Add the Front Piece to the Storage Box
Transfer Pattern to Wood
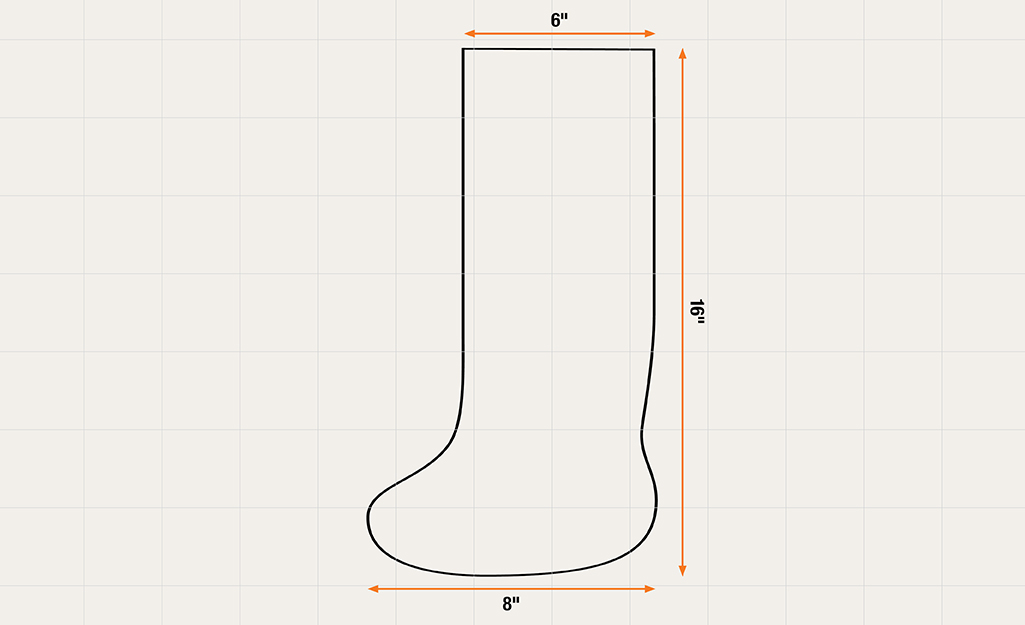
To start, you'll need a plywood panel at least 12 inches by 16 inches in size. Using a pencil and the pattern provided, lightly sketch the stocking pattern onto the wood. Each square equals 1 inch. You can also transfer the pattern to transfer paper first and then lay it on top of the wood for a more accurate pattern. Finally, you can also create a 1-inch grid and sketch your pattern directly to the wood. If there is space, you can transfer a second stocking pattern to the wood.
Cut Out Stockings

Clamp the plywood to the work surface on the sides. Using a jigsaw, carefully cut the stockings out of wood, following the pattern. Work from the side of the table away from the edge to avoid cutting into the work surface. It is also a good idea to wear goggles to keep sawdust out of your eyes. Use the jigsaw to cut out both of the stockings.
Cut Pieces for Box
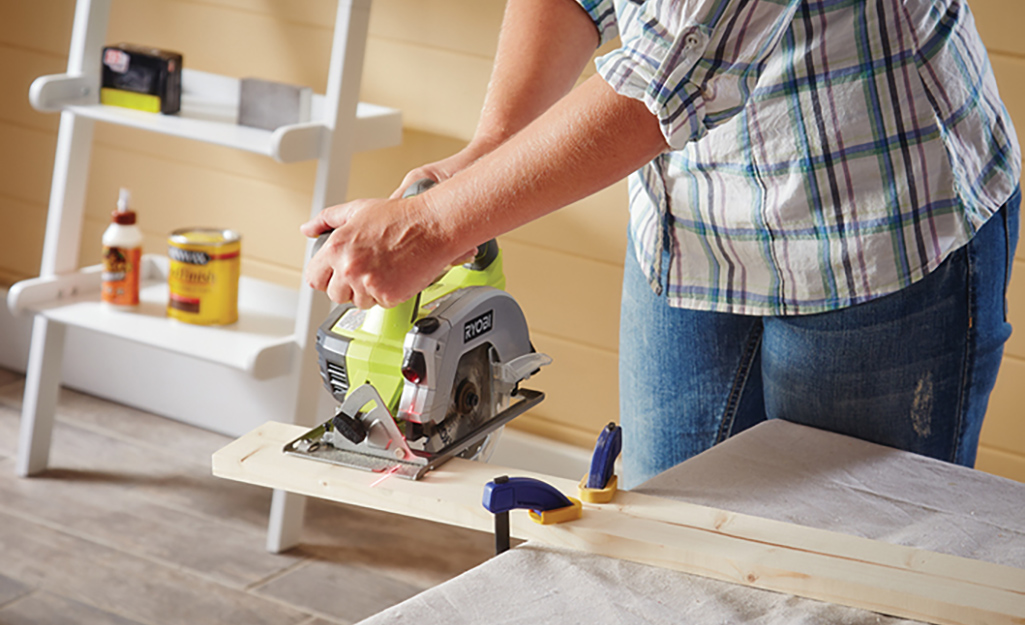
Using a table or circular saw, cut a 1-foot x 4 inch piece of wood into four 3 1/2-inch pieces, two 4 1/2-inch pieces and two 6-inch pieces. These pieces will form the box on the back of the stocking.
Sand Boards and Paint Stockings
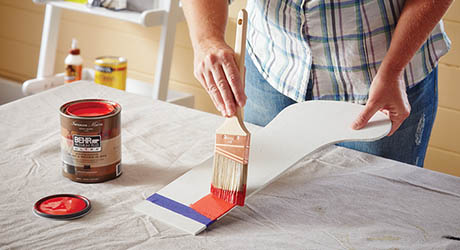
Prep the wood for painting by sanding any rough edges with a sanding block.
Erase or sand off visible pencil marks.
Wipe clean. When dry, paint or stain the stocking and the box pieces.
Build the Storage Box
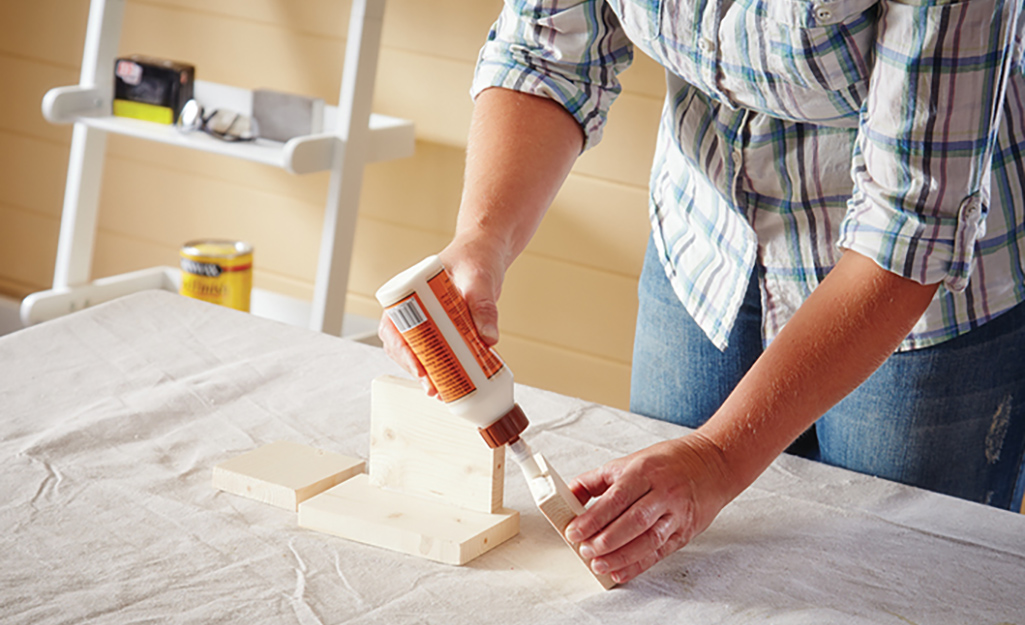
To build the storage box for each stocking, gather the four boards that will make up the storage box:
- The 6-inch board is the front of the box, the two 3 1/2-inch boards are the sides and the 4 1/2-inch piece is the bottom.
- Apply a bead of glue to the left edge of the bottom piece.
Place one of the side pieces into the glue and nail into place. - Repeat this step to secure the other side piece.
Add the Front Piece to the Storage Box
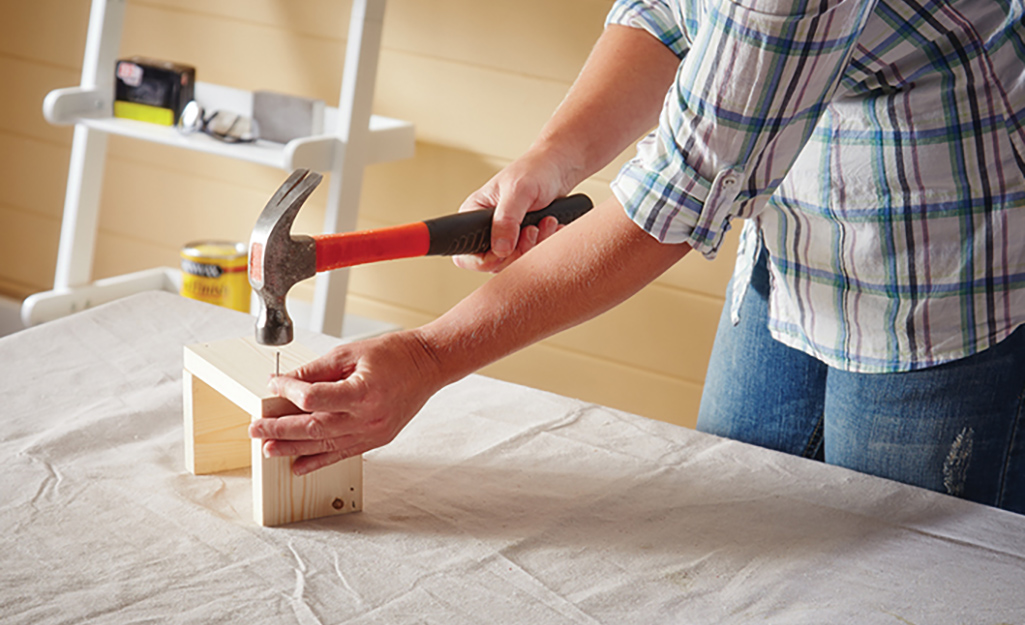
To create the box, apply a bead of glue along the edge of the U-shaped frame.
Place the front piece on top and nail it into place.
Paint or stain the box.
Allow it to fully dry.
Assemble the Wood Stocking and Box
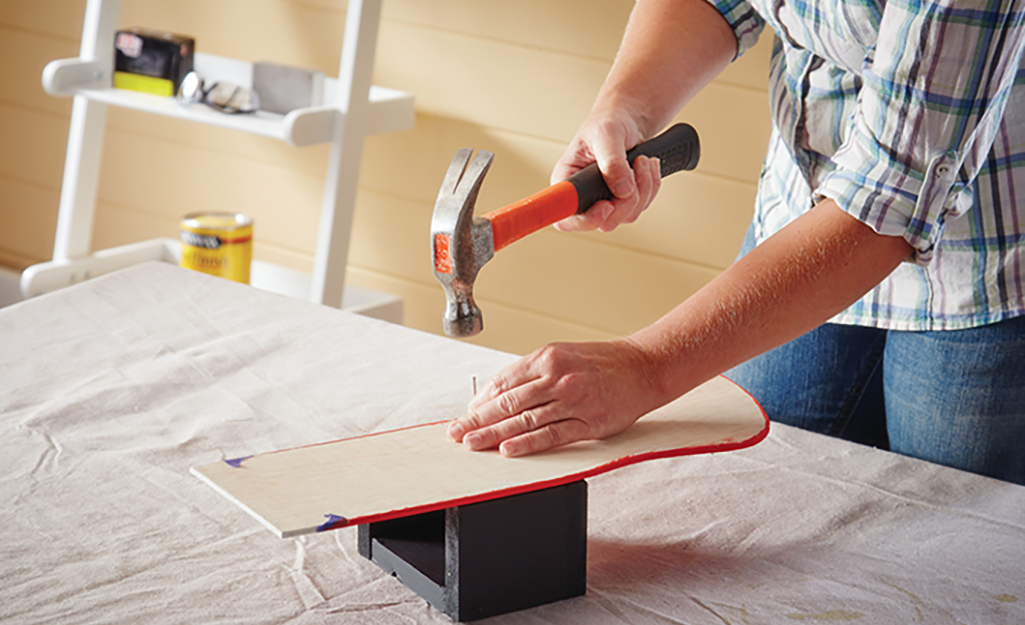
To finish, place the storage box face down on the table with the opening of the frame facing upward.
Line the edges with glue and place the stocking cut out, paint side down, on top.
Hammer in place.
Attach Hooks and Hang
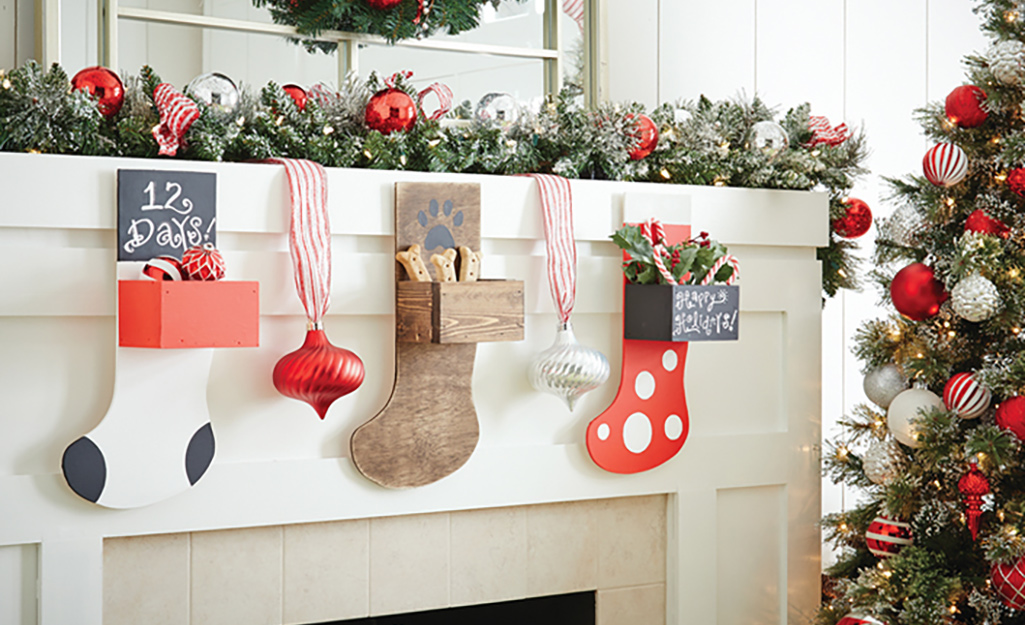
When the stockings are dry, add finishing decorative touches or words as desired. Attach the hooks to the back of each and then hang on the front of a mantel or from a door.
Wood stockings are a great first DIY wood craft to tackle. You can find all the supplies you need from The Home Depot store, or us The Home Depot Mobile App for accessories to complement your wood stockings and holiday decor.


