How to Make a Worm Bin
Last updated September 7, 2023
Learn how to make a worm bin using a rubber storage container, sheets of newspaper and kitchen scraps. As the worms eat kitchen scraps, they make free castings to supplement compost and soil in your garden.
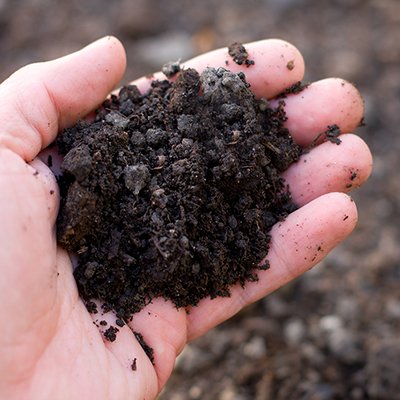
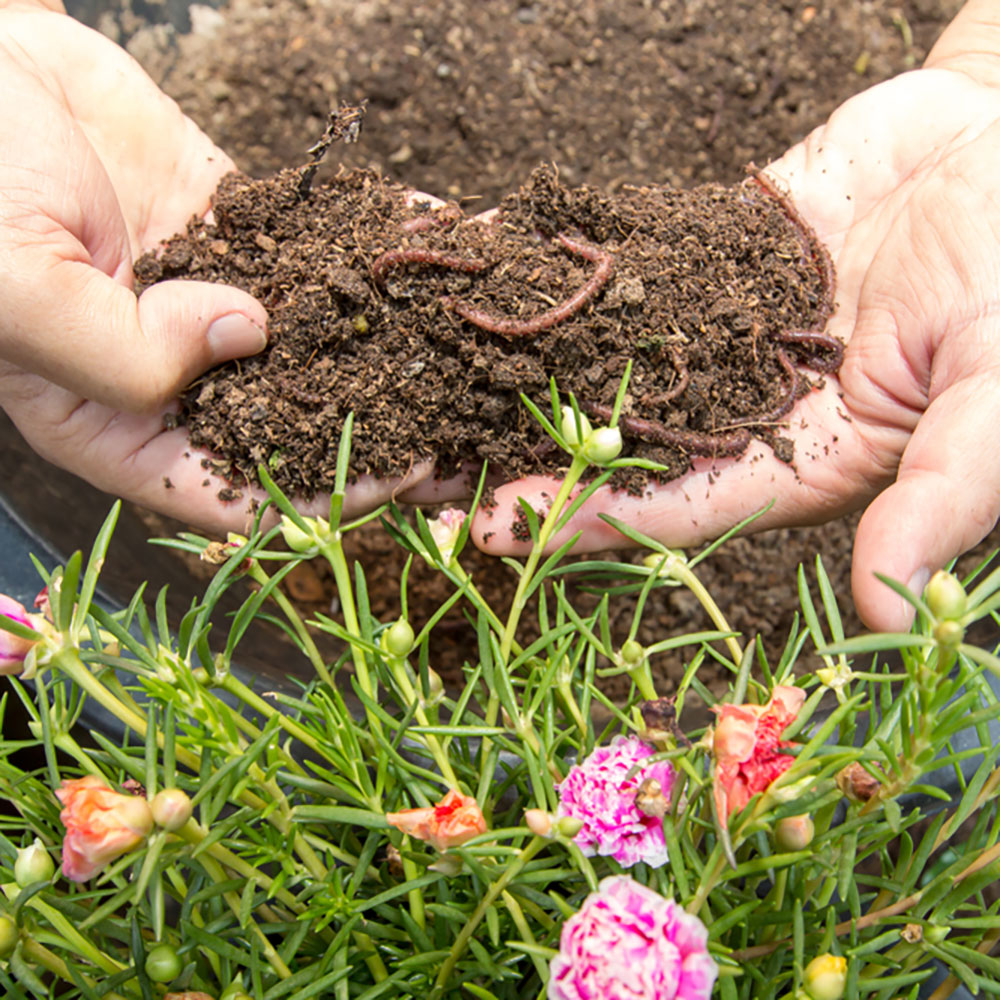
Compost made from worm castings is called vermicompost. It's an efficient way to turn kitchen food scraps into nutrient-rich compost for your garden.
An at-home vermicompost system consists of a container with drainage holes. It's filled with moist bedding like shredded paper, redworms and compostable food scraps. You can purchase worms through online sources. The end product, vermicompost, improves garden soil.
As with any home compost system, use only plant materials for kitchen scraps. Vegetable peels, coffee grounds and crushed eggshells are all beneficial in a compost pile. Never put meat, oils or fats in compost pile. Learn more about how to compost.
You can purchase a vermicomposter, or you can make your own from a storage tote. In this guide, you’ll learn how to make a worm bin from a storage tote. This easy project can also be a fun learning experience with kids.
Difficulty:
Beginner
Duration:
Under 2 hours
Table of Contents
Drill Holes on the Bottom of Bin
Drill Holes on the Top of Bin
Shred Newspaper
Add Worms
Place Covered Bin on Cups
Add Vegetable Scraps
Drill Holes on the Bottom of Bin
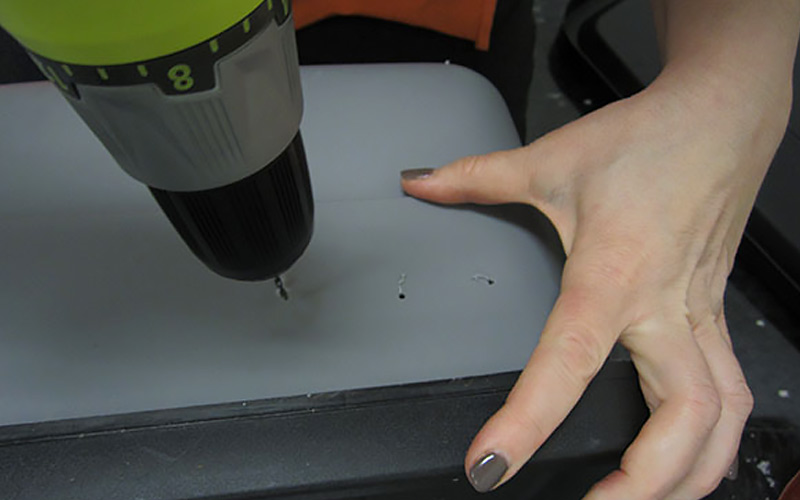
Using the 1/4 inch drill bit, drill 20 holes somewhat evenly spaced in the bottom of each bin.
Drill Holes on the Top of Bin
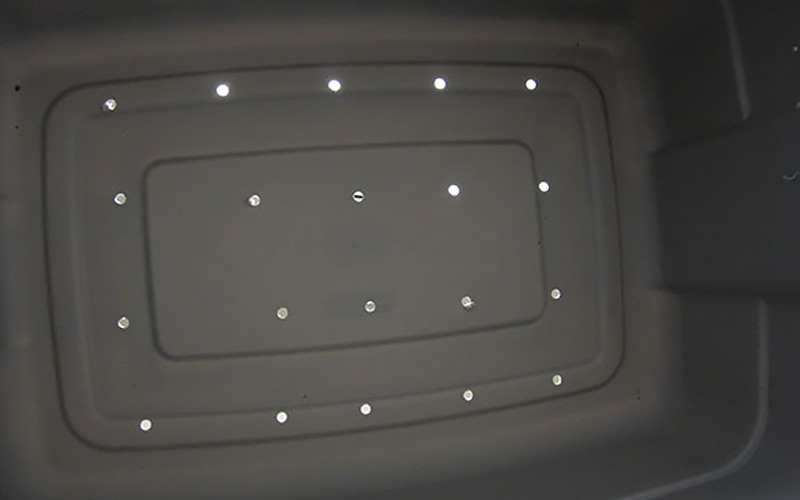
Using the 1/16th drill bit, drill 30 small holes in the top of one lid. Continue using the 1/16th drill bit and drill ventilation holes around the sides of the bin, spacing about every inch.
Shred Newspaper
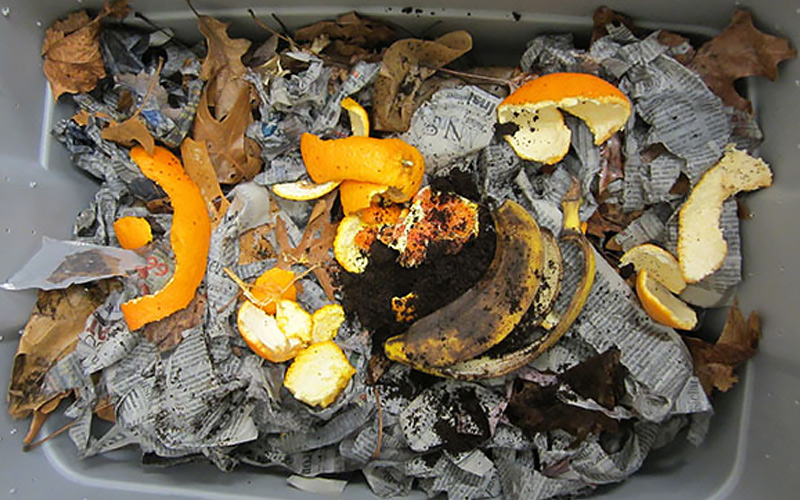
Shred newspaper in 1-inch strips. Wet the newspaper and squeeze out excess water. Fluff the newspaper with your hands and place in the bin about 3 inches deep. Add leaves, coffee grounds, orange peels, and more, and mix under the wet newspaper.
Add Worms

Add worms and mix under newspaper. Cover with cardboard and pour water over all. Cover the bin with the vented lid.
Place Covered Bin on Cups
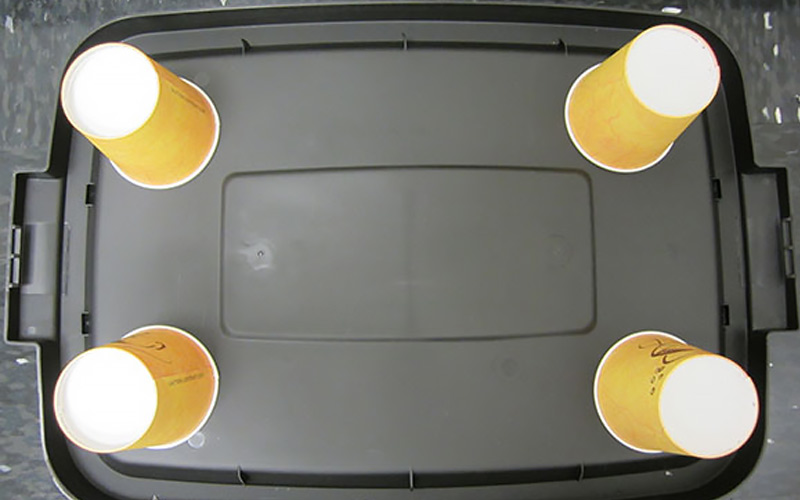
Place the sealed lid on the floor and then put the cups on all four corners. Place the covered bin on top of the cups.
Add Vegetable Scraps

Add vegetable scraps weekly, and switch to the second bin in this project when scraps are gone from the first. The worms will find the food. Water your worm bin at least once a week. You may need to water more often in warm weather.
In cool weather, store the worm bin in the garage. Move it outside to a sheltered spot when temperatures reach above 50 degrees Fahrenheit.
Worms typically take from 3 to 6 months to create enough castings for you to harvest. You’ll know it’s time to harvest when the bin is full of compost. Ease off on feeding the worms for about a week before harvesting.
When you're ready to harvest, dump the contents of the bin onto a sheet of plastic. Separate the compost from the worms. Fill the bin with new bedding material and food. Return the worms to the composter and begin the composting process again.
Place the vermicompost in a bucket or wheelbarrow and use it in your garden. You can spread it out to dry and mix it with garden soil for a custom potting mix.
Looking for the right plants or potting soil? The Home Depot delivers online orders when and where you need them.
Thanks to Jennifer Scott at the Home Depot Forums for making the worm bin.


