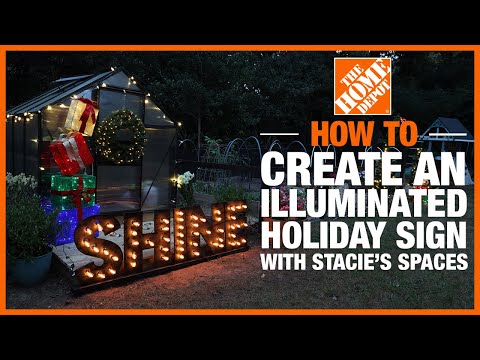
How to Make an Illuminated Holiday Sign
Last updated September 7, 2023
Presented by Stacie Abdallah of Stacie’s Spaces.
This illuminated faux marquee sign is perfect for holidays or other special events, such as birthdays and weddings. Depending on the word or phrase you choose to make, you can use this sign as eye-catching decor all year long. Making a lighted sign is simple and straightforward, so even beginner DIYers can tackle this project in a day.
Difficulty:
Beginner
Duration:
2-4 hours
Table of Contents
Draw Letters
Cut Out Letters
Cut Holes for Lights
Create the Base Stand
Attach Letters
Paint Letters
Draw Letters

- Decide what word or phrase you want to create. Then determine which letters you’ll need.
- Use stencils or draw the letters freehand on the plywood sheets.
Cut Out Letters

- Use a jigsaw or circular saw to cut out your letters.
- Sand the cut edges and the surfaces as needed.
Safety Tip: Remember to wear safety glasses and hearing protection when cutting wood.
Cut Holes for Lights

- Once the letters are cut out, figure out the placement and size for your holes. You will want to do this based on the size of the light bulbs you are using.
- Use a hole saw to cut out the holes.
Tip: String lights with large, round bulbs create the most authentic marquee sign look.
Create the Base Stand

- Take a piece of 2 x 4 lumber and line your letters up to determine spacing and the necessary length of the 2 x 4.
- Cut the 2 x 4 to size.
- Use leftover pieces of the 2 x 4 and cut them into 2-inch blocks.
The blocks will anchor the letters to the 2 x 4 base piece. - Attach the blocks to the base piece with 2 1/2-inch exterior wood screws to the spots behind where the letters will be. The goal is for the block anchors to be hidden behind the letters.
Attach Letters

Attach the letters to the little blocks with 1 3/8-inch exterior wood screws or longer, depending on the thickness of the letters.
Paint Letters

- Paint the letters any color you choose.
- Alternatively, skip this step and let the natural wood tones shine.
Tip: If you plan to display your marquee
sign outside, use an exterior paint for long-lasting, weather-resistant results.
Insert Lights

- Insert the lights and attach from the back of the sign.
- Use tape to secure the lights in place.
Safety Tip: Make sure the lights you choose are rated for outdoor use.
Display Your Sign

Display your new DIY marquee sign for everyone to enjoy! This sign looks great as part of a holiday display on your front porch, or in your yard. If you make a smaller version, you can place it on your fireplace mantel.
This easy and inexpensive project is a great way to light up a room and make a special day even brighter. Ready to find the supplies you need to make your own faux marquee letters sign? Find what you need faster and easier using The Home Depot Mobile App.