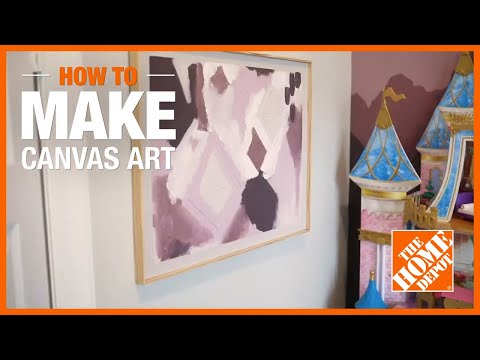
How to Make Canvas Paintings
Published January 8, 2024
Presented by Cara McIntire of Never Skip Brunch.
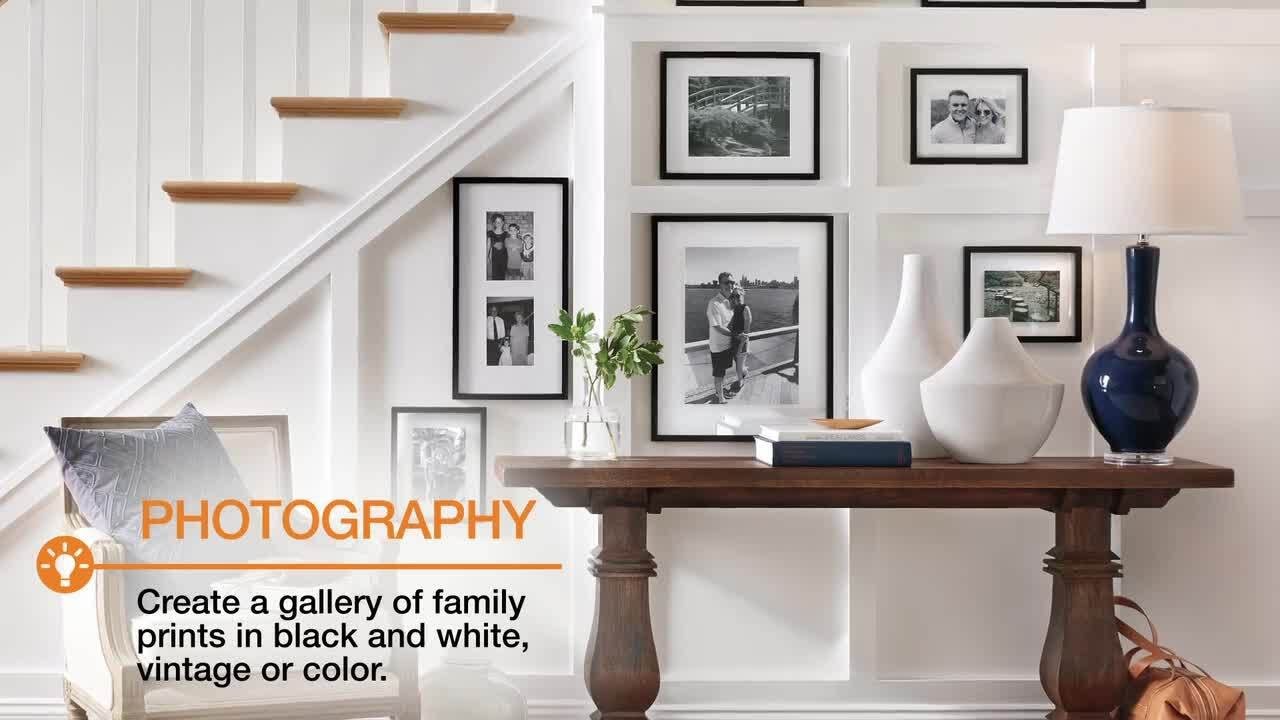
Create your very own paintings in just a few steps! Make art to hang around your home, or to even give to friends and family as a gift. And better yet, even the little ones can help!
Difficulty:
Beginner
Duration:
Under 2 hours
Table of Contents
Build the Canvas Frame
Stretch & Secure Drop Cloths to the Frame
Add Texture to the Canvas
Another Way to Create Texture
Paint Your Canvas
Create a DIY Wood Canvas Frame
Build the Canvas Frame

Before you begin, here are the tools and materials you'll need.
Textured Painting:
- Latex paint or acrylic craft paint
- Hot glue
- Joint compound
- Painter's tape
- Hot glue gun
- Scraper
- Paint brushes
DIY Canvas:
- 1 x 2-inch lumber
- Wood glue
- 1 1/2-inch metal corner braces
- Heavy duty drop cloth
- Staples
- Miter box and saw or a miter saw
- Kreg jig (or metal L brackets)
- Staple gun
- Drill
DIY Frame:
1/4-inch pine lattice moulding
Wood glue
Miter box and saw or miter saw
Cut the 1 x 2-inch lumber to size using a miter saw or miter box. We chose to create frames that were 30 x 24 inches which meant our cut list was two 30-inch long pieces and two 21-inch long pieces.
Drill two pocket holes in each end of the smaller 21-inch boards using a kreg jig.
Attach the boards together at each corner by applying wood glue to the very end of the 21-inch board and placing it perpendicular to the 30-inch board.
You can also use a speed square in the corner to make sure the boards are aligned at a right angle. Clamp this in place as you drive screws into the pocket holes.
An alternative: If you dont want to use pocket screws, you can also attach the boards together using corner braces on the inside corners of the frame.
Tip: If you don’t want to build your own DIY canvases, you can snag some pre-made canvases and skip ahead to Step 3.
Stretch & Secure Drop Cloths to the Frame

- Cut a section of the heavy duty dropcloth so that its 3 to 6 inches larger than your frame. This will give you plenty of room to wrap the dropcloth around the frame and secure it.
- With your dropcloth section laying flat, place your frame on top of the drop cloth and center it in the middle.
- Secure the drocloth to your frame using a staple gun – starting on one side and attaching with one staple in the center on the back of the frame. Next, move to the opposite side of the frame, pull the dropcloth tightly, and secure with another staple in the center.
- Move to each of the remaining sides and repeat the steps until each side has one staple in the center.
- Work your way out from the center of each side towards the corners, pulling tightly and adding staples as you go. Use staples liberally to ensure your dropcloth stays taut and in place.
- When you reach the corner, secure one side first then fold the other side over it and staple in place to create a folded square corner.
- If your little one wants to help build the canvas, be sure to supervise them carefully. You hold the staple gun tightly in place while your little one pulls the trigger with both hands to insert a staple.
Add Texture to the Canvas

- Add some texture to the canvases before painting to give them added interest. Start by taping of the edge of the canvas – this will create a frame of white space around the edge that makes the canvas look finished and looks amazing with the simple wood frame we’ll add later.
- To create raised textured lines on your canvas, apply hot glue or wood glue to create designs. You can trace out the designs beforehand, then follow the lines as you apply your glue, or you can freehand your designs.
- We added all kinds of diamond shapes to mimic fractals and some dots and stars to represent snow.
- Let the hot glue cool completely and the wood glue dry completely before painting your design of choice over it.
Another Way to Create Texture

- Another way to create texture on your canvas is by applying joint compound. Spread it on with a plastic scraper all across your canvas – creating bumps, lines and smooth areas as you go.
- This is a really fun process for kids since they love playing with the texture and seeing what designs they can create.
- Once you are happy with your design, let the joint compound dry completely before painting it – this might take anywhere from a few hours to overnight, depending on how thick you applied it.
Paint Your Canvas

- Once your texture is dry, paint over it with your paint and colors of choice.
- We used some leftover interior latex paint colors from an accent wall. This is a cool way to bring the accent wall colors into other parts of the room to tie the space together and a great way to use up leftover paint.
- Once you’re happy with your painting, let it dry completely, then remove the painter's tape from the edges of the canvas.
Create a DIY Wood Canvas Frame

- To create a modern wood frame for your canvas art piece, cut lattice trim pieces to fit around the outside of your canvas. You can cut these straight or miter the corners for a more leveled look.
- Apply wood glue to the bottom half of the lattice trim piece and press it against the edge of your canvas.
- Optional: Add some pin nails to through the trim into the side of the canvas if you want it to be extra secure.
- To secure the frame pieces in place while the glue dries, add a piece of painter's tape to the edge to hold the corner in place. Let it dry completely before removing the tape.
Hang It Up!

Hang the canvases up on the wall using nails or some hardware made for hanging frames or artwork.
If you're looking for paint, tools or more, The Home Depot delivers online orders when and where you need them.