How to Make Epoxy Resin Coasters

Published September 5, 2023
Presented by Jen Woodhouse of House of Wood.
Enjoy this fun project and create colorful coasters by working with resin. This is a simple project that even the kids can join in and help with.
Tip: Though the final product takes 24 hours to cure, the resin takes almost no time to prepare and mold.
Difficulty:
Beginner
Duration:
Under 2 hours
Table of Contents
Gather Tools and Supplies
Mix the Resin
Add Color
Pour the Resin into the Mold
Apply a Heat Gun
Allow the Resin to Cure
Gather Tools and Supplies

Collect the supplies for the project.
- 2-part epoxy resin (resin and hardener)
- Silicone coaster molds
- Disposable cups
- Stir sticks
- Disposable gloves
- Mica powder or alcohol ink
- Heat gun
Mix the Resin
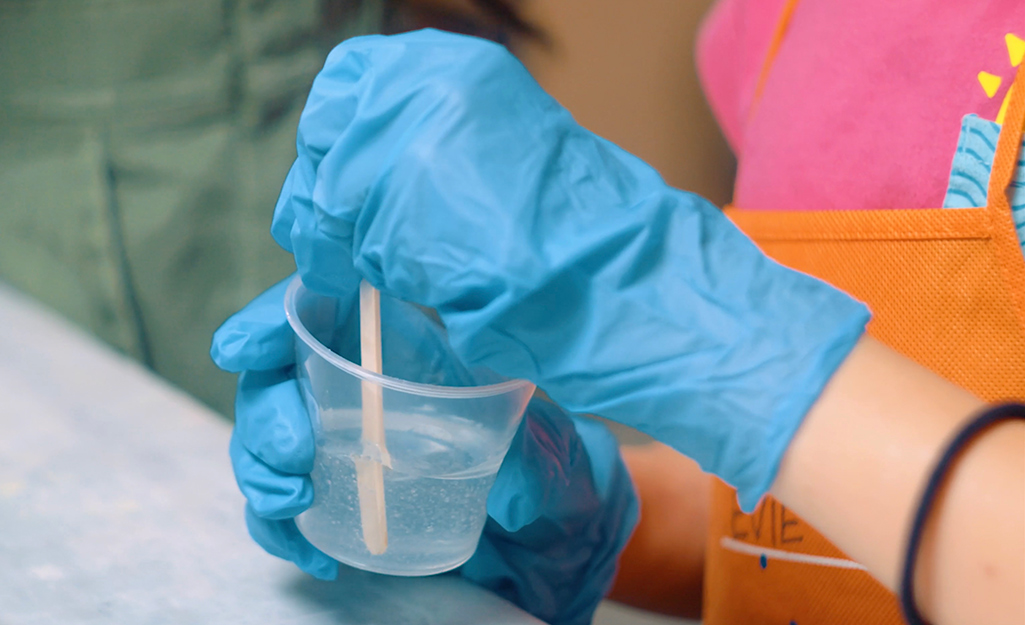
Mix the epoxy resin with the hardener according to the manufacturer’s directions. The mixing ratio is usually 1:1 or 2:1. In the example, the epoxy used has a 2:1 ratio. It required 2 pumps of the resin and 1 pump of the hardener into a disposable cup.
Mix very well, scraping the sides and bottom until the resin and hardener are fully incorporated. The directions should also include how many minutes to mix the components together.
Add Color
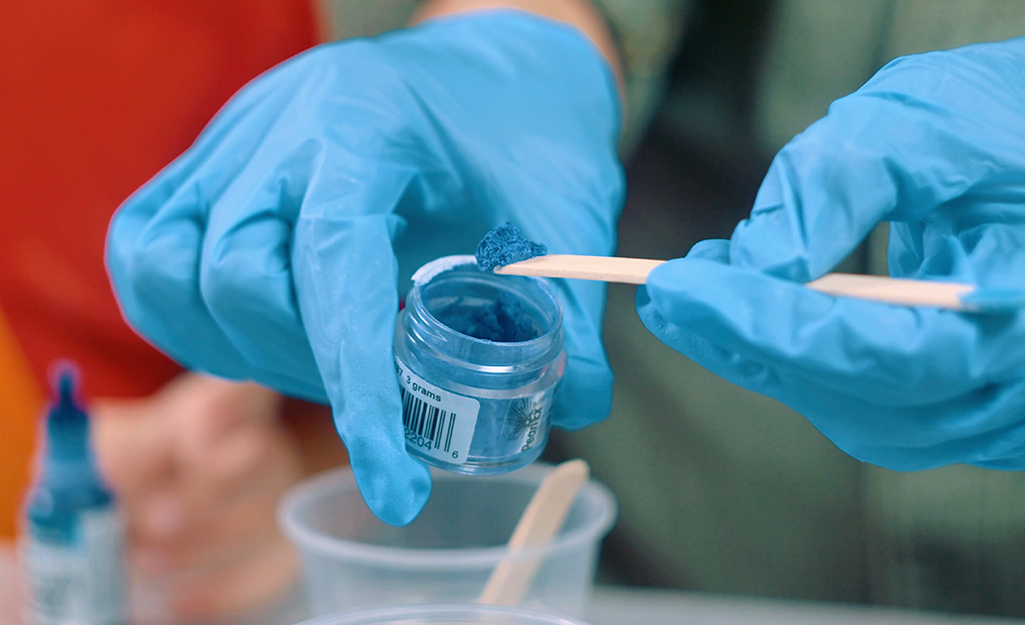
Use mica powder or alcohol ink to add pigment to the clear resin.
If using mica powder, add a little of the powder to the resin and mix well until the color is uniform.
If using alcohol ink, you can either mix it into the resin or add it after the resin is poured into the mold.
Pour the Resin into the Mold
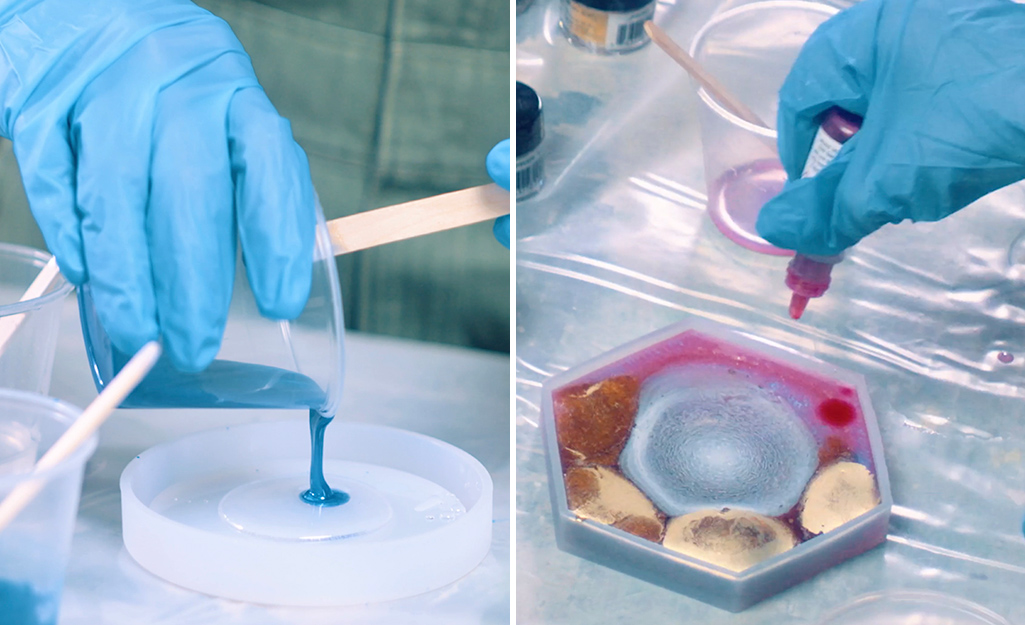
Carefully pour the resin into the molds – feel free to experiment and get creative with this. There are many different ways to pour the resin to get different effects.
For a puddle technique, pour a little bit of the clear resin into the center of the mold, then layer different colors on top, into the same center puddle. The resin will start to flow and fill in the mold.
A second pouring technique is to pour the different colored resins side by side, allowing the different colors to blend together.
A third pouring technique is to pour the clear resin into the mold and drop a few drops of alcohol ink into the resin.
Add objects into the resin, if desired – like glitter, pressed flowers, beads, leaves and more.
Apply a Heat Gun

A heat gun can be used to remove any tiny bubbles in the resin. Wave the heat gun over the surface of the resin, keeping the heat gun moving constantly.
The heat gun will also work to move and manipulate the resin for another cool effect.
Tip: If you don’t have a heat gun, a small handheld butane lighter will work.
Allow the Resin to Cure
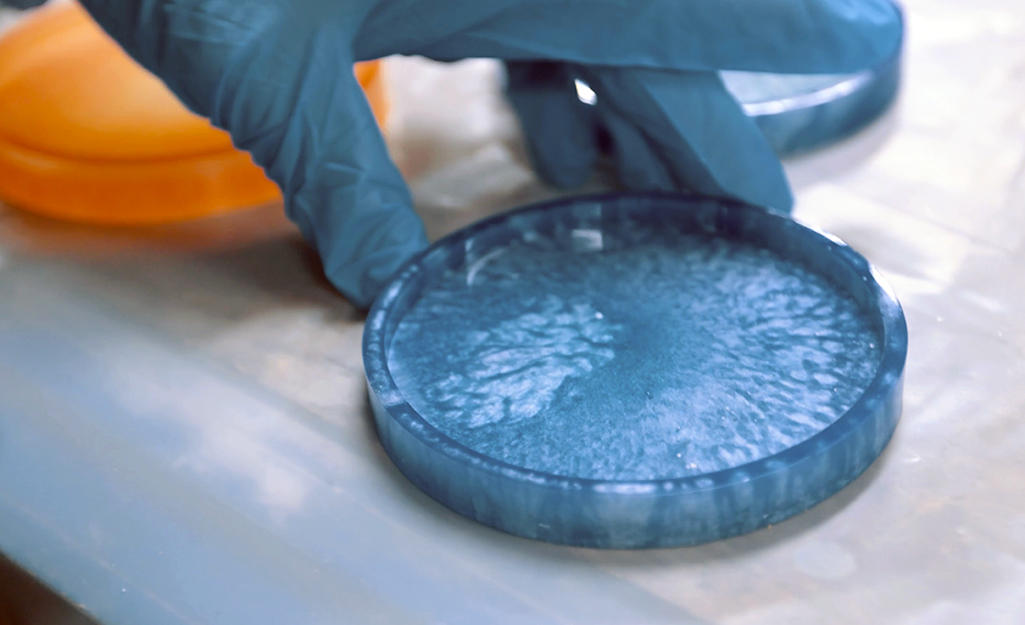
Allow the resin to cure according to the manufacturer’s recommended time. The resin in the example hardens in about 24 hours and fully cures after a month.
Remove the Coasters from the Mold
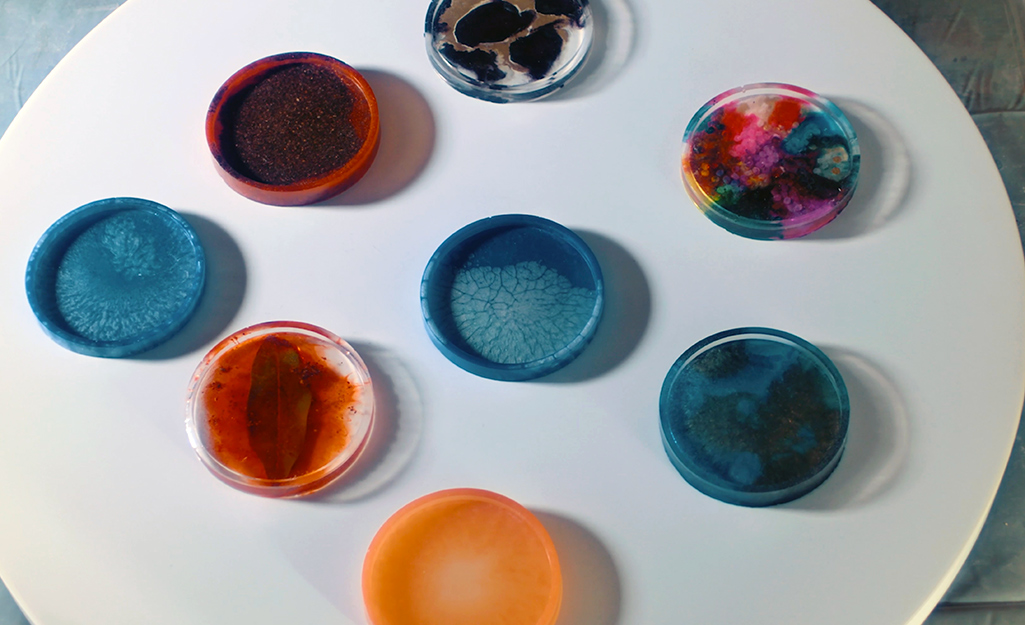
After the resin is fully hardened, the coasters will be easy to remove from the silicone mold. Reuse the molds for future projects.
If you're looking for dinnerware, glassware or more, The Home Depot delivers online orders when and where you need them.


