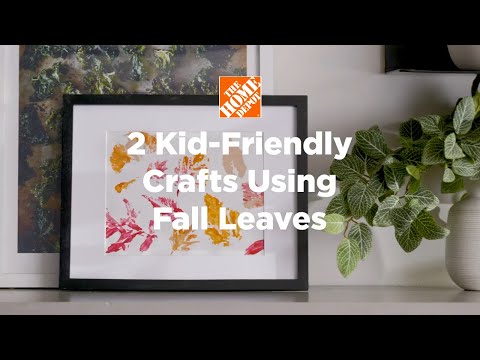
How to Make Fall Leaf Crafts for Kids
Last updated September 7, 2023
As the leaves start to change and the weather gets crisp, it’s only fair to want to bring a bit of autumn inside. These easy fall craft ideas for kids call for just a few items like leaves gathered from outside, paint and paper plates. This guide will show you how to bring the beauty of fall indoors while creating artwork that can double as seasonal artwork for the fridge or the mantel.
Difficulty:
Beginner
Duration:
2-4 hours
Table of Contents
Gather Leaves
Make a DIY Turkey
Glue Leaves
Color Your DIY Turkey
Create Leaf Stamps
Paint Leaves
Gather Leaves

Venture outside, either in your own yard or around the neighborhood, to collect leaves in a variety of autumnal shades. Collect the largest and most interestingly shaped leaves you can find, looking in particular for leaves that appear to have recently fallen (you don’t want leaves that are too brittle).
Bring them indoors and let them briefly dry on paper towels.
Here's what you'll need:
- Paper plates
- Glue gun
- Glue sticks
- Paper towels
- Markers or colored pencils
- Fall leaves, dried on paper towels
Make a DIY Turkey

Super easy for toddlers to do, this project involves a paper plate and a little imagination.
Use the colored pencils or markers to trace the outline of your or your child’s hand on a paper plate. To make the most out of this project, let every member of the family, big and small, create a turkey.
Glue Leaves

- Set up the glue gun with a glue stick. Plug it in and switch it on to the lower heat setting.
- Before gluing the leaves, let the kids decide where each leaf should go. Once the glue gun is warm, an adult should glue the leaves over the outlines of the fingers using the glue gun.
- Let the glue cool and set for about 10 to 20 minutes.
Color Your DIY Turkey

- Lastly, using your colored pencils, draw eyes, a beak and wattle (it’s the flap of skin on the turkey’s neck) onto the thumb outline to create the turkey’s face.
- Now hang on the refrigerator for a little touch of DIY fall decor.
Create Leaf Stamps

This project allows you and your family to create art that you can enjoy throughout fall and beyond. It's also an ideal craft project for kids of all ages.
Aside from your dried leaves, here's what else you'll need:
- Foam brushes
- Paints
- Paper towels
- Frame
- Paper plate
- Paper
- Cup
- Water
Paint Leaves

- Select your paint colors (we opted for shades that spoke to the fall season, like warm oranges, reds and pinks) and dole some of each out onto a paper plate.
- Dip a foam brush into the paint and wipe off any excess.
- Dab the paint onto the leaves –
it’s up to you if you paint the leaf the same color throughout or if you use several different colors on the same leaf. - If you choose to make multicolored leaves, rinse and dry your brush with a cup of water and paper towel when switching between colors.
Stamp Leaves on Paper

- Carefully place the leaf, painted side down, onto the construction paper, pressing it gently down as you go, and let it sit for a minute.
- Gently peel up the leaf and admire the colorful impression it left behind.
- Let dry for at least 10 minutes (the paint will cure completely after 24 hours).
Hang and Enjoy

Once the paint has dried, it's time to frame your family masterpiece. Place it on the mantel, entryway table or in your home office to add a touch of fall.
Looking for a product to complete your project? We have options to deliver online orders when and where you need them.