How to Make Hypertufa Pots

Published September 5, 2023
Learn how to make rustic planters from hypertufa, a lightweight cement mixture. Fill them with succulents to make gifts, especially for Mother’s Day, or for decorating inside and outside.
This project comes together quickly, especially if you have helping hands.
Be sure to choose a well-ventilated area to work, and wear safety glasses and gloves.
Difficulty:
Intermediate
Duration:
2-4 hours
Table of Contents
Assemble Materials and Tools
Make Hypertufa Mixture
Mix Moss and Perlite
Create Hypertufa Mixture
Fill Containers and Cover
Cure the Containers
Assemble Materials and Tools
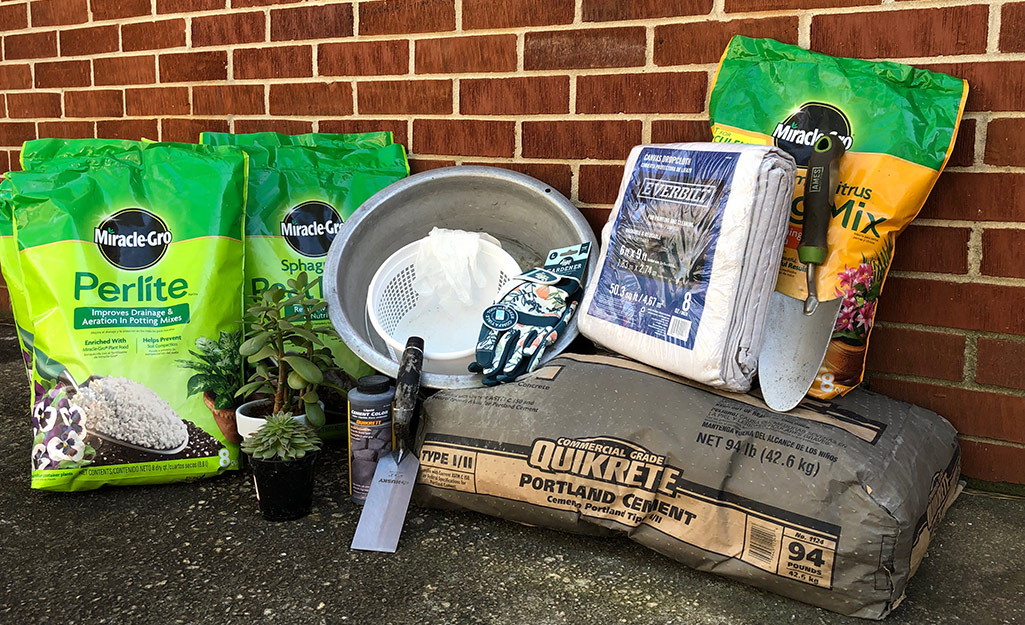
To make hypertufa pots, you’ll need these materials and tools:
Materials:
- Perlite, 8-quart bags
- Sphagnum peat moss, 8-quart bags
- Portland cement
- Water
- Concrete tint (optional)
- Plastic molds
- Dropcloth or brown builder’s paper
- Nonstick cooking spray
- Plastic garbage bag
Tools:
- Concrete trowel
- Drill
- Drill bit
- Large tub for mixing
- Water bucket
- Safety glasses
- Mask
- Gloves
Use the following recipe to measure the ingredients to create the hypertufa mixture for your rustic planter. Don’t worry if you don’t get the recipe exactly right. Cement is forgiving. Start by using small 8-quart bags of perlite and sphagnum peat moss. Then add your Portland cement.
This mixture fills two large planter molds. It can be used to make four to six smaller planters instead. Any extra mixture can be used to make extra hypertufa containers.
- 1 1/2 parts Perlite
- 1 1/2 parts Sphagnum peat moss
- 1 part Portland Cement
- Optional: 1 part water mixed with cement tint
You can make extra containers to use as plant stands. Follow the same instructions but without using the inserts in the molds. This method will create solid pieces instead of pots.
Make Hypertufa Mixture
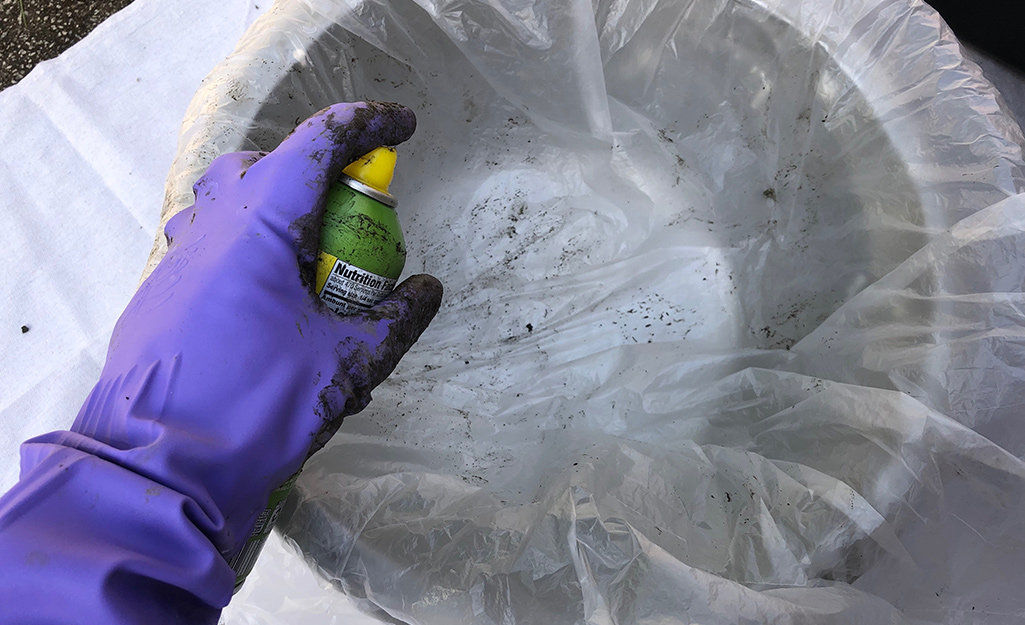
Place a drop cloth or brown builder’s paper underneath your workspace. Set out your plastic molds for your rustic planter. Using no-stick cooking spray, completely cover the inside of the trough mold and the outside of the plastic insert. Repeat this step if you’re making more than one.
Mix Moss and Perlite
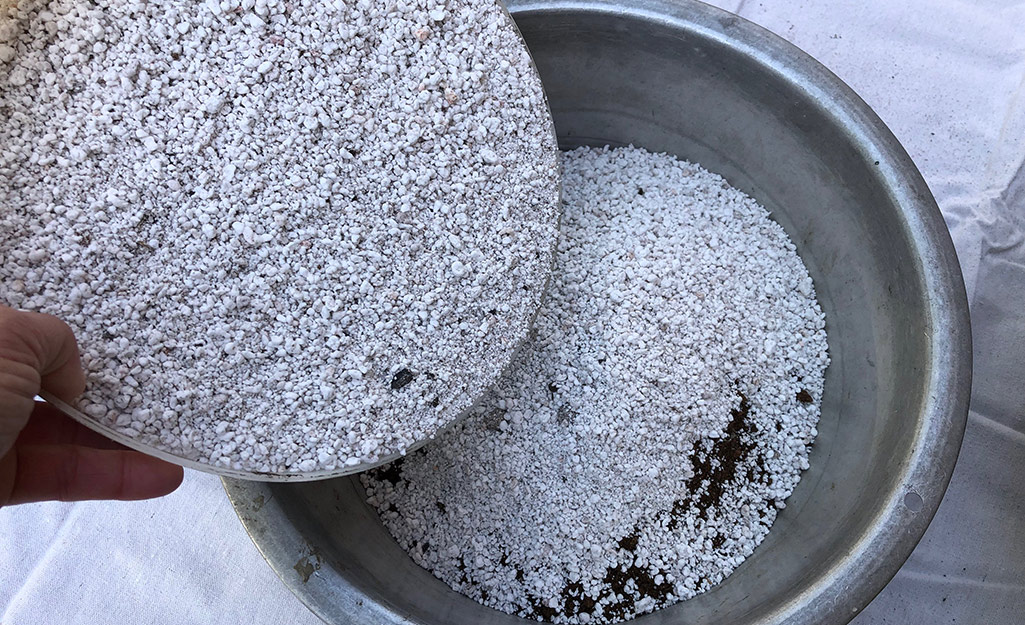
Put on your gloves then measure and moisten your Sphagnum peat moss. It works best if you wet the Sphagnum peat moss and squeeze out water before adding it to the mixture. Next, add in the perlite and mix by hand.
Create Hypertufa Mixture
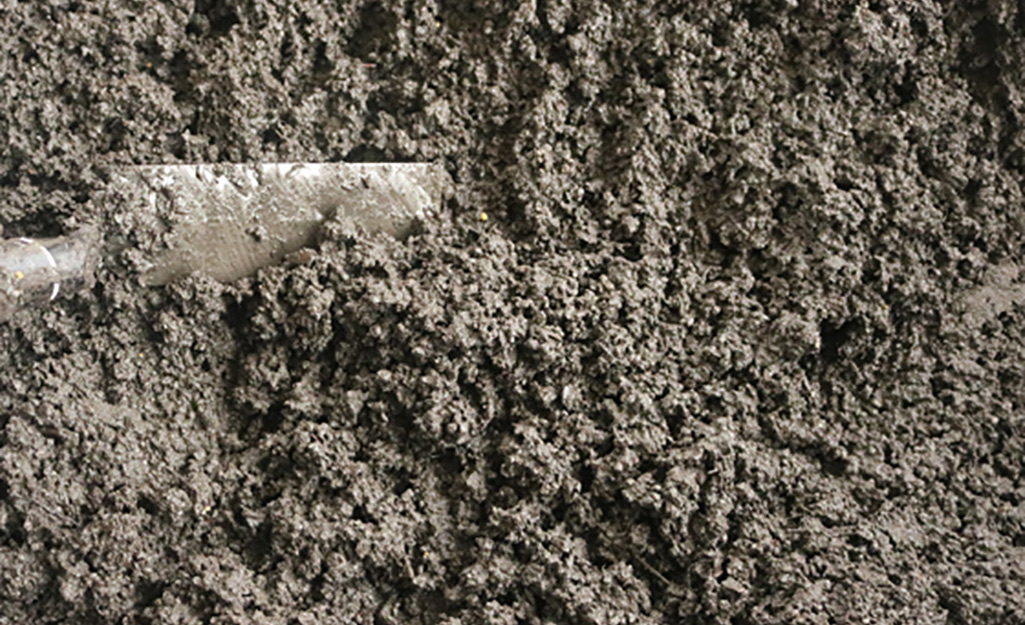
Put on your safety glasses and a mask before adding the cement to the mixture. In a well-ventilated area, add dry Portland cement to the moss and perlite mixture to create the hypertufa. Blend these dry ingredients by hand.
If using concrete tint, add it to a jug of water and cover. Shake it up. Pour the tinted water slowly into the hypertufa mixture. Using a concrete trowel, work in all the ingredients. To get the right consistency, pick up a handful and squeeze it. It’s the right texture when very little water seeps out.
Fill Containers and Cover
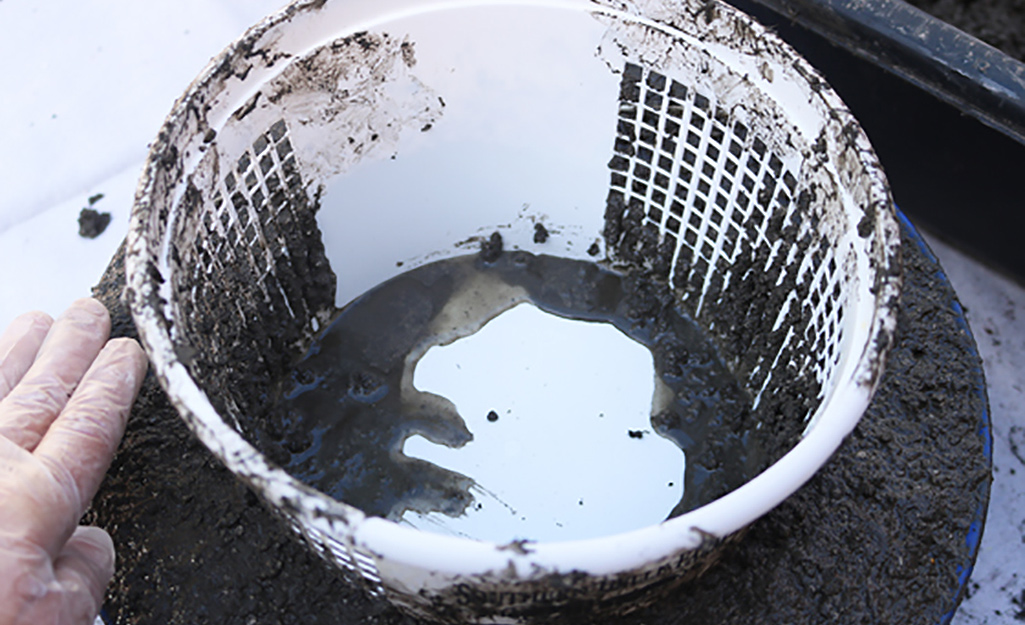
Take handfuls of the hypertufa mixture and fill the containers halfway to the top. Pack it down as you go. Then, take the insert and push it down inside. Leave about an inch of thickness on the bottom. Continue filling with extra hypertufa mixture to fill in the top.
Place the containers inside a plastic garbage bag for hardening in the shade. After 24 hours, remove the plastic inserts. Check the hypertufa. If you can dig a fingernail into the inside of the planter, cover it back up with plastic and let it continue to harden in the shade for another 24 hours.
As you wait for the planters to dry, be patient. Dry times vary according to climate and humidity.
Cure the Containers
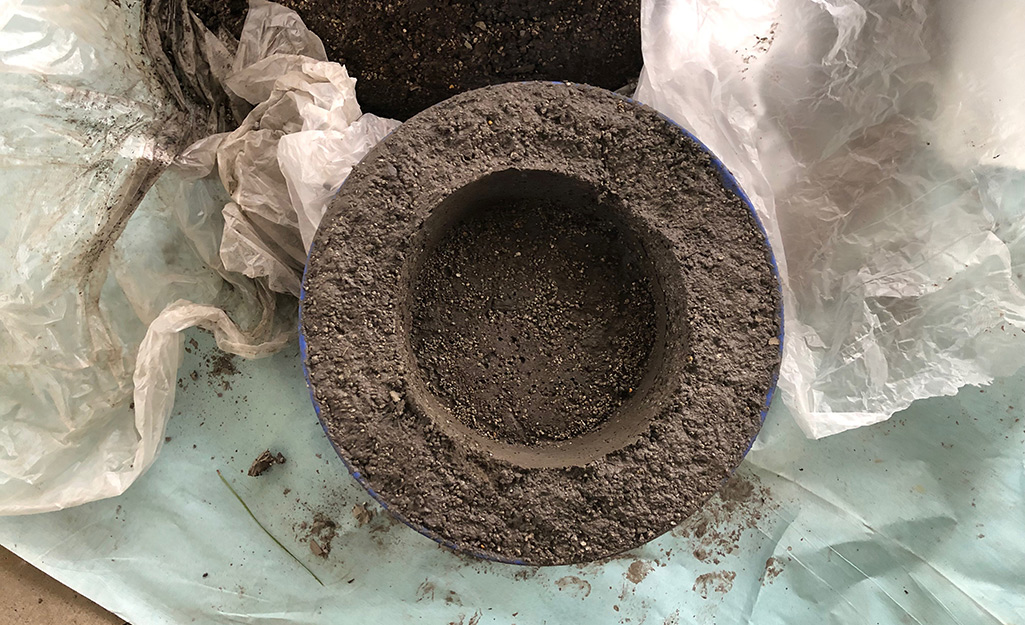
The next step of the hypertufa curing process takes three weeks. Remove the rustic planter from the plastic bag and let it sit in the shade. It’s okay if it gets rained on. At this point, it’s important to soak the container with water once a week to remove residual lime from the cement so it will not harm plants.
Drill Drainage Holes
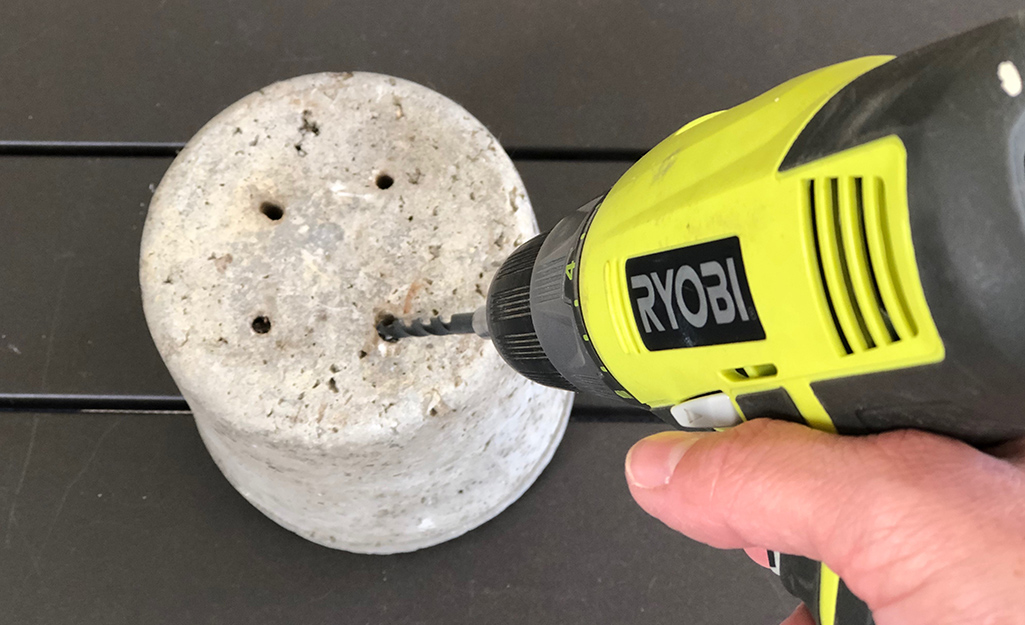
Carefully drill drainage holes in the bottom of the rustic planter. The size of the hypertufa pot will dictate the size of the drill bit. Use an appropriately sized bit to make a hole so the planter gets ample drainage.
Use a Coco Liner (Optional)
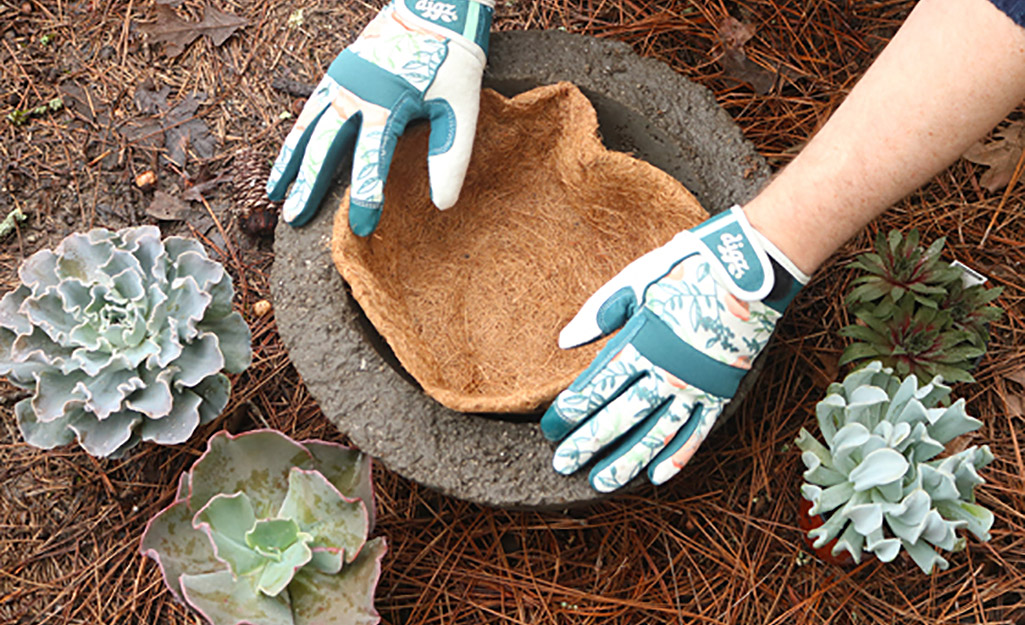
A coco liner adds a protective layer between the soil and the new hypertufa container. Using an optional coco liner will prevent any residual lime in the new container from harming your plants. Plus, it makes switching out plants between seasons easier.
Plant Succulents
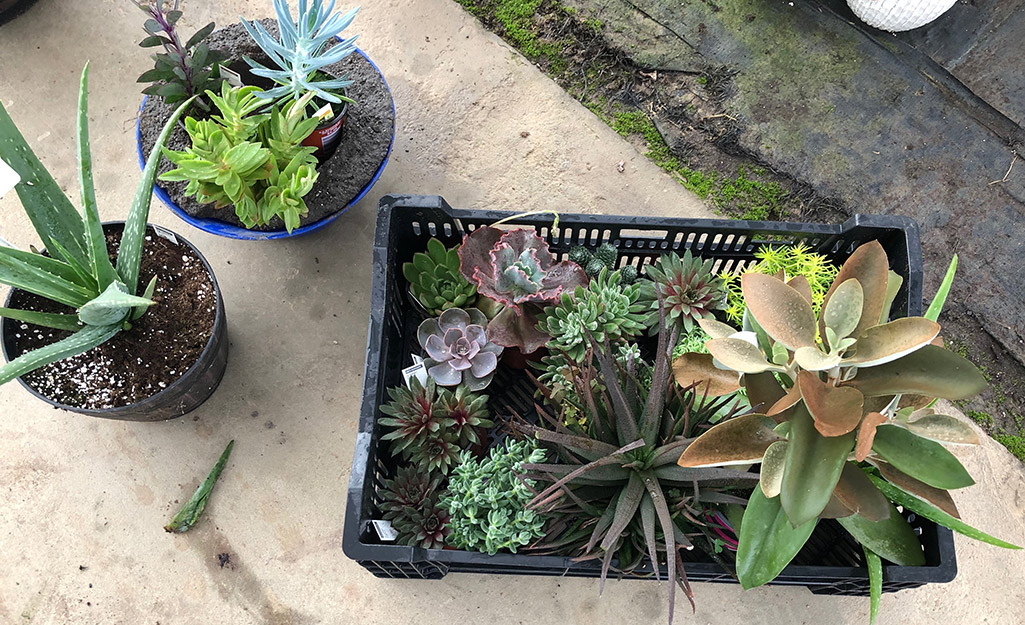
It’s time to decorate your rustic planter with succulents. Arrange plants to see how they will look in your rustic planter. Be sure to look for plants that thrill, those that fill and some to spill when selecting succulents.
Look for a variety of colors and textures in succulents at The Home Depot Garden Center.
Tip: For an added touch, soak decorative sheet moss and tuck it in around your planter.
Enjoy Your Hypertufa Container with Succulents
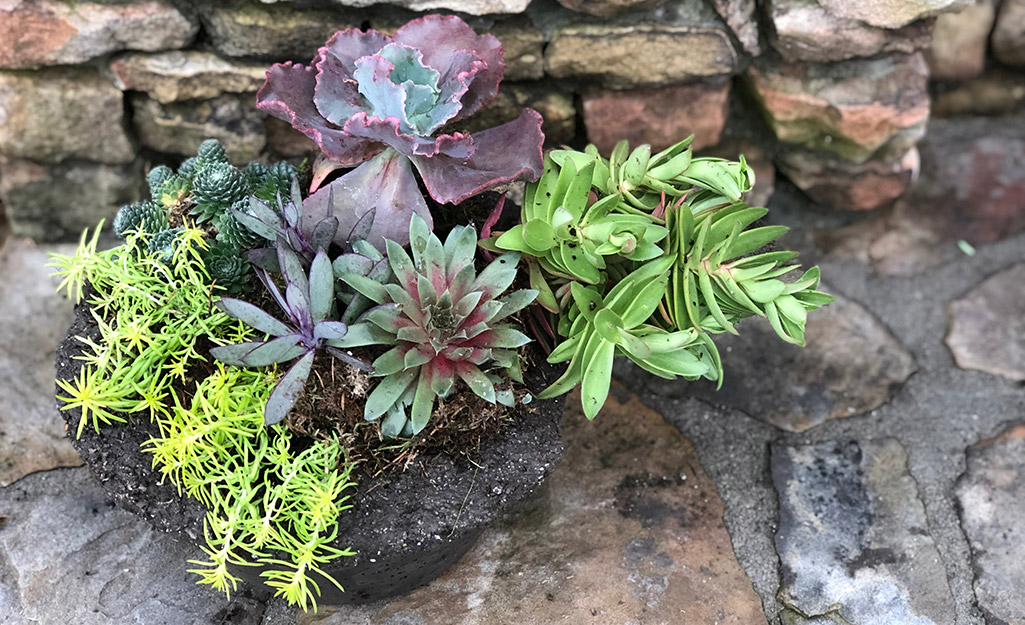
You can place your hypertufa pot on your porch, balcony, by your entryway or even on a console table. These decorative rustic planters will bring a unique style to your space. When decorating with your planters, don’t forget to add outdoor lanterns and other outdoor accessories to your vignettes.
If you like the idea of this DIY project, but you’re not into getting your hands dirty, you can select a ready-made planter of succulents at your local The Home Depot Garden Center. Another option is filling a whiskey barrel or other planter with succulents of your choice.
When you learn how to make hypertufa pots, you can create containers to use inside or outside. Choose a selection of succulents to fill these rustic decorative containers. A hypertufa pot of succulents makes a great gift for Mother’s Day, birthdays or other special occasions.
Ready to get the tools and materials you need to make hypertufa pots? The Home Depot delivers online orders when and where you need them.
Special thanks to Rambo Nursery for providing the succulents and location.
Photos by Renee Valdes.


