How to Make Sidewalk Art

Last updated September 7, 2023
For a crafty project that also gets the family outside, try creating a bit of sidewalk art. From geometric designs to mini masterpieces like mountains and ice cream cones, the possibilities are endless. This guide will teach you how to make sidewalk art with just a bit of painter’s tape, chalk and a little imagination. The best part? Even if you mess up, it washes right off with the rain, so you can start fresh again next time.
Difficulty:
Beginner
Duration:
Under 2 hours
Table of Contents
Choose Your Chalk
Outline Your Design
Colorblock with Cardboard
Remove Tape
Show Off Your Masterpiece
Choose Your Chalk
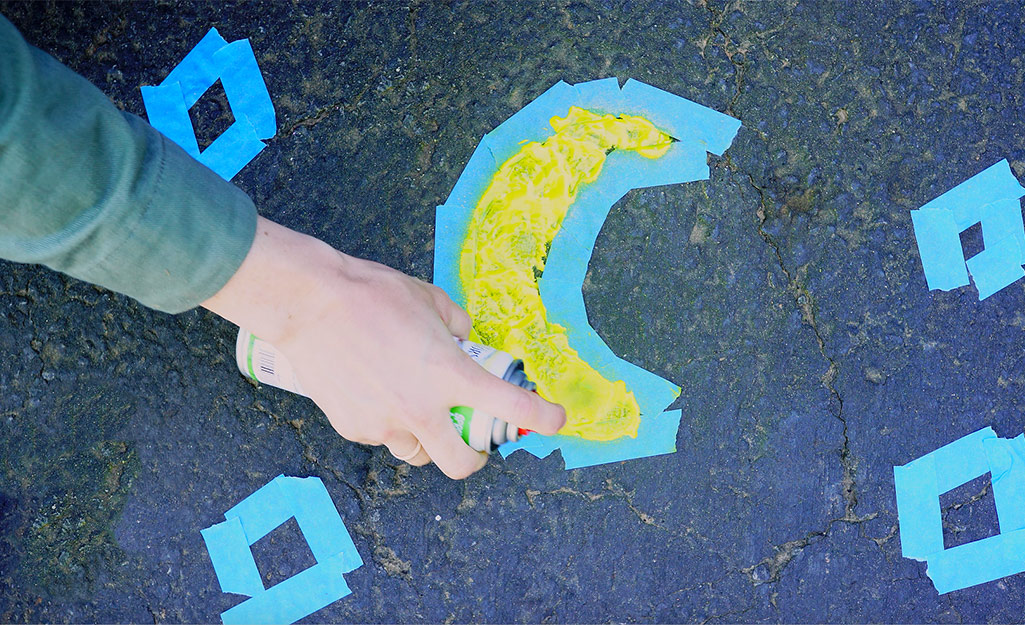
All you need to get started on this fun DIY is a bit of sidewalk chalk. You can use the classic kind or stock up on a few cans of spray chalk (which works just like spray paint). Whatever you’ve got handy will work just fine.
Tip: If you opt to use spray chalk, be sure to use thin, even layers as you spray.
Outline Your Design
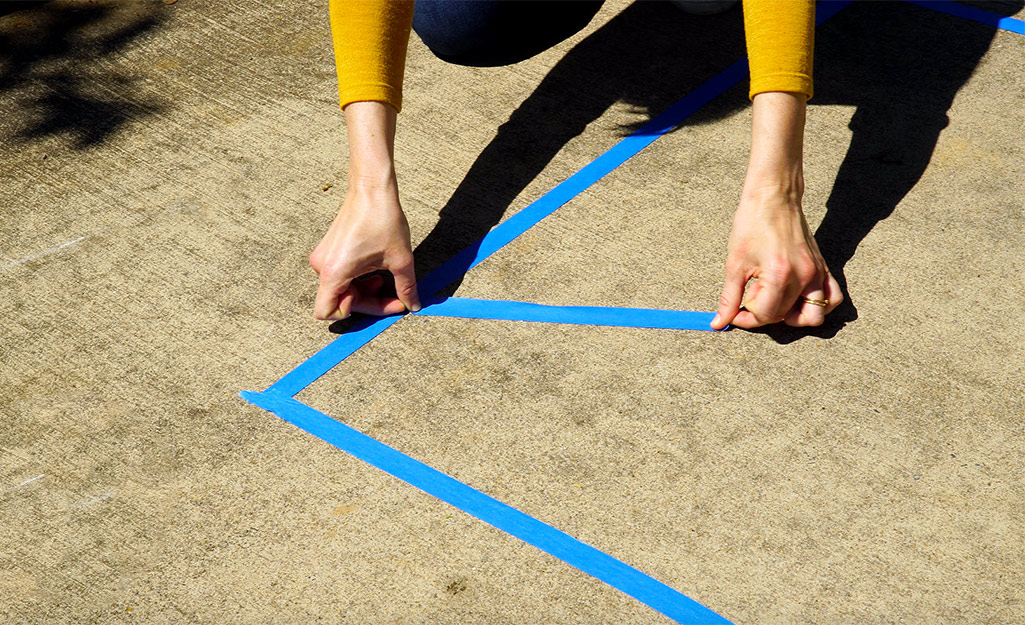
The trick to this is to frame your design. Whether you follow a design from the video above or come up with your own creation, drawing it out first with painter's tape will help the creation come to life easier.
- Tape off a 1-foot x 2-foot rectangle (or however large you want your spray chalk artwork to be) with painter’s tape on the sidewalk. Depending on the size of your outdoor space, you can create one or many designs at a time.
- To create a mountain-like design (as seen in the video) within the rectangle, use more painter’s tape to create zigzagging lines in alternating patterns along the bottom two-thirds of the rectangle.
Tip: Give freehand chalking a try. This is a great way to let kids express creativity without having to follow a planned out design. Think: tic-tac-toe, ABC's and more.
Colorblock with Cardboard
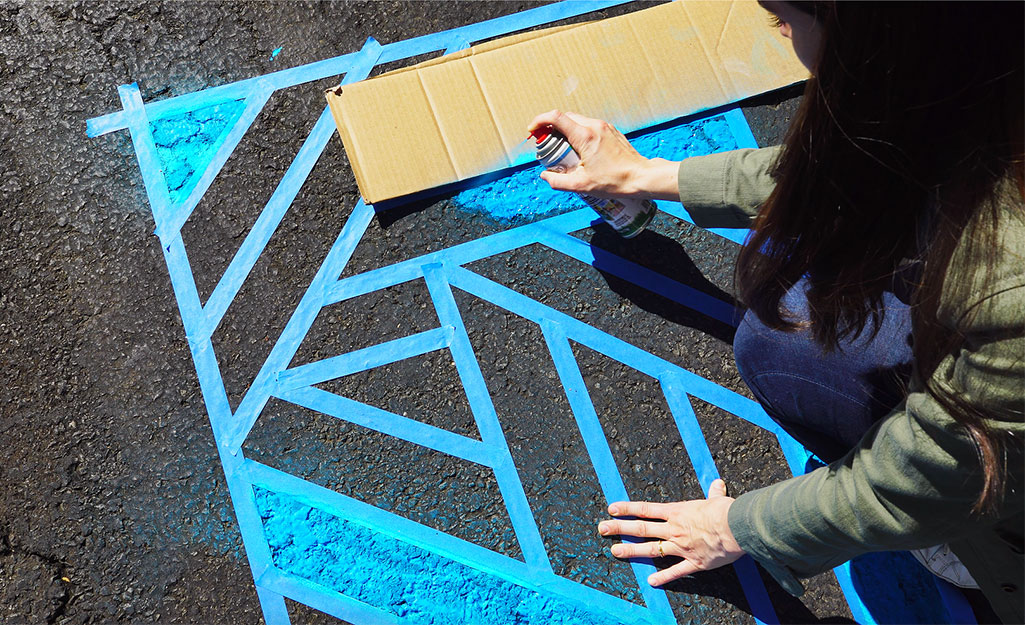
Once you've outlined your design, it's time to color or spray. If your design incorporates more than one color, you'll want to protect each section while you're spraying the others. This is where cardboard comes in. You can get a cardboard paint shield or simply cut up a cardboard moving or delivery box.
- As you're working your way through your sidewalk art creation, protect the rest from overspray by laying down cardboard or cardstock over the parts yet to be painted. You may also want to secure the cardboard with painter’s tape so it doesn’t blow away.
- Let each coat dry before applying another.
Tip: Use other household items to help your creations come to life. Simple items like a jar lid can stand in as a sun, for example.
Remove Tape
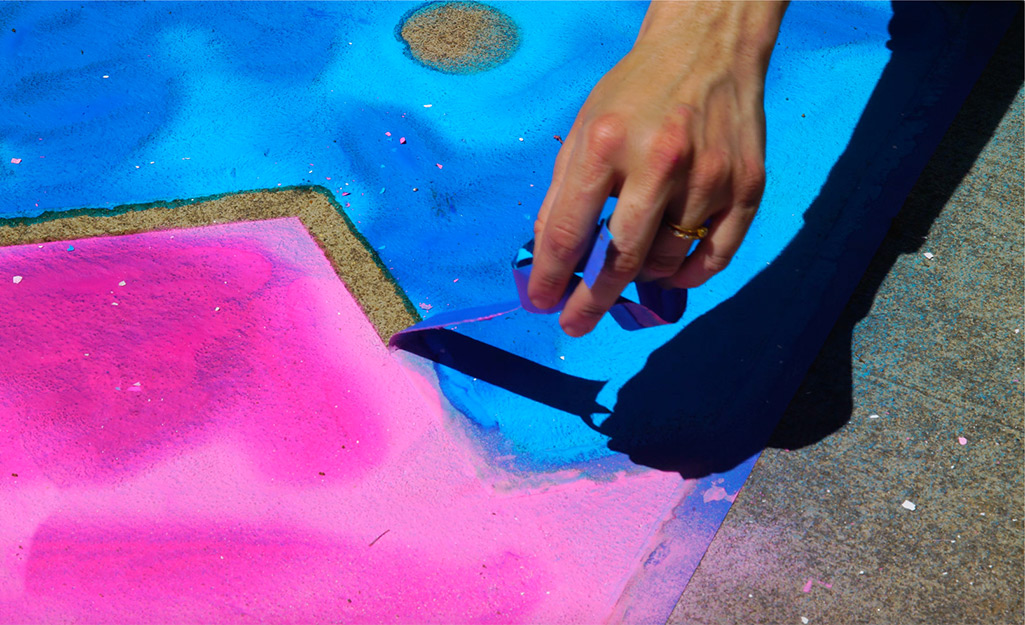
Once your design begins to dry, safely and slowly remove the tape. Be sure not to step on the sidewalk art itself, and only remove tape from sections that are relatively dry, to prevent smearing the design.
Any small mistakes can be removed with a little water on a rag.
Show Off Your Masterpiece
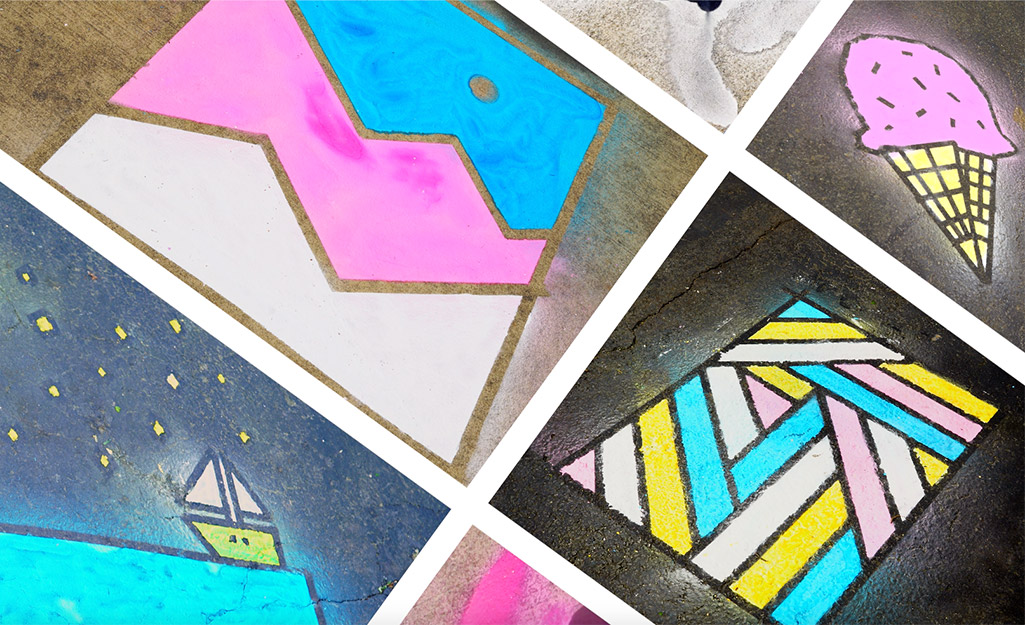
It's time for the big reveal! Once all of your tape is lifted, stand back and admire your work of art. Your fun creations are bound to delight neighbors on walks. The best part? If you don't like the way your project turned out, or you're ready to try something new, simply wash the chalk away with water and start with a fresh canvas.
Whether you follow a specific design or opt to freehand a masterpiece, making showstopping sidewalk art is a perfect DIY project to challenge creative minds of all ages. The Home Depot is your DIY headquarters. Looking for a product to complete your project? We have options to deliver online orders when and where you need them.


