How to Move a Washing Machine

Last updated September 7, 2023
Moving a washing machine or moving a washer and dryer combination requires preparation and planning. Washing machines need to be disconnected and drained properly before a move. Washing machines can also be quite heavy. Although it is possible to move a washing machine by yourself, it’s safer and easier to get help. Keep reading to learn step-by-step information about how to move a washing machine without damaging your appliance or injuring yourself.
Difficulty:
Intermediate
Duration:
Over 1 day
Table of Contents
How to Get a Washing Machine Ready to Move
What Do You Need to Move a Washing Machine?
Clean Washer
Disconnect Power and Hoses
Secure Washer Drum
Wrap & Load
How to Get a Washing Machine Ready to Move

The first step in moving a washing machine is to get rid of clutter on or around your appliance. Make the area free and clear of any clothing, bins or other obstacles.
Understanding how to lift a washing machine on moving day depends on how heavy it is, so you can line up the right amount of help. A large capacity washing machine can weigh almost 230 pounds. A medium-capacity top-loading washing machine weighs around 150 pounds while a medium front-loading washer weight can weigh as much as 180 pounds.
Tip: If you can’t secure enough help to move your washer, consider hiring professional movers.
What Do You Need to Move a Washing Machine?
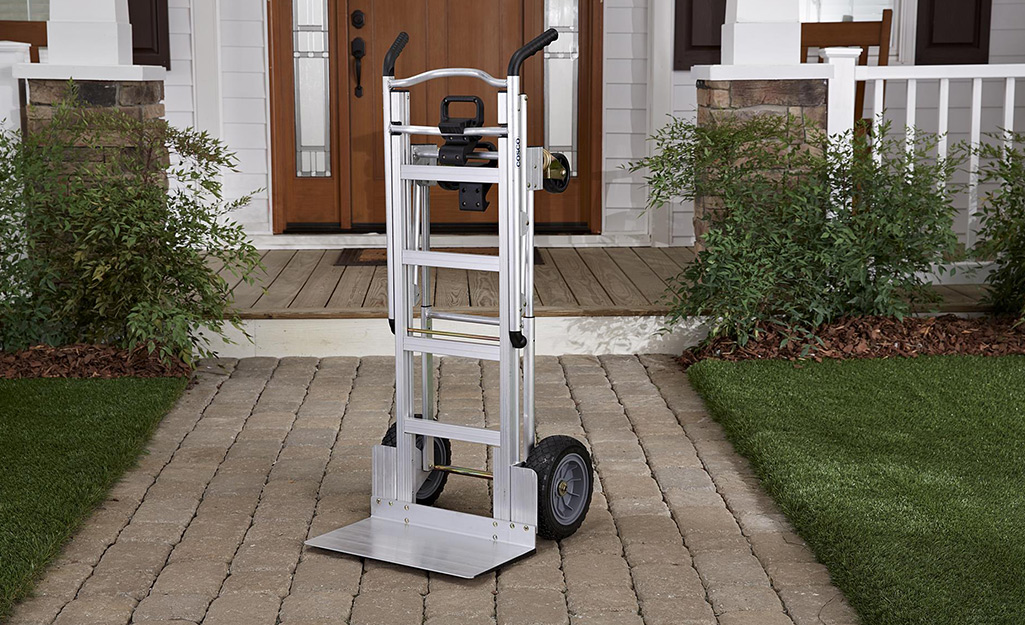
Before moving a washing machine, make sure you have shipping bolts or a foam core, an appliance dolly or hand truck, a wrench or slip-joint pliers, a bucket and some packing tape. Get some moving straps to make the job easier and moving blankets to protect the washing machine from damage. With the right moving supplies and correct tools, transferring a washer to a new place or a new room in your home is a relatively simple thing to do.
Clean Washer

Cleaning your washer’s drum and drain lines is a great way to make sure it arrives at your new place ready to go and odor free.
First, remove any clothes or household items from the washer. Toss in washing machine cleaner or laundry detergent and run your appliance on a normal, short cycle or use your machine’s cleaning cycle if it has one.
After the cycle is finished, leave the washer door ajar or the lid open for at least a day. This will make sure the appliance is completely dry and will prevent odors after you move.
Disconnect Power and Hoses
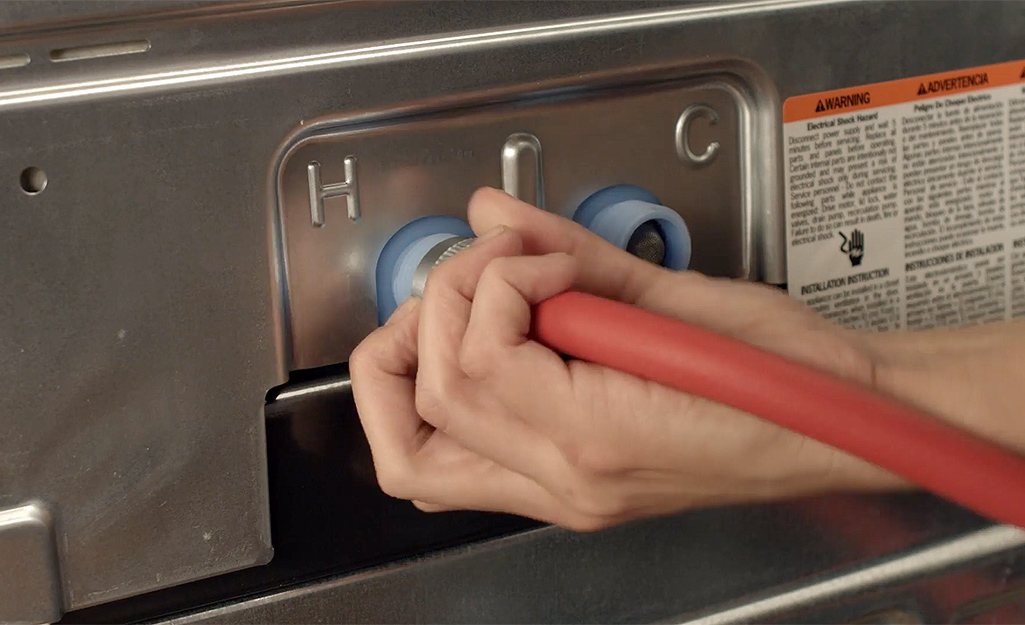
Start by turning off the power to your washing machine using your home’s breaker box. Once you are sure all power is off to your machine, unplug it. Using a twist tie or rope, bundle and secure your machine’s electrical cords. Use packing tape or duct tape to secure them to the side or back or your washer.
Next, turn off the water supply to your machine by shutting off the valves behind your washer. Locate the cold and hot water hoses coming from the wall into the back of the washer. Place a bucket underneath the hoses to catch any water that spills.
Use a wrench or slip-joint pliers to remove the water supply hoses one at a time, then drain any excess water into your bucket. Disconnect and empty the drain hose.
Tip: Review the appliance’s owner’s manual for instructions on disconnecting and reconnecting your washer’s power and water supply. If you've misplaced your owner’s manual, try looking up the make and model of your washer online.
Secure Washer Drum
A washing machine’s tub has a suspension system that allows the drum to move freely. This system prevents damage from vibrations when the drum spins or agitates.
Moving puts a great deal of wear and tear on a washer's suspension system. Preventing a washing machine’s drum from excessive motion during your move will protect the suspension from breaking.
You can do this by securing the drum with shipping bolts or transit bolts. These metal rods are inserted into special slots in the rear of the washer to secure the drum. Most washer brands come with shipping bolts or washer locks and you can usually get replacements online.
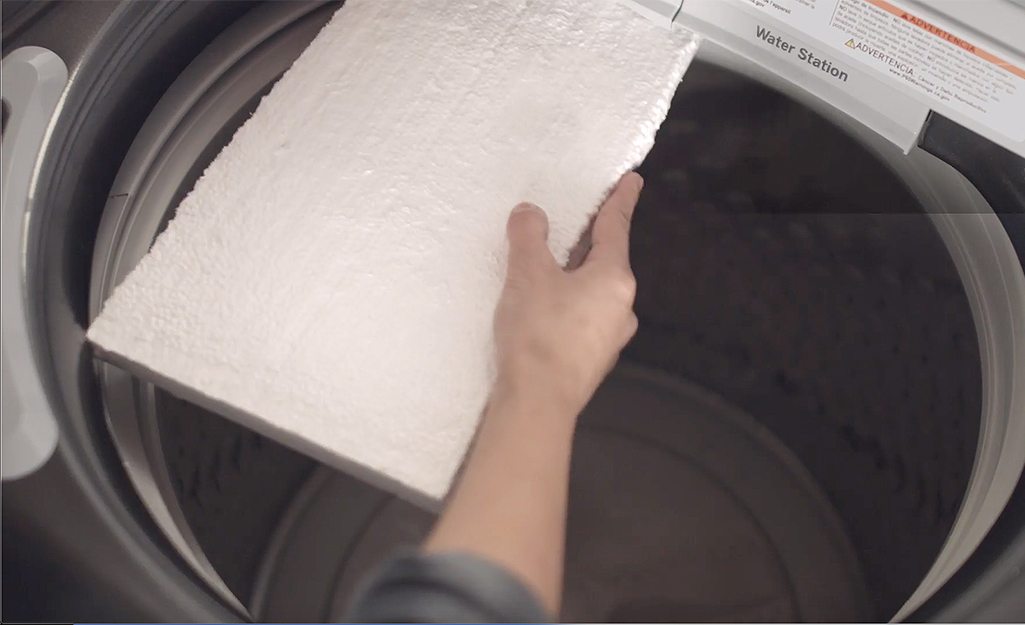
Tip: Reduce or eliminate vibration during a move by placing cardboard or foamboard snuggly around the drum.
Wrap & Load
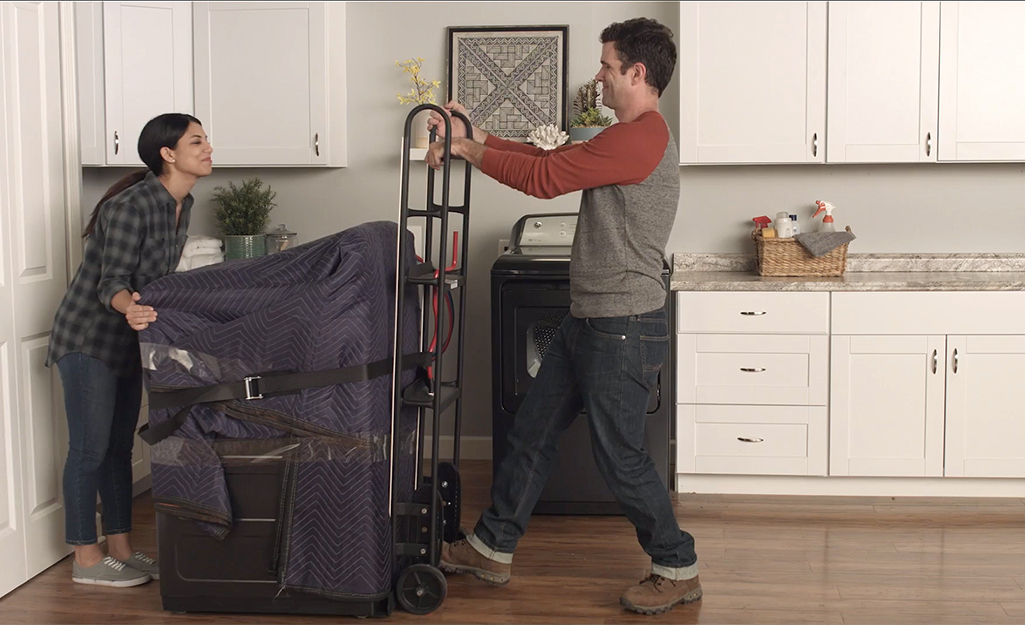
Wrap your washing machine in three to four moving blankets until it is completely covered and padded. Hold the blankets in place with a cord or packing tape.
Next, get your helper or helpers to carefully lift your machine onto a dolly. Secure the washer to the dolly with ropes. Keep the machine upright as you wheel it through and out of the house.
Use a ramp to load the washer into the truck or moving van. To prevent damage to the washer or injuries to helpers, make sure to have more than enough people holding the washing machine in place as it is rolled up the ramp.
Once the washer is loaded, tie it down with straps or ropes so it doesn’t shift during transit. When you arrive at your new place, reverse the process above to transport to and reconnect your washing machine safely in its new location.
Tip: One thing to keep in mind during your move is what type of prong outlet your new place will have. Most new appliances have a 4-prong cord by default. However, 3-prong plugs are usually used for homes built prior to 2000, while 4-prong plugs are used for homes built after 2000. If your home is equipped with a 3-prong outlet, you will need to purchase a 3-prong cord or connector adapter.
With the right help, proper preparation, tools and supplies, moving a washing machine can be one of the easiest parts of your next move. Get the equipment your move needs without the investment. The Home Depot has moving and lifting equipment rentals.


