How to Paint Exterior Windows

Last updated September 7, 2023
Putting a fresh coat of paint on your exterior windows is a simple way to boost your home's curb appeal. With the right tools and materials, you can complete the job yourself. This guide will take you through the process of stripping old paint and repainting exterior shutters and trim.
Difficulty:
Intermediate
Duration:
2-4 hours
Table of Contents
Select Trim Paint
Clean the Window Frame
Remove Old Paint
Apply New Putty
Paint the Lifted Sash
Paint the Remaining Sash
Select Trim Paint

When painting window frames, look for a quality exterior trim paint. This type of paint is specially made for outdoor trim along windows and doors. It sticks to common trim materials and can last a long time.
Here are some tips for choosing colors:
- Neutral colors give you an easy match. Black, white, tan, taupe and gray look nice with many paint colors.
- Go a little darker than the rest of your exterior paint. Window trim is often the darkest color on a home.
- Go with more than one color. Don't be afraid to use two or three trim colors. Simply set the rules for how you'll use the colors. For example, you might use lighter trim paint on the first floor and slightly darker on the second.
- Use The Home Depot ProjectColor App to get color inspiration and see how different types of paint look on your home.
Clean the Window Frame
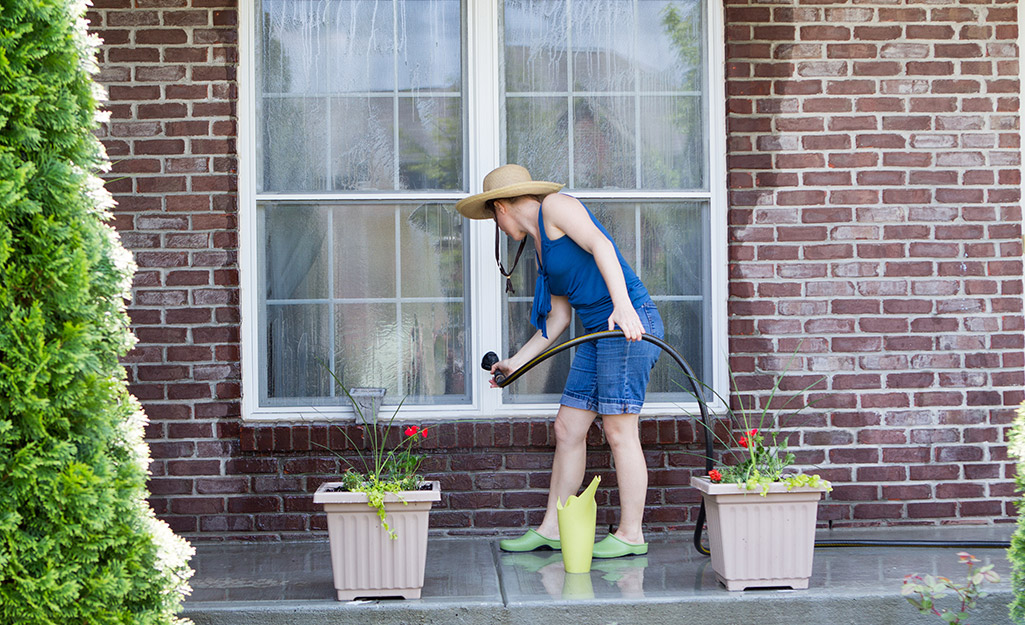
Start with clean windows. It will make new paint stick better and make taking off old paint easier. A simple way is with trisodium phosphate or TSP. TSP is a powder you mix into warm water in a cleaning bucket. It removes dirt, grease and glossy residue.
Prepare the TSP cleaner according to the package directions. Use a sponge to wipe down the window trim. Then, rinse with clean, warm water.
Safety Tip: Wear rubber gloves, a mask and goggles when working with TSP and removing old paint.
Remove Old Paint

Use a putty knife to remove loose paint and window putty from around the edge of the window. Putty is a substance used to secure the glass and keep the weather out.
- Push the scraper end of the putty knife under the paint and putty until it lifts, and then push gently. Take off as much paint and putty as you can.
- Switch to a wire-bristled brush and continue.
- Finally, sand the area with sandpaper using a block or power sander. Work until the window trim feels smooth.
Safety Tip: Practice lead paint safety. If the house or surface you're painting was built before 1978, see the EPA's renovation, repair and painting program for guidelines.
Apply New Putty
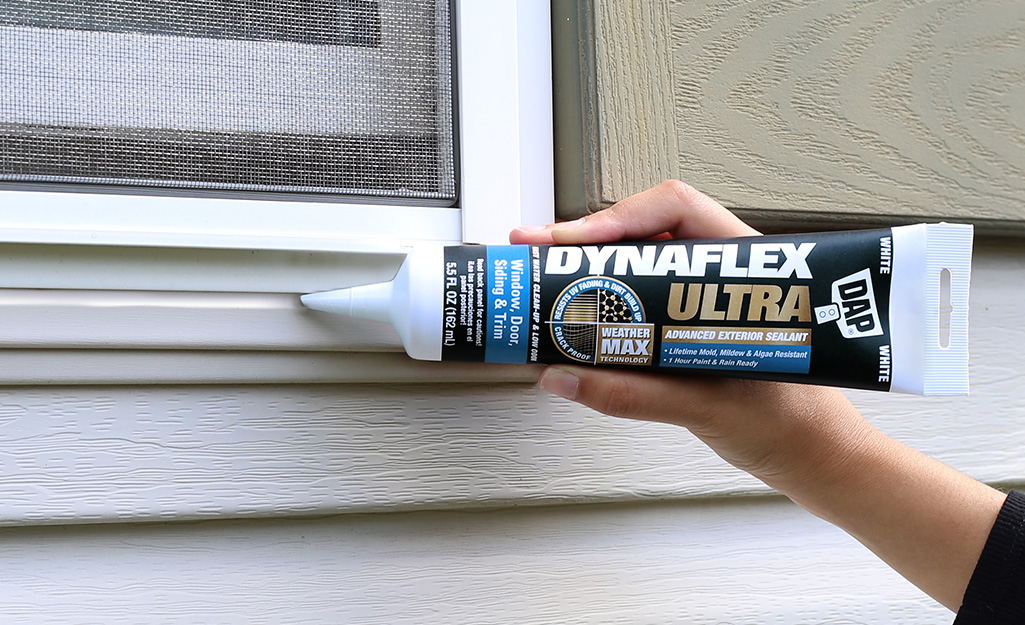
Reseal windows with fresh putty.
- While wearing gloves, use your fingers to roll the putty into a thin tube. Press the putty into bare spots.
- Pull a putty knife along the putty to make a flat, sloping surface.
- Slide a damp finger along the putty in the other direction to remove any flaws.
- Open the window and pull down until it's about three inches from the sill. The sill is the ledge or bottom of the window.
- Push the sash up until it's about three inches from the top of the window frame. The sash is the frame that holds the glass. A double-hung window has upper and lower sashes. For this step, move the lower sash.
Allow the putty to dry for as long as the manufacturer recommends.
Paint the Lifted Sash
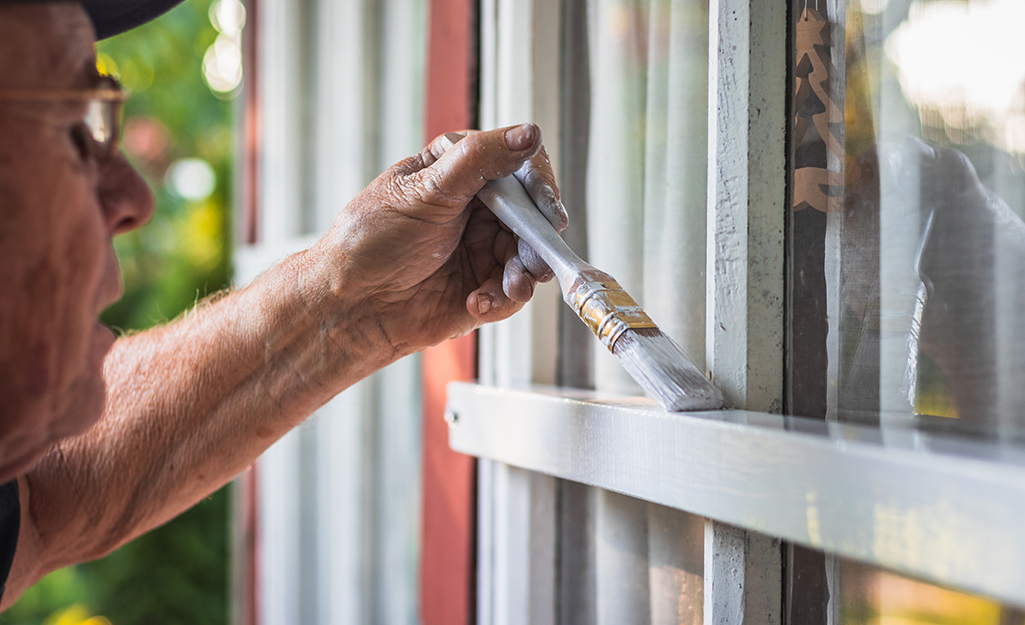
Once the putty dries, you can start painting.
- Sweep primer onto bare wood with a paint brush and let it dry completely. The primer will get the trim ready for paint and help the color stick. When priming, begin painting with a clean paint brush.
- Add a layer of exterior trim paint to the horizontal pieces of the sash and finish with the vertical ones. Following this order gives neater results. Any brushstrokes running across the grain become covered by strokes running with the grain.
- If your window frame has a grid, paint it first. Don't worry if you get paint on the glass. You can remove it later.
Paint the Remaining Sash
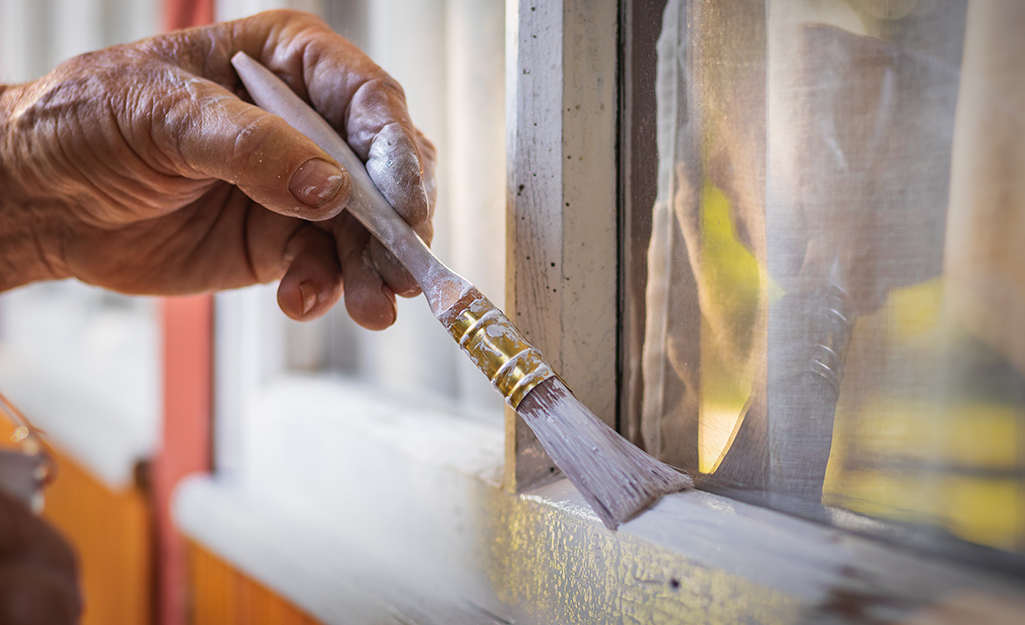
Return the sash to its normal position and paint anything you couldn't reach. Paint the grid, horizontal pieces and then vertical pieces with the paint brush.
After you’ve completed the entire sash, open the window so there is a 1-inch gap at the top and bottom. As the paint dries, move the sashes occasionally to prevent sticking.
Paint the Rest of the Window
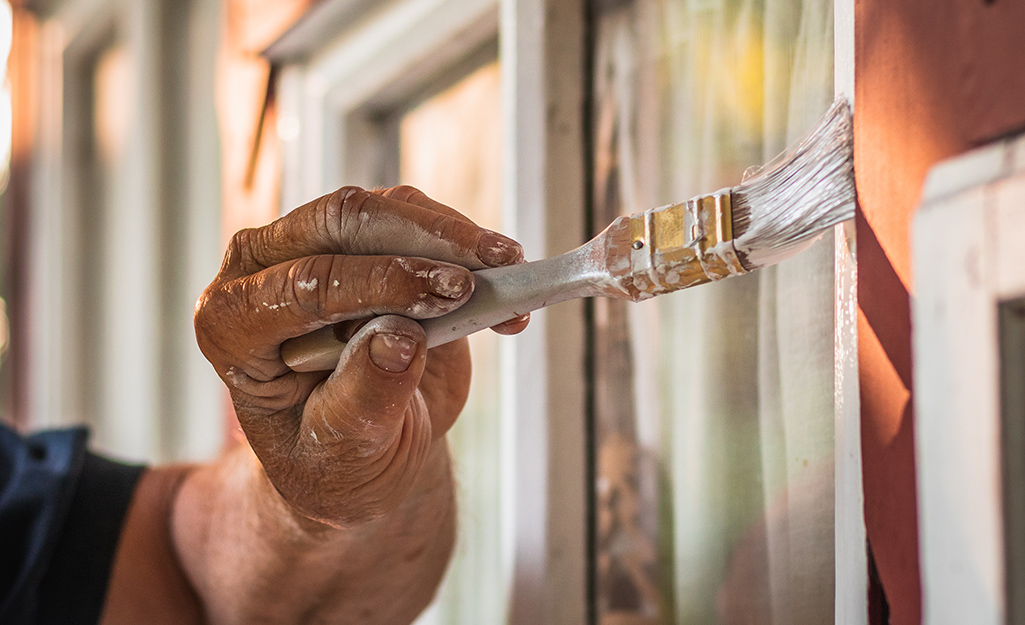
Once the sash is dry, turn to the stops and jambs. Stops are the latches that keep windows closed, and jambs are the vertical parts of the frame around the window.
- Apply a thin layer of paint. Avoid painting the tracks, the areas where the windows slide up and down. If paint builds up in them, the windows may get stuck. Take off any paint that gets into the tracks with a painter's rag and paint thinner. Wipe before the paint dries for best results.
- Place painter's tape between the window frame and the siding or other material on your house. Then, paint the rest of the window.
Clean Up
Let the paint dry completely. Oil-based paints usually take six to eight hours and take a second coat in 24 hours. Latex paints dry in about an hour and are ready for another coat in about four hours. However, follow the manufacturer's instructions.
- Once the paint dries, decide if you need another coat for full coverage.
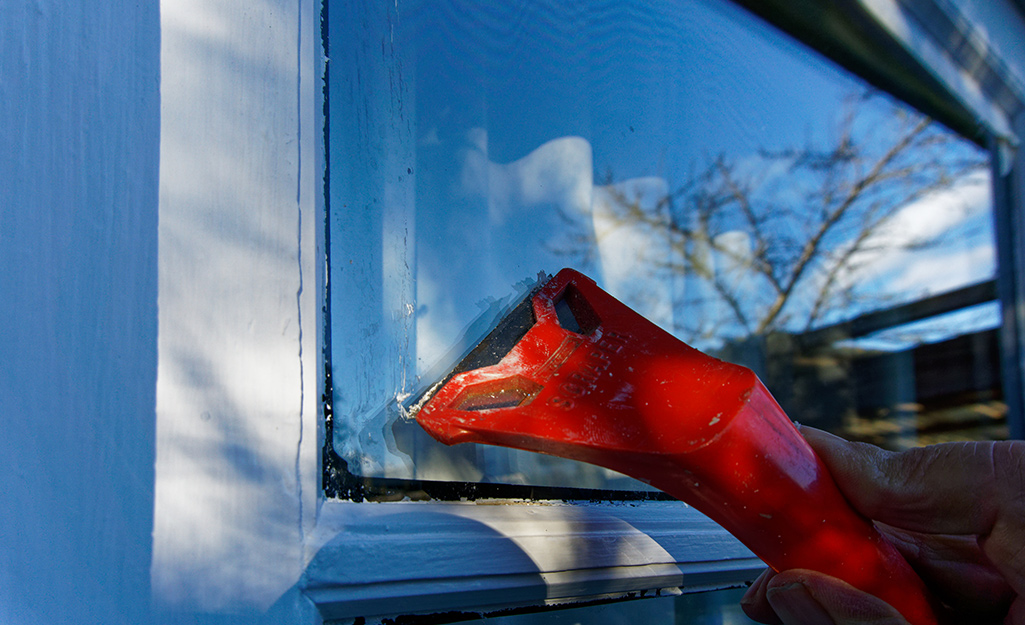
Slowly pull away any painter's tape. - Remove any paint on glass with a single-edged razor scraper tool.
Fresh window paint can reinvent your windows and change the look of your home. Painting the parts of the window in the correct order can give you professional results. Get the right paint,
tools and other materials you need for the job. Use the Home Depot Mobile App to locate products and check inventory. We’ll take you to the exact aisle and bay.


