How to Paint Kitchen Cabinets
Last updated September 7, 2023
When your kitchen needs a refresh, consider adding a new coat of paint. Painting kitchen cabinets is a cost-effective choice when the current ones are outdated but structurally sound. A fresh coat of paint can change the whole look of the room.
Read this guide to learn how to paint kitchen cabinets. Most cabinets can be refreshed with a primer and new paint. We’ll also cover choosing latex or hybrid paint for painting kitchen cabinets. You’ll learn how to handle the existing cabinet hardware or swap it out too.
Difficulty:
Beginner
Duration:
2-4 hours
Table of Contents
Consider Your Current Cabinets
Choose Your Paint Type
Remove Cabinet Hardware
Prepare the Area and Tape Off Interiors
Take Safety Precautions
Strip Paint from Cabinets (Optional)
Consider Your Current Cabinets

Before you start learning how to paint kitchen cabinets, find out what material they’re made of. Wood or wood veneer is easiest to paint. However, you can also paint metal or laminate cabinets.
Most cabinets are usually painted or stained. Test for an oil-based or water-based paint in a shadowed corner:
- If a cotton ball dipped in rubbing alcohol removes some paint, it's latex.
- If not, it's oil paint.
You can paint over latex, sand it or strip it down to start fresh. Oil paint must be stripped or repainted with another oil paint. If your current wooden cabinets are unfinished, you’re in luck. It’s easy to paint over bare wood. Paint over oil stain with latex after sanding and priming.
Safety Tip: If you’re living in an older home built before 1978, you’ll need to test for lead paint. The danger comes when sanding or stripping paint off vintage cabinets. The process can release breathable lead particles into the air. Use a lead test kit or contact a professional to test your cabinet paint before sanding or removing it.
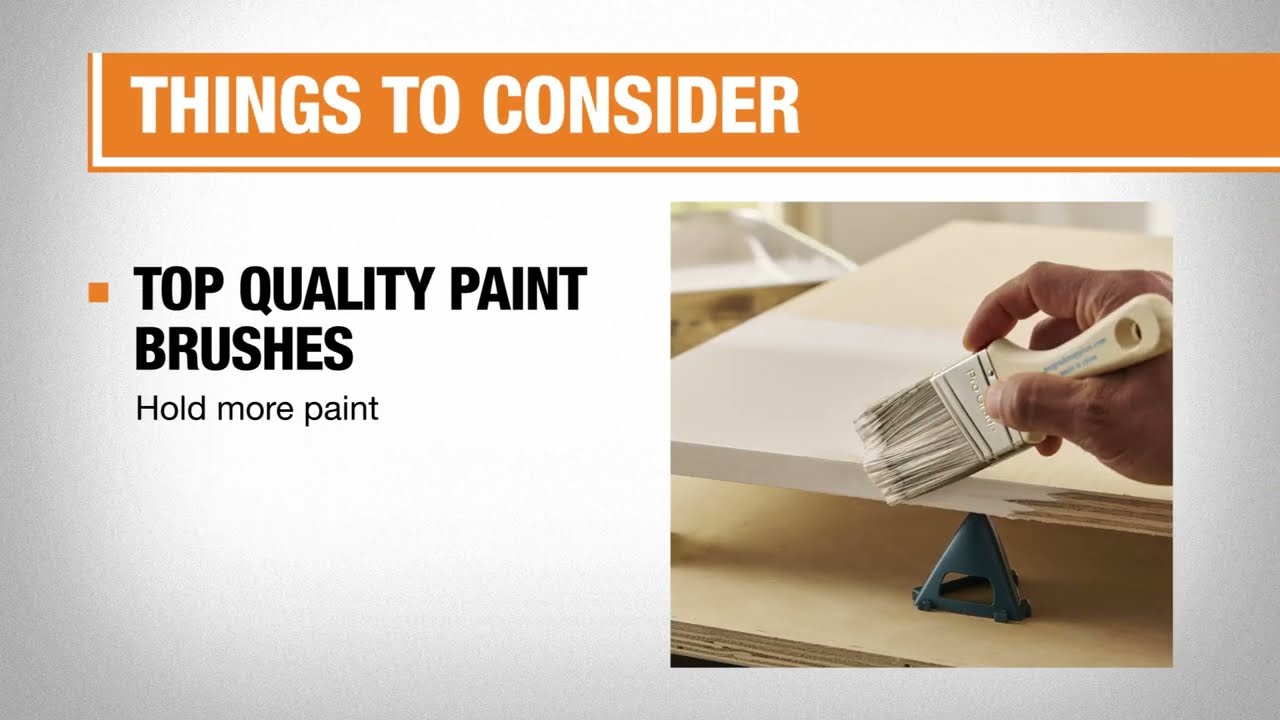
Choose Your Paint Type

The next step in how to paint kitchen cabinets is to choose a paint. Pick paint that matches the type of surface you’re painting. Find a rust-protecting metal paint for metal cabinets, a laminate paint for laminate ones and so on.
The standard sheen when painting kitchen cabinets is semi-gloss, eggshell or satin:
- Glossy paint highlights minor cosmetic defects.
- A flat paint can prove difficult to clean or even absorb stains.
- If semi-gloss is too shiny but you still want some luster, try an eggshell finish.
Common paint choices are latex, hybrid and oil paint. You’ll want a paint with decent stain resistance and coverage. New latex and hybrid paint blends get the job done just as well as oil-based paint.
- If you go with latex, choose acrylic and not vinyl. A semi-gloss latex or an eggshell latex offers good coverage and easy cleanup. Another choice is an enamel latex, which is more durable.
- A hybrid paint of acrylic-alkyd wears and looks like oil paint, but cleans up like water-based paint.
- Oil paints aren’t recommended, as they off-gas volatile organic compounds (VOCs). Cleanup is also more involved, as you need solvents.
For a custom finish, add a finishing glaze after painting. Choose from a rustic, modern, crackle or worn-in look. Read the directions on your glaze before choosing your paint. You’ll want to make sure your paint and glaze will work together.
Remove Cabinet Hardware

Before you remove the doors and drawers, map out your kitchen. This helps simplify the process when you’re re-installing the doors later. It’s also useful if you’re reusing the hinges and handles.
- Assign a number to each cabinet and its doors.
- Label it with painter’s tape. For example, the far left cabinet is 1, the next one is 2 and so on.
- Using a drill or screwdriver, unscrew the existing hardware from the doors and drawer fronts.
- If you’re using the hardware later, put it in a plastic bag or cup.
- Use one for each drawer or door if possible. Label the bags and containers with the cabinet numbers.
- Then seal them all up and set them aside.
Prepare the Area and Tape Off Interiors

Before you prep for paint, take everything out of the cabinets. Move the items to another room if possible. If there isn’t space, neatly stack the contents out of the way. Then cover it all with drop cloths or tarps to keep it clean.
Next, tape off the interior of the boxes to prevent paint overspill. It gives you a more professional look when you’re done painting:
- Outline the cabinet boxes with painter’s tape. Cover any edges where you don’t want paint.
- Line the cabinet bottom with newspaper. Tape it down if you’d like to be extra careful.
- Use your fingernails to press the painter’s tape firmly into corners and around edges.
Take Safety Precautions

As for the safety component, cover yourself and your surroundings. Make sure you have good ventilation if you’re using a strong cleaner or paint stripper:
- Put on rubber gloves, safety glasses and a safety mask while sanding and painting. The mask will protect you from inhaling dust.
- Wear a respirator when dealing with cleaner or chemical fumes from paints and primers. Even strong vinegar can give you a headache without good airflow.
- When wiping away grease, clean rags and swap them out regularly for best results.
- Place box fans near windows with the air flowing outward. You’ll need good ventilation when you get to work in a moment.
- Turn on overhead fans when stripping paint. Also run them after priming and painting to move out fumes.
Strip Paint from Cabinets (Optional)

If you’re painting over the existing paint, skip to the next step.
If you’re stripping paint from your kitchen cabinets, gear up and read on:
- Protect your hands, lungs and eyes when removing paint. You’ll be dealing with fumes and small paint chips.
- Open windows on either side of the room for cross-ventilation.
- Use the paint stripper that fits your paint type. Avoid using a caustic oil-based paint stripper, as it can harm the wood and must be neutralized after with vinegar. Some strippers work on water-based latex and oil-based paint. Check the label to make sure. Always follow instructions for usage and disposal.
- With either method, gently pry up paint with a paint scraper.
Remove Surface Grime from the Cabinets

Before you paint, thoroughly clean the cabinets. This helps the paint adhere correctly and ensures a more durable finish. Avoid skipping this cleaning step.
If you don’t degrease the surfaces, your paint will stick to the greasy dust instead of the cabinet itself. You’ll be left with a patchy and unprofessional paint job. It’s worth the time to clean the cabinets before you paint them:
- Clean most cabinets with a 50/50 blend of white vinegar and warm water. Mix it up in a spray bottle and spritz the surface. Let it sit a few minutes before wiping it off.
- Trisodium phosphate (TSP) is a common solution for cutting grease. Use one part TSP to four parts water, or follow the directions on the package.
- Try a few drops of dish soap in warm water for a gentler clean. Apply the soapy water with a nylon or non-steel sponge.
- If the cabinets are covered in greasy grime, use a degreasing cleaner.
- Clean metal cabinets with mineral spirits per the manufacturer’s instructions.
No matter how you cleaned the cabinets, rinse them with fresh water afterward. Afterward, wipe the cabinets down with a rag. This removes any residue and dries the surface.
Patch Holes and Sand the Cabinets

If you’re reusing your cabinet hardware, you may not have anything to patch. If you’re not using the same hinges, handles or cabinet knobs, patch the holes. Any dings and imperfections can also be filled now:
- Fill holes or dents with wood filler. Use epoxy wood filler if the old holes and new holes will be close together. It’s less likely to chip out.
- Let it dry per the manufacturer’s instructions.
The next step is to rough up the surface. Your surface needs just enough tooth for the primer and paint to stick properly:
- Wait until your doors, drawers and cabinet box fronts are clean and dry.
- Use an orbital sander to sand them with a fine grit paper. If you don’t have one, you can rent one or use a sanding sponge.
- Clean up fine particles with a rag, compressed air, or a wet and dry vacuum, often called a shop vac. Get into all the nooks and crannies.
- Remove the sawdust and debris with a tack cloth. Make sure the surface is completely clean and dust-free.
Create a Paint Station

For the doors, set up a painting station. Find a place with ventilation, light and room to work. You’ll want a layout where you can easily paint edges and air can circulate underneath.
Choose the option that works best for you:
- Place narrow wood scraps on the work surface to elevate the doors.
- Take several buckets that are the same size. Lay boards across them.
- Put boards across two sawhorses.
Place fans near the windows to blow out any fumes. Cross-ventilation will help keep the paint fumes from gathering.
Prime the Doors and Cabinets

Now you’re ready to start priming. Start with the cabinet boxes:
- Using a brush, paint the interior edges first.
- Roll primer on the sides of the cabinet boxes.
- Next, prime the box fronts.
Now prime the doors:
- Start with the interiors, allowing them to fully dry.
- Once they’re dry, carefully flip over each door.
- Prime the fronts of the cabinet doors. Get primer into all the indents and divots.
If you’re painting your kitchen cabinets a bold or much darker color, tint the primer. Get it tinted when you’re buying your primer and paint. Oil-based primer gives the best coverage, but it's being phased out for more environmentally friendly primers. Use fans, open windows and wear a respirator when priming. Also, keep in mind that oil-based primer gives off more harmful VOCs than water-based products.
Now that you've got some primer applied, sand and reassess:
- Let the first coat of primer dry.
- Lightly sand all surfaces with a fine grit sanding block.
- Wipe the dust off with a tack cloth.
- Add a second coat of primer if you need it.
Paint the Kitchen Cabinets

You’ll need multiple coats of paint for the best finish. Be patient and let each light coat of paint dry fully. If you’re in a humid or hot environment, dry times could take longer.
When the primer has fully dried, you’re ready to paint:
- Brush or roll on your first coat of paint.
- Wait for it to dry completely.
- Lightly sand with a very fine sandpaper. This removes brushstrokes and tiny bumps.
- Wipe all surfaces with a tack cloth to remove dust.
- Apply another coat of paint with a roller or brush. Let it dry.
- Repeat the sanding, wiping and painting steps until you have full paint coverage.
If you’re adding a special finish, such as a crackle or textured coat, consult the paint can:
- Some finishes may be applied to damp paint.
- Others may need it to be perfectly dry.
- Follow the directions for best results.
Reinstall Doors and Hardware

With your paint job complete, you’ll want your hardware to match. Put the cabinets back together when everything is dry to the touch. Choose the method that matches your decor.
To reinstall the existing cabinet hardware:
- Clean or polish the hardware before attaching.
- Use the cabinet hinges to attach the doors.
- Screw on the knobs and drawer pulls. Put them on the same cabinets they were on before.
If you’re adding new hardware to match your paint:
- For cabinets with a worn appearance, distress the hardware. Rough sandpaper or a metal file can make them look aged.
- Scuffing or painting the handles gives a specific look.
- You can also just polish your new hinges and drawer pulls.
- When your hardware looks how you want it, install it.
- Measure, check and mark hardware placement. Drill your pilot holes.
- Add the hinges and reinstall the doors.
- Attach the hardware using a drill or screwdriver.
Now that you know how to paint kitchen cabinets, it’s time to get started. Whether you’re choosing paint or new hardware, we’ve got you covered. Painting kitchen cabinets yourself can change the look of the entire room and save you a lot of money. The Home Depot deliver online orders where and when you need them.