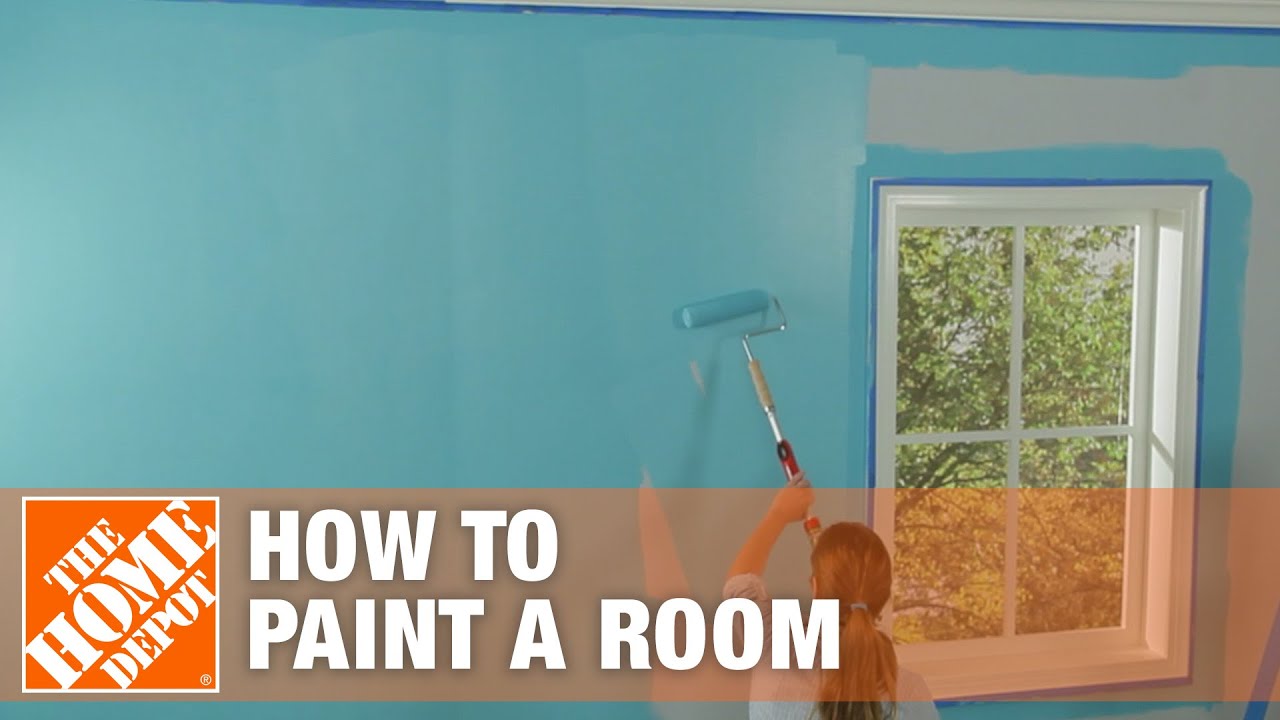
How to Prepare a Room for Paint
Last updated September 7, 2023
Painting a room requires more than just opening a can of your favorite color and grabbing a brush. Knowing how to prep a room for painting before you start will make your project go smoother. Then,
you’ll be happier with the end result.
Difficulty:
Beginner
Duration:
2-4 hours
Table of Contents
Clear the Room
How to Clean Walls Before Painting
How to Prep Walls for Painting
Prepare Baseboard and Trim
Tape Off the Room
Clear the Room

Tripping over furniture will lead to frustration and can potentially cause damage and accidents. Before you start, it’s important to make the space safe and give yourself plenty of room to work.
- Remove all small furniture and rugs from the room.
- Place furniture sliders underneath the legs or base of large items. This will make it easier to move the furniture around the room and away from the area you are painting.
- Remove all wall decor, switch plates, vents and electrical outlet covers.
- Place hardware in individual plastic sandwich bags and label them.
- Place all the bags of hardware in one spot outside of the room.
- Cover any large pieces of furniture with drop cloths.
- Spread out dropcloths to completely cover any exposed flooring areas.
How to Clean Walls Before Painting

Dirt and dust can accumulate on walls in a fine layer. Not cleaning them before painting will make the final paint job look unattractive. Take the time to thoroughly clean the walls before you get started.
- Using the duster, thoroughly clean the walls to remove any dust or cobwebs. Start in the upper corners of the wall near the ceiling and brush downward.
- Run the duster along all baseboards in the room or use rags and cloths.
- If painting in a kitchen, some dust may have mixed with oils, making it harder to remove. It may be necessary to use TSP, trisodium phosphate, to clean the walls. TSP is a degreaser. It comes in a powder form that you mix with warm water. Use it to wipe down your walls before painting.
- Stubborn spots might need to be scrubbed by hand with a painter’s rag.
- Once you're done cleaning the walls, be sure to vacuum or sweep the floors to pick up any dust.
How to Prep Walls for Painting

Dings and dents on the wall’s surface will stand out like a sore thumb on a freshly painted wall. Fortunately, patching small holes is easy and won’t take up too much of your time.
- Locate any holes or cracks in the wall surface.
- Use the putty knife to pack spackle into the cracks and breaks in the wall. Let the layer dry a few minutes. You may still have a small indent.
- Repeat twice more until you have built up the layers of repair compound. The repair needs to be flush with the surrounding wall when it has dried.
- When the last layer of spackle is dry, use the sanding sponge to smooth out the repair so that it is blended with the surrounding wall.
- For any hole larger than a fingertip, you will need to use a drywall repair kit. Follow all manufacturer’s instructions in applying the adhesive patch. Then, apply spackle as instructed and allow layers to dry. Sand to smooth.
Prepare Baseboard and Trim

Trim, baseboards and mouldings add architectural interest to your room. Make these features stand out even more with a fresh coat of paint. Prepping the wood surface before painting means setting nailheads below the surface, filling and sanding holes, cleaning and repairing or replacing damaged wood.
- Inspect the condition of the trim. If there are areas with excessive damage, you may consider replacing it.
- If you do replace the trim, countersink any nail heads, then fill the holes with wood filler. Once the filler dries, sand it down so it’s even with the surface of the trim.
- If you choose to remove the paint from the baseboard first, make sure the old paint does not contain lead. If your home was painted before the late 1970s, there is a chance you may have lead in the original paint. If you are concerned about the potential of lead, contact a professional to stabilize or remove these materials.
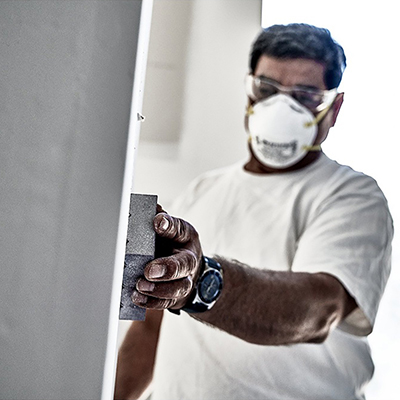
- If removing paint from the trim, cover your floors and other surfaces with a drop cloth first. Then, follow the manufacturer’s instructions for using the paint stripper. Be sure to wear a respirator and work in a well-ventilated room.
- Fortunately, you can easily paint over latex paints. Lightly sand the trim first. If your trim has a previous coat of semi-gloss or high gloss latex paint, sanding will help the new coat of paint adhere better.
- Vacuum and wipe down the trim to remove excess dust from sanding.
- Caulk the spaces between the baseboard and the floor or the wall. This seals gaps and develops a smoother transition between surfaces, which improves the look of the room once painted.
Tape Off the Room

Taping off the room may seem like a tedious task, but it will save you time and headaches in the long run. Also, taping off a room prior to painting will make your paint edges cleaner, resulting in a more polished look.
- Apply painter’s tape in foot-long strips. This will keep the tape from stretching and allows it to protect the surface better.
- Overlap each strip by a few inches to prevent paint bleed.
- Apply tape over trim areas at the floor and ceiling, frames around windows and doors. Electrical boxes, door handles and other fixtures will also need to be taped.
- Apply tape flush with the painting surface, but be sure not to mask the surface itself.
- Use a putty knife to press down on the tape as you apply it so that it seals to the surface. This prevents the paint from seeping under the tape.
- Be sure to cover switches and outlets with tape after removing covers to keep them clean and dry.
- If you are painting multiple surfaces or using several colors, you must give the paint enough time to fully cure. Proper curing time takes two to three days. Then, it's safe to tape to the surface again.
Putting in the time and effort to properly prepare a room before you paint will make the job easier and faster. Shop The Home Depot online for all your paint supplies. We deliver
online orders
when and where you need them.