How to Press Flowers

Last updated September 7, 2023
Learn how to press flowers so you can decorate cards and invitations, frame them for hanging or make flower art crafts like bookmarks, suncatchers and hand-poured candles. For an easy display, slip pressed or dried flowers under a glass-topped desk or side table.
This guide will teach you how to press flowers or dry them.
Difficulty:
Beginner
Duration:
Under 2 hours
Table of Contents
How to Prepare Flowers for Pressing
How to Press Flowers in a Book
Protect the Book
What to Do With Pressed Flowers
How to Make a Wooden Flower Press
Cut Cardboard and Paper for the Press
How to Prepare Flowers for Pressing
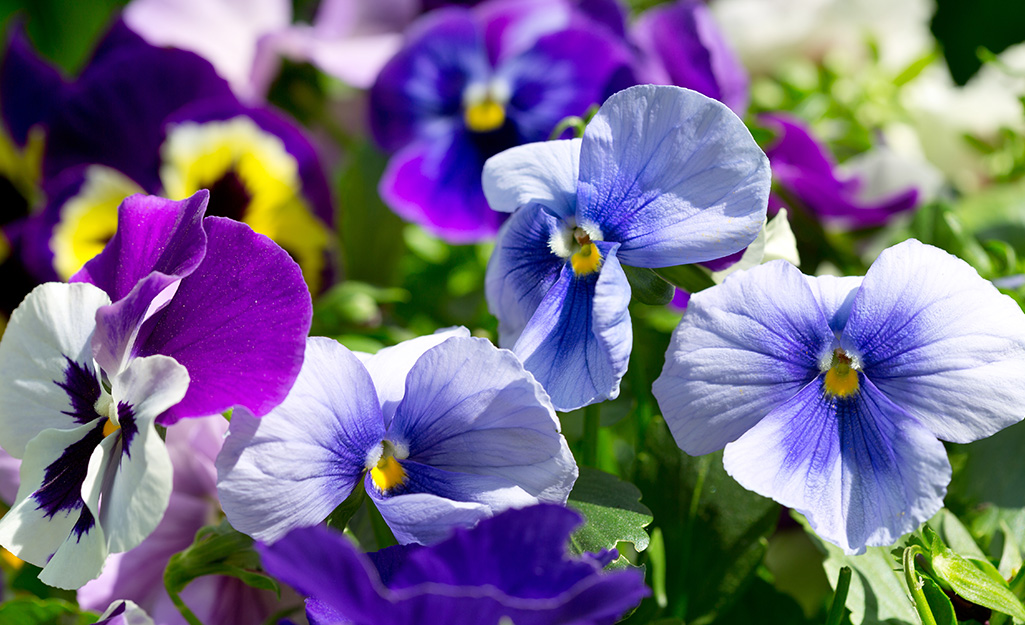
Start with fresh, unblemished blooms from annuals, perennials and other plants. The flowers will fade when they’re pressed, so choose them when they are the most colorful. You can also press flattened foliage and some ornamental grasses and herbs.
Use your flowers soon after you collect them, before they start to turn brown.
To avoid mold, wait until any rain or dew has dried before you pick the flowers. Midmorning is a good time to gather flowers, before they wilt in the heat of the day.
If you want to press buds, choose flattened buds or cut rounded buds in half.
Remove the leaves from the flowers and buds, if desired.
You can press them, too, but it's usually easier to first remove them.
Think about how you want to arrange the flowers and foliage so you avoid handling them too much, which might bruise them.
How to Press Flowers in a Book
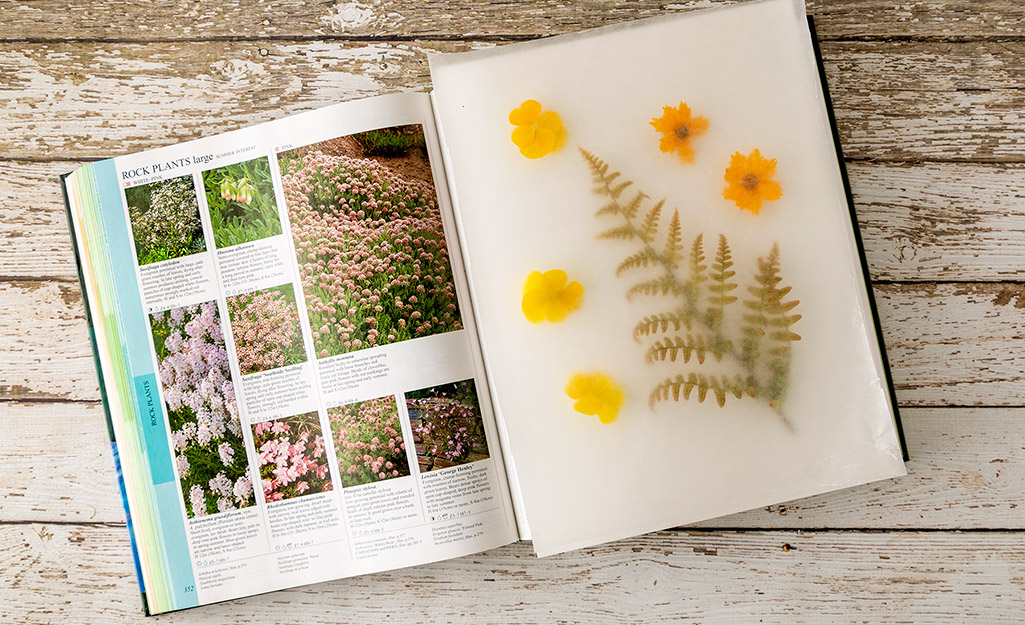
Pressing flowers in a flower press or a book is a better method to use if you plan to use the dried flowers for more than just decorating. Once the moisture is gone, the pressed flowers are ready to make into bookmarks, cards or add to photo albums or picture frames.
Protect the Book
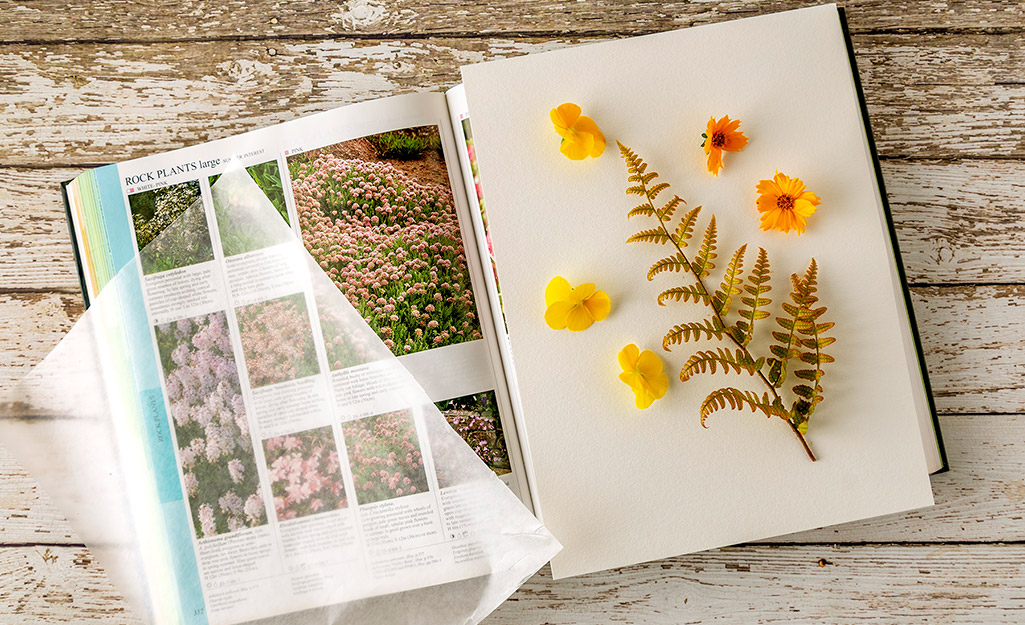
To get started with pressing flowers in a book, open a heavy book midway. Line the page with a piece of watercolor paper or card stock. Arrange the flowers so that they lay flat, but don't overlap them. Place a piece of parchment paper or wax paper on top of the flowers. Close the book and wait for up to 30 days.
What to Do With Pressed Flowers
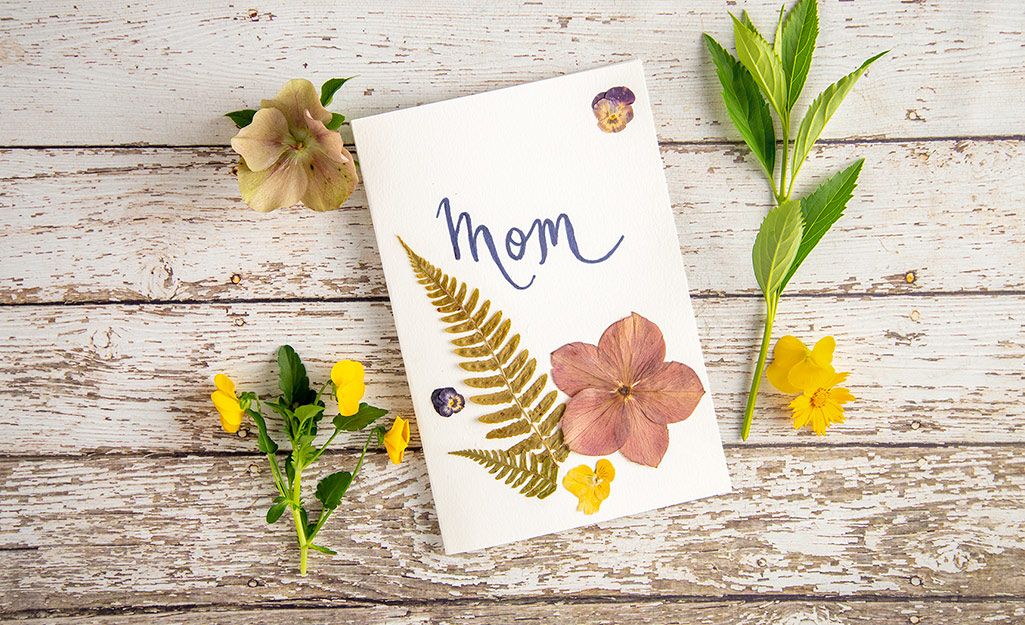
A great way to use pressed flowers is to decoupage them on to a card for Mother's Day, birthdays or anniversaries. Make the card extra special by using the recipient's favorite flower on the card.
How to Make a Wooden Flower Press
It’s easier than you might think to make a wooden flower press.
First, use a circular saw to cut two pieces of wood 3/4-inch to 1-inch thick. Make the boards any size you want, such as 8- x 10-inches or 12- x 12-inches.
Measure an inch diagonally from the corners of both boards and mark the spot. The marks will help you drill evenly spaced holes.
To ensure your drill holes will line up, stack the boards together. Put them over a piece of scrap wood for a drill stop.
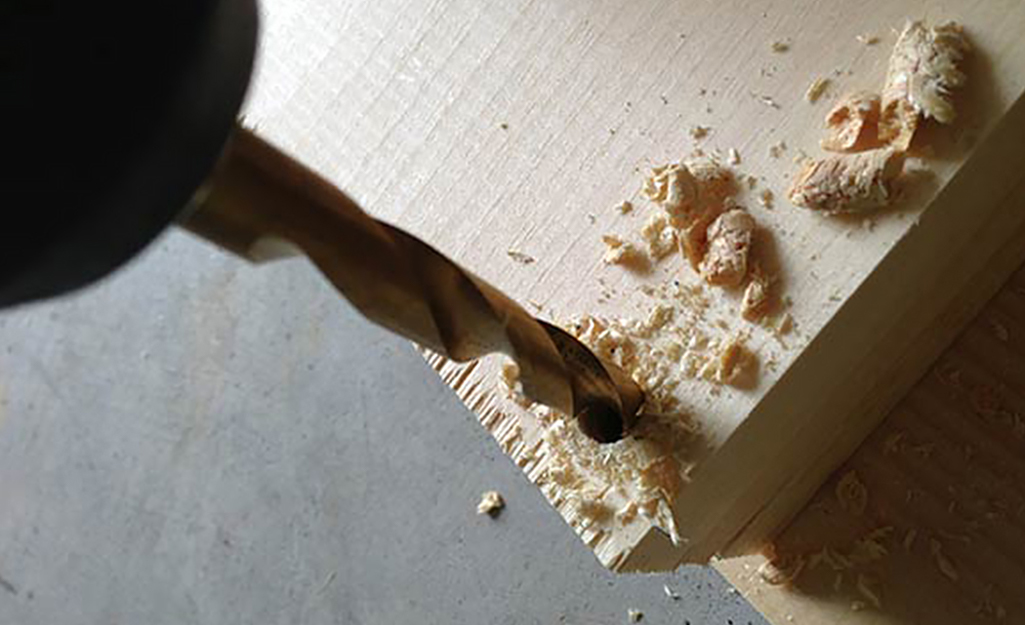
Drill holes in the corners of both boards so you can insert four 1/4- x 4-inch carriage bolts. Use a drill bit slightly larger than the bolts.
Use sandpaper or a sander to smooth the rough edges of the boards and holes. If you want to paint or stain the boards, do so now and let them dry thoroughly before you use the press.
If desired, decorate the board for the front of the press with a design or glue on pictures of flowers and leaves.
Cut Cardboard and Paper for the Press
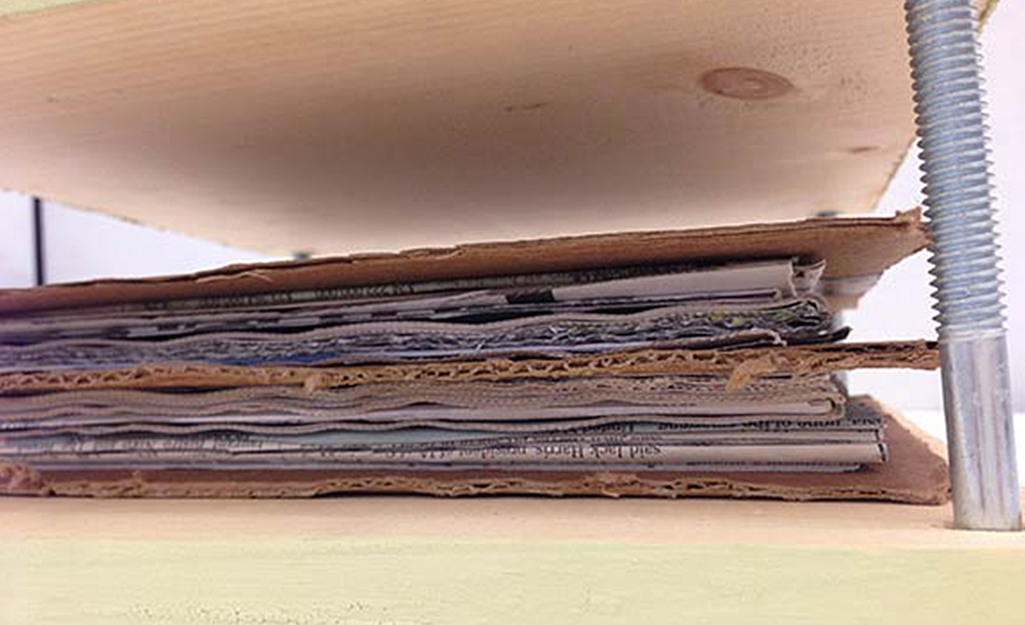
Now you'll need some scrap cardboard and absorbent paper, such as parchment. You'll use them to layer the flowers in the press.
Cut the cardboard and parchment paper slightly smaller than the boards. Substitute tissue paper, blotting paper, newsprint or smooth coffee filters for the parchment, if desired. These kinds of papers will absorb moisture from the plant parts. Don’t use textured paper or paper towels, which will leave marks on the blooms or leaves.
Snip off the corners of the cardboard and paper as needed so they don't cover up the holes on the boards.
Put the Press Together
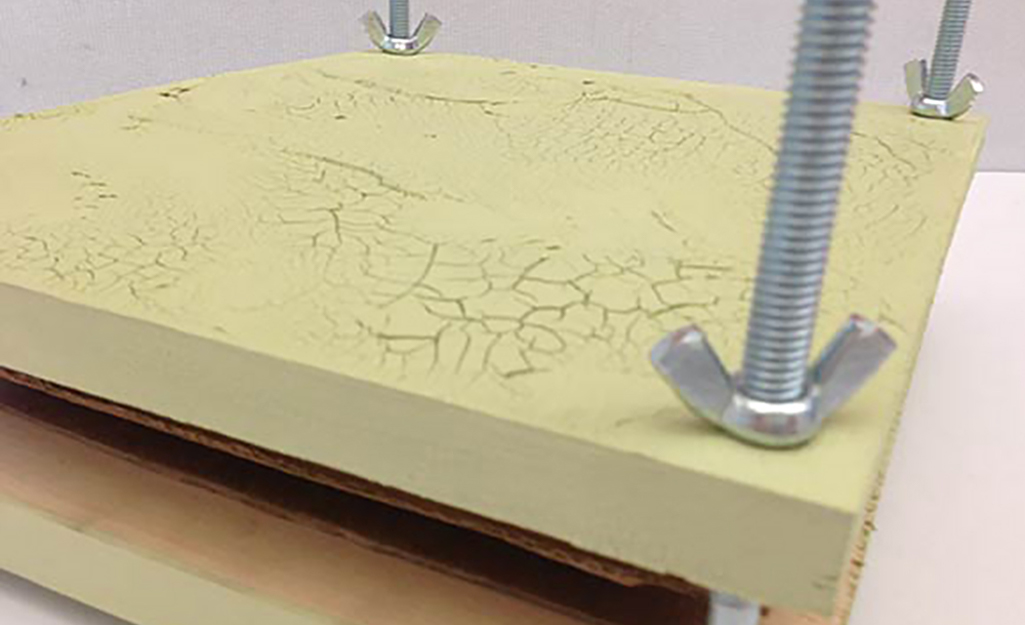
Put the carriage bolts on a table or other work surface so the heads face down and slide the holes of one board over the bolts. Then, put one piece of cardboard and two pieces of absorbent paper on top of the board. Place the flowers and foliage on the absorbent paper.
If you're only pressing one layer, top the flowers with two more pieces of absorbent paper and another piece of cardboard. Slide the other board over the bolts, add a washer and wing nut to each bolt and screw them down evenly.
If you're pressing multiple layers, continue layering two pieces of absorbent paper, the flowers, two more pieces of absorbent paper and one piece of cardboard. When you've made as many layers as you want, finish with a piece of cardboard on top. As with pressing a single layer, slide the other board over the bolts. Add a washer and a wing nut to each bolt and screw the wing nuts down evenly.
Let the Flowers Dry
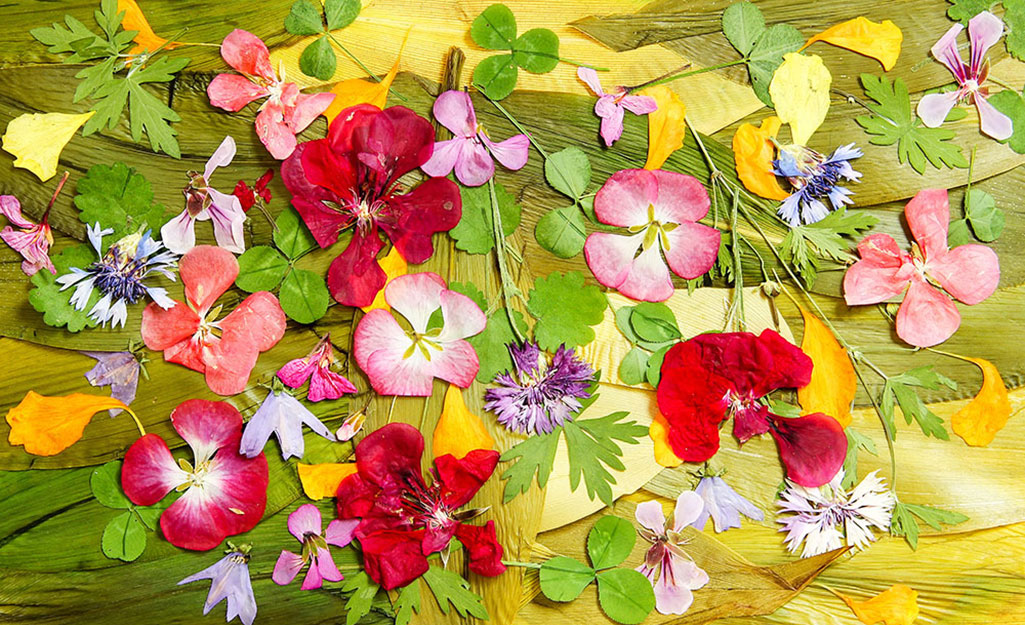
Let the flowers stay in the press for three or four weeks.
Drying times will vary depending on the moisture content of the flowers and the surrounding temperature and humidity. If you open the press to check on them or add more flowers and foliage, be careful not to disturb your design.
Handle your pressed flowers carefully when you remove them. Dried flowers are fragile, so store them in a craft box or use them right away.
If you use glue for a DIY craft, use a product that will dry clear. Glues and varnishes that eventually turn yellow
will spoil your flower art.
Best Flowers and Foliage to Use in a Wood Flower Press
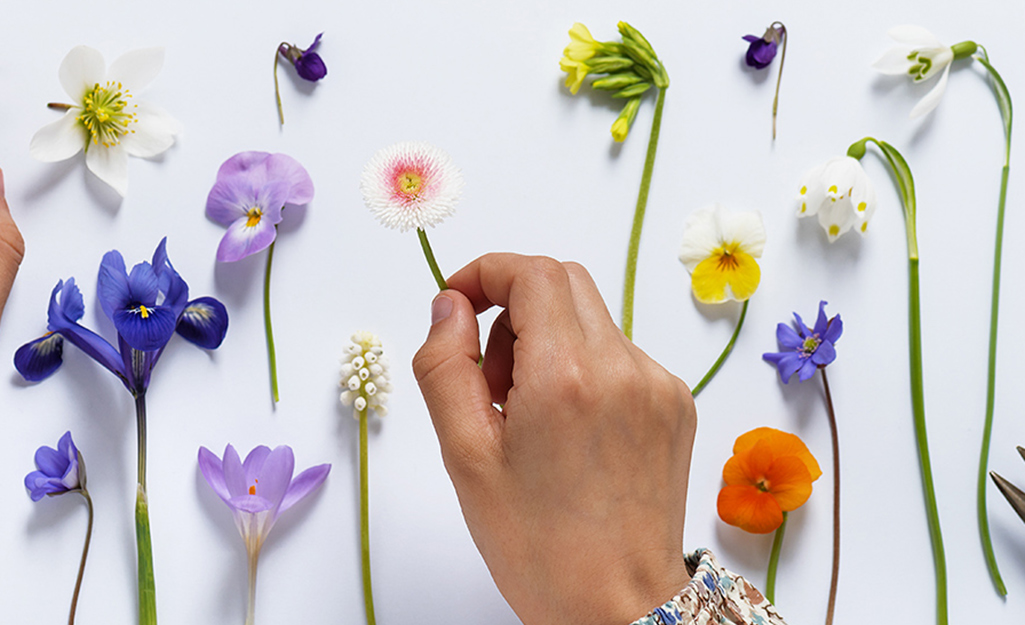
Choose flattened leaves and flowers like the ones below, or blooms with a single layer of petals.
- Violets
- Pansies
- Single-petal shrub roses
- Ferns
- Single daisies
- Cosmos
- Larkspur
- Small herbs
- California poppies
- Queen Anne's lace or other wildflowers with flattened blooms
How to Air-Dry Flowers
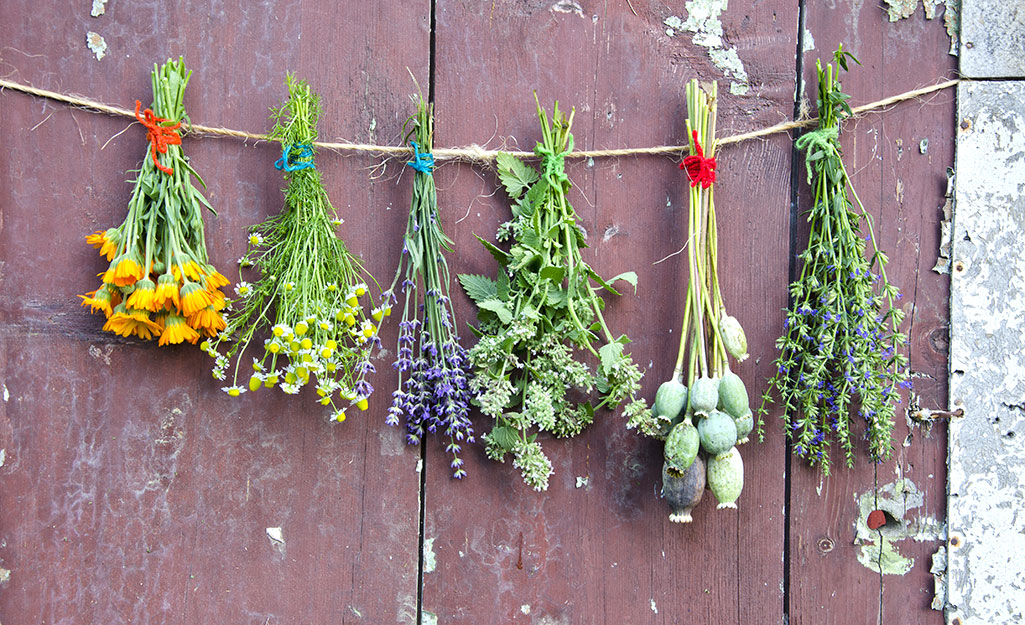
The traditional way to dry flowers is by hanging them upside down in the open air. Simply gather flowers into a bundle and secure the stems with a rubber band or twist tie. Hang the bundle upside-down in a well-ventilated area out of direct sunlight. Within a few weeks, the flower petals will have shrunk and turned a beautiful vintage color. Arrange them in a vase and enjoy them for up to a year.
How to Dry Flowers in an Oven
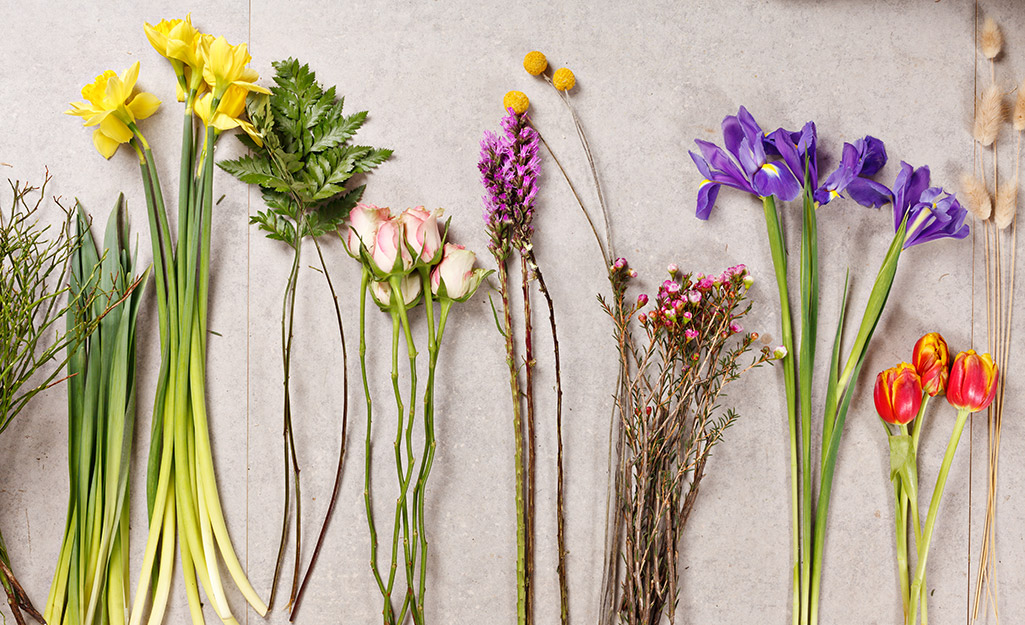
To dry flowers quickly, use an oven. Preheat the oven to 100 degrees Fahrenheit and leave the door slightly ajar so moisture can escape. Place the flowers on a cookie sheet, put it in the oven and turn the flowers every 15 minutes, being careful not to get burned. Gently remove the flowers when they're crisp and brittle and use them as desired when they are cool.
How to Dry Flowers in Sand
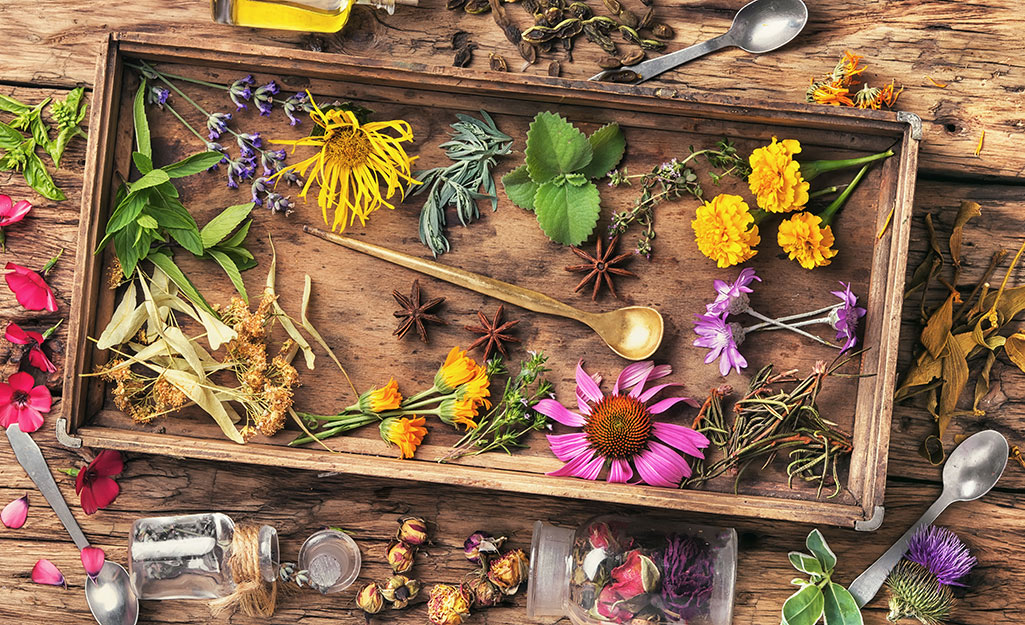
Place the flowers in an open container such as a cardboard box. Pour one or two inches of sandbox sand into the container or enough to cover the flowers and stems. Store the container in a warm, dry place and wait two to three weeks before removing the flowers to use them.
Use a small paintbrush to gently dust off any sand that clings to them.
How to Dry Flowers in a Microwave

Drying flowers in a microwave takes only minutes. Once you've picked your flowers, place them in a medium-sized microwavable bowl and cover them with four cups of cat litter. Microwave on high for two to three minutes. Remove the flowers when the cat litter has cooled and gently brush off the excess.
Press flowers in a book or wooden press, air-dry them or dry them in an oven, microwave or box of sand. You'll have beautiful keepsakes to use for arts and crafts or for preserving in picture frames. Remember to collect your flowers, herbs, leaves and grasses while they're fresh and colorful, after any rain or dew has dried, but before the heat of the day sets in. After drying them, handle them gently to avoid breaking them. Your preserved flowers and foliage will last a long time if kept out of direct light.
Looking for a product to complete your project? We have options to deliver online orders when and where you need them.
