How to Reface Your Kitchen Cabinets

Last updated September 7, 2023
A kitchen cabinet reface is a budget-friendly way to change your space without a full kitchen remodel.
Cabinet refacing replaces the veneer on the visible surfaces of the cabinet. It leaves the structure of the cabinet as is. Most people also upgrade their doors, drawer fronts and hardware at the same time. Use this guide to learn how to reface your kitchen cabinets yourself by applying a wood veneer.
Difficulty:
Intermediate
Duration:
Over 1 day
Table of Contents
Before You Start
Select & Order Materials
Prepare Cabinets
Make Plywood Panels
Cut & Apply Veneer
Finish Doors & Drawers
Before You Start

A successful cabinet refacing project always starts with planning. Think about the budget.
Examine your existing cabinets carefully to determine if they are in good shape. Make sure your current cabinets have:
- A plywood or medium density fiberboard (MDF) construction.
- Smooth surfaces that are in good condition.
- Internal hardware that is in good condition — drawer tracks, shelves, internal storage structures.
- Solid wood facing frames.
If your cabinets don’t have the above standards, they probably won’t hold up to refacing. Consider getting replacement cabinet doors instead.
Select & Order Materials

Once you determine your kitchen cabinets can be refaced, it’s time to select and order materials.
Kitchen cabinet refacing is a two-part process. First, cabinet frames are strengthened with 1/4-inch plywood. Then, you can select from one of two options:
- A maintenance-free laminate is overlayed on the plywood. A common option is Thermofoil. Seamless and durable, Thermofoil is fiberboard permanently fused with a vinyl-like material. There are three types of overlay application: standard, full and frameless.
- A wood veneer in a natural to dark tone is applied over the plywood. This veneer can be painted, stained or glazed. In this guide, the kitchen cabinets will be refaced with wood veneer.
Prepare Cabinets

Remove all the contents of your drawers and cabinets. This is a good time to get rid of any clutter.
- Remove all cabinet doors, drawers and drawer fronts.
- Remove all the hardware from the cabinets and
drawer pulls
from the drawers. - Clean the sides and faces of the cabinets and drawers. Wear gloves and use a solution formulated to remove grease and oils. Allow time to dry thoroughly.
- Lightly sand all the exposed surfaces with a medium-grit sandpaper.
- Wipe down all surfaces with a tack cloth.
Make Plywood Panels

- Measure plywood panels to fit the exposed ends of the cabinets.
- Cut the 1/4-inch plywood pieces.
- Apply carpenter glue and affix the plywood panels to the cabinets.
- Press in place. Secure with 1-inch finish nails.
- Fill in any holes with wood filler.
- Allow time to completely dry.
- Lightly sand for a smooth, uniform surface.
Cut & Apply Veneer

- Measure all the rails and stiles. Rails are the horizontal faces of the cabinets. Stiles are the vertical pieces.
- Record the measurements. Mark where the veneer pieces will go.
Cut veneer:
- Use a utility knife and ruler or straight edge to cut the veneer into strips.
- Cut with the wood grain or pattern running lengthwise.
- Cut each strip 1/2-inch wider and 2 inches longer than the corresponding rail or stile.
- Change the knife blade every few cuts so the cuts stay clean.
Apply veneer to stiles:
- Always begin applying veneer on the stiles or vertical lengths.
- Take the first piece and align it so that it slightly overhangs all the edges of the stile.
- Peel one corner of the backing away and then press it into place. Continue to peel away the backing and press the adhesive side down as you go.
- Take a small wood block and firmly press down the length of the strip. This will force out any air bubbles so the glue adheres firmly and smoothly.
- Repeat this process with the adjacent stile.
- Using a utility knife and a ruler or straight edge as guide, trim the excess veneer from all the edges of the stiles.
Apply the veneer to the rails of the cabinet. Make sure it overlaps the stiles on both sides.
- Use a carpenter square to line up the join between the two pieces of veneer.
- Run your utility knife along the guideline. Slice through both pieces of veneer.
- Remove the excess piece of top veneer from the rail. Lift the edge of the rail veneer.
- Remove the cut piece of stile veneer from underneath. Smooth the edge of the rail veneer back into place. This should create a neat joint.
- Continue until all the cabinet veneer facing is done.
Finish Doors & Drawers

- Clean the cabinet doors and drawer fronts. Allow them to dry thoroughly.
- Lightly sand the surfaces and wipe down with a tack cloth.
- Stain the cabinet doors and drawer fronts to match the new veneer.
- Use a paintbrush to fill in any detail areas.
- Allow time to dry thoroughly.
- Apply the first coat of polyurethane with a paint brush.
- Apply in a thin layer, brushing in the direction of the wood grain or pattern, in even, single strokes.
- Complete the first coat and allow it to dry.
- Lightly sand all the surfaces with fine-grit sandpaper. Wipe away any sanding dust with a tack cloth.
- Repeat the steps above to apply a second and third coat of polyurethane.
- Dry completely.
Tip: Use water-based polyurethane. Water-based dries fast, is odor-free and easy to work with.
Assemble Cabinets

- Attach the drawer fronts to the boxes. Install the drawer pulls.
- Install the existing drawer slides onto the drawer boxes. If needed, replace with new drawer slides.
- Slide drawers into place.
- Place the doors so that all the patterns run in the same direction.
- Position each door hinge one hinge-length from the top and from the bottom of the door. Mark the screw hole locations on the door.
- Use a drill to create pilot holes in the door. Affix the hinges with wood screws.
- Use a piece of scrap wood to make a jig that keeps the spacing of the holes uniform. Create the holes in the cabinet for the hinges.
- Attach the doors to the cabinets.
Cabinet Refacing Tips

Cabinet refacing gives you a whole new look. It fits most budgets and eliminates the hassle of a major kitchen remodel. Consider adding some other remodeling updates:
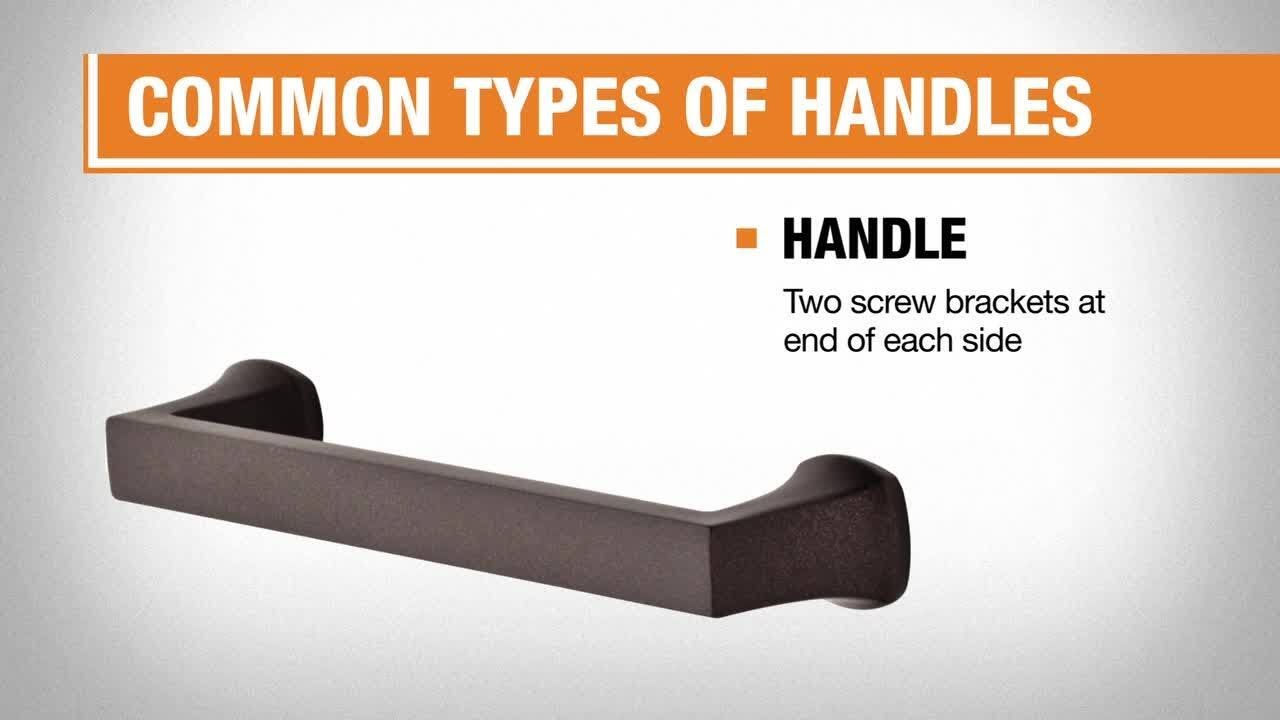
- Update cabinet hardware to elevate the final look.
- Install new countertops.
- Add storage solutions like dishware organizers and shelf risers.
- Upgrade to new small appliances.
If you’d prefer, our kitchen cabinet refacing professionals can handle every step of your cabinet reface project. A professional cabinet reface project takes about 5 to 7 weeks with only 2 to 5 days in your home.
If you like your kitchen's current layout, cabinet refacing may be an update option that fits your budget best. A cabinet reface reuses the cabinets you already have. There are refacing options in almost every style and finish. You can do a cabinet makeover reface yourself. Ready to get started? The Home Depot delivers
online orders
when and where you need them.