How to Remove and Replace a Bathtub
Last updated February 6, 2025
Upgrading your bathtub can drastically improve your bathroom’s appearance and your family’s comfort. But you can remove and install bathtub models, as it's an approachable task for many. If you carefully prepare and work with a helper, you can complete this DIY project in one day. This guide will teach you how to remove a bathtub and how to install a bathtub.
Tip: Wear protective eyewear and work gloves when you remove and replace a bathtub. You may also want hearing protection since the removal process can get loud. Check with your local sanitation or recycling company for details on disposing of your old tub.
Difficulty:
Intermediate
Duration:
Over 1 day
Table of Contents
What You'll Need
Choose Your Tub
Turn Off the Water
Disconnect the Drain Flange and Overflow Cover
Disconnect the Drain Assembly
Separate the Tub from the Wall
What You'll Need

Whether your goal is to remove and replace or install bathtubs, these projects require certain tools and supplies. They include:
- Cordless drill
- Saw (hacksaw, miter saw or circular saw)
- Reciprocating saw
- Drywall saw
- Utility knife
- Plastic putty knife
- Razor scraper
- Pliers
- Hammer
- Pry bar
- Screwdriver
- Strainer wrench
- Caulk gun
- Level
- Tape measure
- 12-inch finishing trowel
- Drill bits
- Tub drain remover
- Mounting hardware
- Bar clamp
- Protective eyewear (glasses or goggles)
- Work gloves
For this project, you will also need the following materials:
- New bathtub
- Bathtub drain assembly
- 4x4s (to remove old bathtub)
- 2x4s
- Ledger boards
- Shims
- Cement backboard
- Tiles
- Waste and overflow unit
- Overflow trim and flange
- Drain show and gasket
- Shoe tube
- Additional ABS plumbing fittings to attach to house plumbing
- One 5/8-inch pan head screw
- ABS glue
- Plumber’s putty
- Floor leveling compound
- Silicone or tub-and-tile caulk
- Grout
- Kitchen, bath and plumbing silicone sealant
Choose Your Tub

Before you begin your bathtub replacement, measure your current bathtub alcove around the shower walls. This will help you select the right size tub for your space. Keep in mind that most standard bathtubs are 5-feet long and either 30- or 32-inches wide. Your measurement will be slightly less than those numbers because of the shower wall surfaces (tile, shower surround, etc.). Choose the size that is closest to your measurement.
Next, determine the tub’s drainpipe location. To find out what type of tub you need, face the alcove. The side that holds the drain opening determines what type of tub you need. If the drain opening is on the left side, look for a left drain tub. If it's on the right, you need a right drain tub.
Turn Off the Water

- First, shut off the water supply to your bathroom to prevent any leaks when you install a bathtub. If your bathroom doesn't have a separate shutoff valve, turn off the water to the entire house. Test that the water is off by turning on the bathtub faucet. Then, open a valve at a lower level in your home to relieve any remaining pressure in the lines.
- This step is not essential to replacing a bathtub since there are no water lines connected to it. It ensures that the area - and you - will remain dry should a valve accidentally get bumped on during the remaining steps.
Disconnect the Drain Flange and Overflow Cover

- Tub drains have different components that first need to be removed, so methods on this step may vary. Some drains have a visible drain stopper that unscrews. This offers access to the drain flange at the bottom of the tub. Other drains do not have a visible drain stopper, so the drain flange is already accessible.
- Use a tool designed for tub drain removal, called a tub drain wrench, to remove the drain flange.
- Use a screwdriver to disconnect and remove the tub's waste and overflow valve cover.
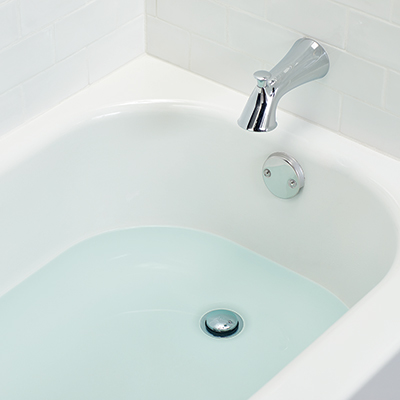
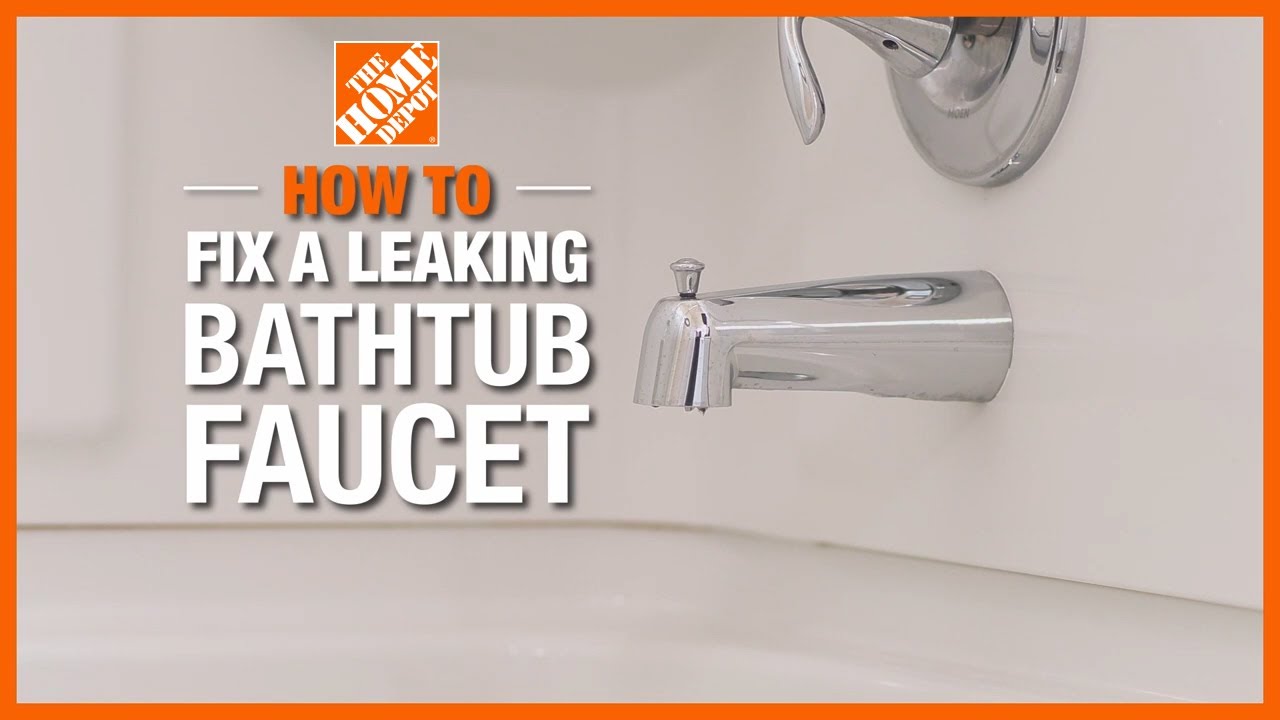
- Remove the tub spout since this will be on a portion of the wall you'll be cutting away. Some spouts have a setscrew that holds them in place. If you don't find one, your spout should just twist off by turning it counterclockwise.
Disconnect the Drain Assembly

Now the tub is technically free from the drain assembly. If it’s been in place for a while, they may be stuck together by dried plumber’s putty or something similar. While you’re replacing an old tub with a new one, this is also a good time to update the tub’s drain assembly. It’s best to disconnect the rest of the drain assembly from the plumbing below.
- To disconnect the drain, you need to gain access to the underside of the tub. In many cases, there should be an access panel behind the wall. If there isn’t one, you can cut away the drywall and patch it in later. If you need to cut the drywall away, do so directly behind the overflow valve and down to the floor. If you have access to the floor from below, access the drain there instead.
- Use a pair of channel lock pliers to disconnect the drainpipe below the tee, where the drain and overflow valve meet. If the fittings on your bathtub drain are galvanized steel, use a penetrating lubricant, like PB Blaster, to loosen the joints first.
- Once you've loosened the nut connecting the drainpipe, completely unscrew it by hand. Then, lift out the entire drain assembly.
Separate the Tub from the Wall

The tub is attached directly to the studs through a flange that tucks under the wall surrounding the tub. This may be drywall, tile, a tub surround or something similar. Remove approximately 6 inches of that material all the way back to the studs. If you have a fiberglass tub surround, remove that first.
- Wear your safety glasses and gloves. Cut out a section of the wall approximately 6 inches above the tub on each of the three sides and along the front of the tub. To make repairing the wall easier, measure a standard distance up from the top of the tub.
- Use a straight edge to mark a guideline all the way around. If removing tile, cut along a grout line using a grout remover tool and pry away the tiles using a stiff putty knife.
- Cut the drywall, using a drywall saw. Remove the section between the line and the tub, all the way down to the studs. If you have a cement backerboard under the tile, score it repeatedly with a utility knife until you reach the stud.
- Clear everything away, so you have access to the screws or nails attaching the tub flange to the studs.
- Remove the screws or nails all the way around the front, top and sides of the tub with a pry bar. Also remove any trim moulding from the sides of the alcove.
- Cut away any caulk between the tub and floor with a utility knife.
Note: Do not use a power saw to cut drywall, as this will release harmful dust into the air.
Remove the Tub

- Be safe and have a helper for these next few steps.
- One person should lift the front edge of the tub, while another slides a couple of 1x4 boards underneath to get it off the floor.
- Slide the tub out of the alcove using the 1x4 boards as skids.
- Remove any ledger board supports left on the wall. The ledger board (or "stringer") is the crosspiece that supports the edge of the tub.
- With the alcove now exposed, clean the area and remove any leftover nails or debris.
Dispose of the Old Tub

How you dispose of the old tub will depend on what type of tub it is. Again, remember to wear protective gloves and eye protection when removing a bathtub.
- Break up cast iron tubs with a sledgehammer. Do this in the bathroom, so you can remove the tub in sections. Use ear protection and exercise extreme caution when performing this task.
- All other types of bathtub materials are relatively light. The tub can be removed whole with some help.
- Cut up steel, composite or fiberglass tubs with a reciprocating saw.
- Porcelain-enameled steel tubs should be disposed whole.
Tip: Contact your local recycling center for details on how to dispose of an old bathtub.
Set the New Tub Into Place

Before we cover how to install a new tub, check the unit over and report any damage to the manufacturer.
- Your new tub - whether porcelain or fiberglass - can get damaged, so keep it safely packaged until you're ready to install it. Cut out a section of the cardboard to put inside the tub to help protect the surface while you work. Use another piece of cardboard to protect the exposed porcelain side, as well.
- Many new tubs have a sound-deadening and leveling pad on the underside. This pad needs to rest fully on the subfloor.
- Make sure the subfloor is level and that the tub will fit securely on it. If necessary, use a floor leveler to even out the surface.
- Use your helper to carefully set the tub onto the skids. Slide it into place in the alcove.
- Once it's in position, check to see if the tub is level. If necessary, use shims to even it out.
- Take a pencil and mark a reference line on the studs all the way around, on all three sides. After doing this, take out the tub and set it aside.
Install the Ledger Board

A 2x4 ledger board attached directly to the studs will help support the tub along its length.
- Since you've already marked the top edge of the flange on the studs, you'll need to allow for the height of the flange to install the ledger board.
- Take the height and measure that same distance below the reference line on each stud. This new mark will serve as the top edge of the ledger board you'll install.
- Cut a 2x4 measuring the length of your tub. Use deck screws to attach it to the studs on the new reference marks.
Attach the Overflow Drain Assembly

- To put in the drain, turn the tub on its side and install it according to the manufacturer's instructions.
- Take a bit of plumber’s putty, roll it in your hands and place it on the underside of the drain flange.
- Position the drain shoe on the underside of the tub and screw the drain flange into the threads. Tighten it completely with the drain wrench tool and remove any excess putty.
- To connect the overflow valve, place the rubber gasket onto the overflow elbow and position it behind the tub.
- Attach the cover plate inside the tub to the overflow elbow and gasket behind the tub, using the screws provided in the overflow drain assembly kit.
- Connect the overflow pipe and drainpipe with a tee where they meet.
- Install the drain strainer onto the flange.
Connect the Drain

- Carefully move the tub back into place. As you do, make sure not to disrupt the drain assembly you just attached. When it's in position, the flange should rest on the stringer that was just installed along the back wall.
- Make sure the drain and overflow plumbing coming out of your tub is aligned with the rough-in drain outlet in your bathroom.
- Connect the pipes and tighten them down snugly, but don't over-tighten.
Secure and Finish

- Before securing the tub, make sure the top of the flange lines up with the reference marks you established earlier. If it does, go ahead and attach the tub flange to the studs with roofing nails. If it does not, the stringer may be too high or too low; remove it, readjust and reset the tub.
- Secure the flange on all three walls, as well as the sides of the tub. Do not drill the flange. Instead, use the head of the fastener to hold the flange down. Roofing nails are a good option because they do not rust. You can also use galvanized screws equipped with galvanized washers.
- With the tub in place, finish off the wall with drywall, tile or tub surround.
- Reinstall the baseboard and finish moulding around and in front of the tub.
- Reattach the spout.
- Don't forget to turn the water back on but be sure to wait 24 hours before using the tub.
- Run the faucet and shower, if applicable, to make sure the water flows correctly through the drain and plumbing. This will ensure that your bathtub replacement was successful.
By following these steps, you can confidently remove and replace your old tub. You'll then be able to install a bathtub that fits your space, style and needs. And as a finishing touch, consider adding a tile floor and backsplash to your bathroom and tub.
Knowing how to both remove a bathtub and complete a bathtub replacement means you can make big upgrades to your home’s bathrooms yourself. Don't worry if you don't own all the items needed to complete this DIY project. The Home Depot offers tool and truck rental for any DIY project. If you need help completing this project, hire our professional bathroom installation services.
Related Products
Related Guides

Leave Your Next Project to Us
Professional Bathroom Remodeling
- Expert Bathroom Remodelers Do It For You
We hand-select licensed and insured bathroom remodeling contractors in your area who are known for their experience, knowledge, and superior service.
- How Our Bathroom Remodeling Service Works
Kick off your project with a free in-home consultation from a local design specialist, who will present a range of bathroom styles and provide professional advice. After you approve the competitively priced quote and consider The Home Depot’s financing options, you can relax. We will handle everything else, including planning, measuring, cleanup, and removing any debris.


