How to Remove Carpet
Last updated September 7, 2023
Knowing how to remove carpet is helpful whenever you're about to replace the flooring in your home, whether you’ll be doing the flooring installation yourself or hiring a professional. When
hiring someone to replace the carpet or install new flooring, removing old carpet yourself and preparing the subfloor can save you money.
DIY carpet removal is a simple process that requires only a few carpet tools and a moderate amount of strength. This guide will teach you how to pull up carpet
and offer helpful tips so you can get the job done safely and quickly.
Difficulty:
Beginner
Duration:
2-4 hours
Table of Contents
Prepare and Clear the Space
Cut Carpet into Strips
Pull Up and Roll Carpet
Remove Tack Strips if Needed
Remove Carpet Padding
How to Unfray and Replace Carpet
Prepare and Clear the Space

When considering how to
remove carpet, keep in mind that you will need to dispose of the old materials. Find out if your area has a carpet recycling program. If there isn’t a program available, be sure to check with your trash hauler before starting your project. Some trash collectors will take away
short rolls of carpet from your curbside. Otherwise, you may have to take the rolls to a landfill or recycling center yourself.
- Remove any doors – including closet or bathroom doors – that open into the room where you’ll be ripping up carpet.
- Move all furniture from the room and anything else on the floor so you have a clear area to work in.
- Use a pry bar to carefully remove
any
baseboards and shoe mouldings. If you plan to reuse them, place them somewhere out of the way until they can be reinstalled.
Cut Carpet into Strips

- Use a utility knife to cut the carpet into thin, manageable strips.
- Drive the knife through the carpet backing, while being careful not to hit the subfloor underneath.
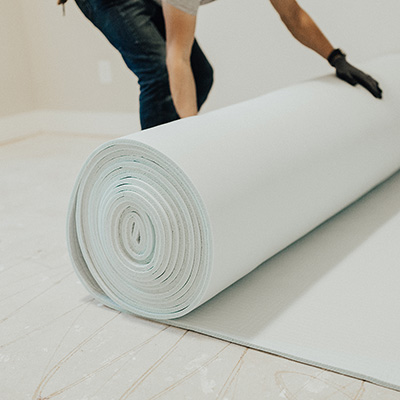
Pull Up and Roll Carpet

Put on a pair of sturdy work gloves to start pulling up carpet in a corner of the room. The work can be dusty, so wear a dust mask and safety glasses.
- Use pliers to tightly grab the carpet.
- Pull toward you to detach it from the sharp tack strip that holds it to the floor along the wall.
- When the corner of the carpet is loose, use your gloved hands to pull along the length of the wall until all edges of the strip of carpet are free of the tacks.
- Roll up the strip of carpet. Cut through the carpet backing as needed if you couldn’t cut through it completely in the last step.
- Secure the carpet roll
with duct tape, bag it and remove it from the room. - Continue pulling up carpet from the tack strips in sections and rolling it up.
How to pull up carpet from stairs:
- Begin at the top of the stairs.
- Pry up the metal nosing and remove it, if present. If not, cut the carpet near the top of the top stair riser.
- While wearing work gloves, grab the cut end of carpet and pull it from the stairs.
- If the carpet is in one continuous piece, cut off manageable pieces as you remove it.
- Roll, duct tape, bag and remove the old carpet.
Remove Tack Strips if Needed

If you’re replacing your old carpet with new wall-to-wall carpet, the existing carpet tack strips can usually remain in place. If the tack strips are rusted, rotted or otherwise damaged, remove and replace them. If you’re installing a different type of flooring, remove the tack strips completely.
- Use a hammer and a paint scraper to create enough space underneath a tack strip to fit a prybar.
- Pry up the tack strips.
- Throw out the tack strips into a heavy-duty trash bag.
Safety Tip: Always wear work gloves when removing tack strips. Not only are the tacks sharp, but the wood strips can splinter as you’re removing them.
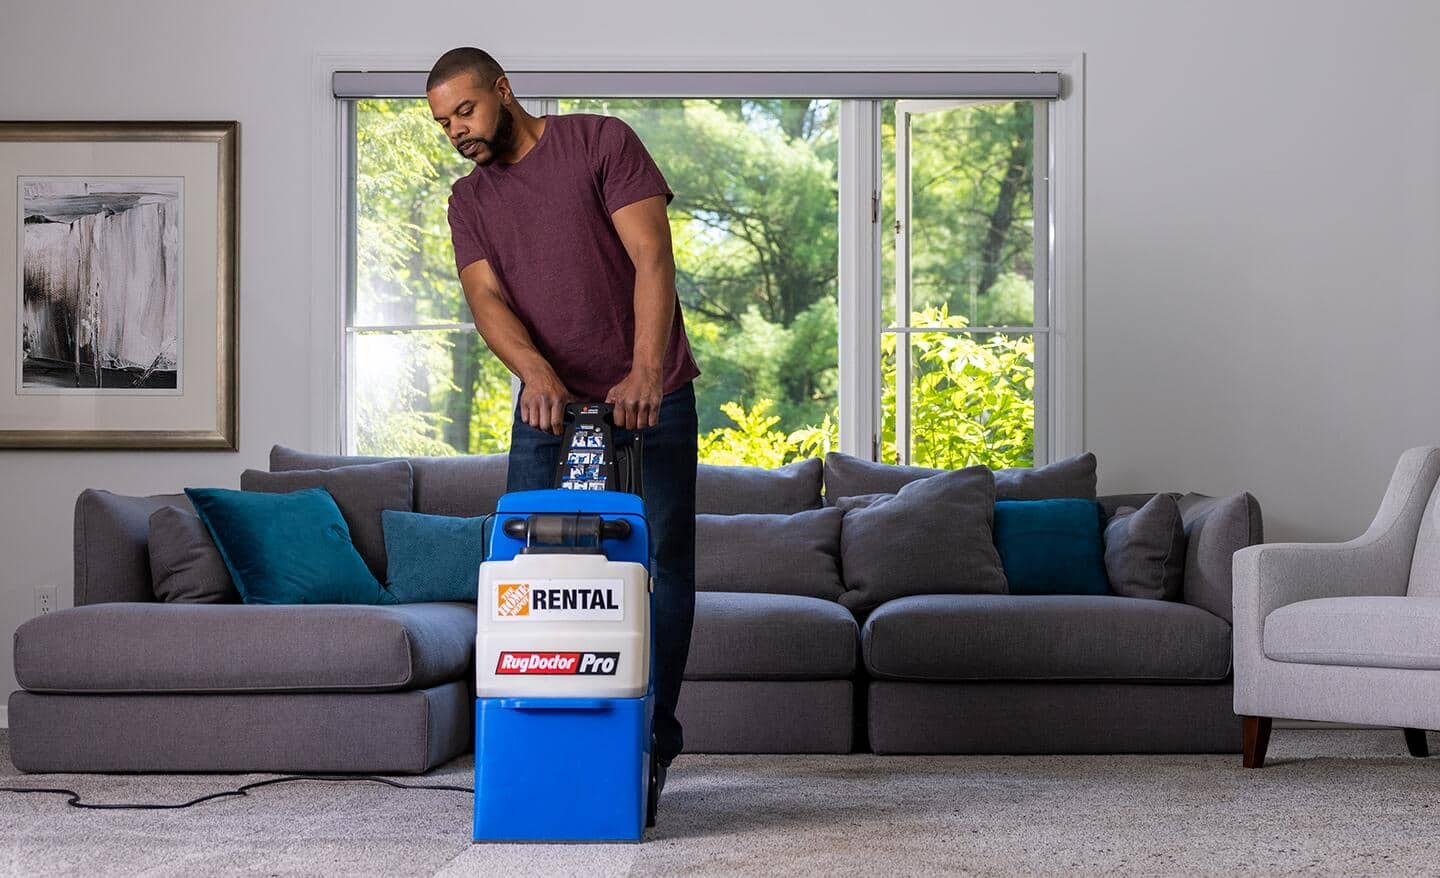
Remove Carpet Padding

Remove carpet padding in sections like you did with the carpet. It should be replaced even if it appears to be in good shape.
If you have wood subfloors, the padding is installed onto the subfloor with hundreds of staples. Some may come loose when you pull up the pad, but most will remain stuck in the floor.
If you have a concrete subfloor, the padding is glued
into place.
- Use pliers to remove
the staples near the walls. - A long-handled floor scraper with a sharp blade can make quick work of the staples. With a motion similar to using a push-broom, go around the entire room to slice off or yank out the staples with the scraper.
- You can also use a specialized tool called a carpet staple remover.
- When removing carpet padding from concrete,
use a floor scraper to remove the pieces of padding that remain stuck to the floor. Tough spots might require commercial adhesive remover or a power oscillating tool. - Use pliers to pull padding staples when removing carpet from stairs.
- Roll up the carpet padding
and dispose of it with the rest of the carpet.
Tip:
With the carpet padding removed, now is a good time to identify and fix any loose or squeaky subfloor panels before the new floor covering is installed.
How to Unfray and Replace Carpet

Sometimes, you don't need to take up a whole carpet when a small repair will get the job done. If you’ve got a little fraying, you can use a bit of seam glue to stop the edges from fraying further.
However, if you’ve got a bigger patch that needs to be replaced outright, you’ll need more than just seam glue. You’re going need to fetch some donor, or extra, carpet from another part of your home. You’ll also need some carpet tape, a piece of paper, some drawing utensils, a utility knife, some scissors, a long nail and a new piece of carpet that matches the old stuff.
- First things first, cut out the damaged spot—the goal here is to cut as little as possible.
- Carpet is laid out in rows and columns. Use a long nail to trace up the columns and across the rows, about 1/2-inch around the damaged area.
- Cut around the outline. Be careful here, and make sure to cut through just the carpet, and not the pad underneath.
- Use paper and pencil to trace the edges of the damaged area, then cut it out with scissors.
- Now, use the donor carpet. Unless you’ve got an extra roll laying around in your garage, you can get donor carpet from any carpeted area in your house that doesn’t get much foot traffic or exposure to sunlight, such as in your closet. It helps to reference a paper template so you know about how much to remove. Then, use the nail technique again for an even cut.
- Now, we’re not going to leave the donor carpet spot bare—ideally, you’ll be able to replace that section you took donor carpet from with carpet of a similar color. Any differences in shade will be a lot harder to notice here than by the door, for example.
- Lay your template over the back of the donor carpet and trace it with the writing utensil. Then, use the utility knife to cut out the shape.
- Next, test-fit the piece. If it’s snug, you're good to go. If it overlaps a little, no worries. It’s a lot easier to take carpet away than it is to put it back. Cut to your line, but don’t take too much – you don’t want to have to take a second donor piece.
- Now, take the carpet tape and lay it underneath the edges of the hole.
- Make sure it’s laid flat, then carefully put the patch in place.
- If you want to go the extra mile here, especially if you have a high-pile rug, you can use a touch of glue here to really make things stick. Make sure to get it in there – you’ll want to avoid getting it on your carpet fibers.
- Press it down, fluff it a bit with your hands to blend it all together and there –
just like new.
Now that you know how to remove carpet, you’re ready to renovate the flooring in any room. Upgrade your room with new indoor carpet or get a new look with luxury vinyl planks or hardwood.
If you need to haul away the old carpet yourself, don’t worry about transportation. Rent a van or truck
from The Home Depot truck rental.