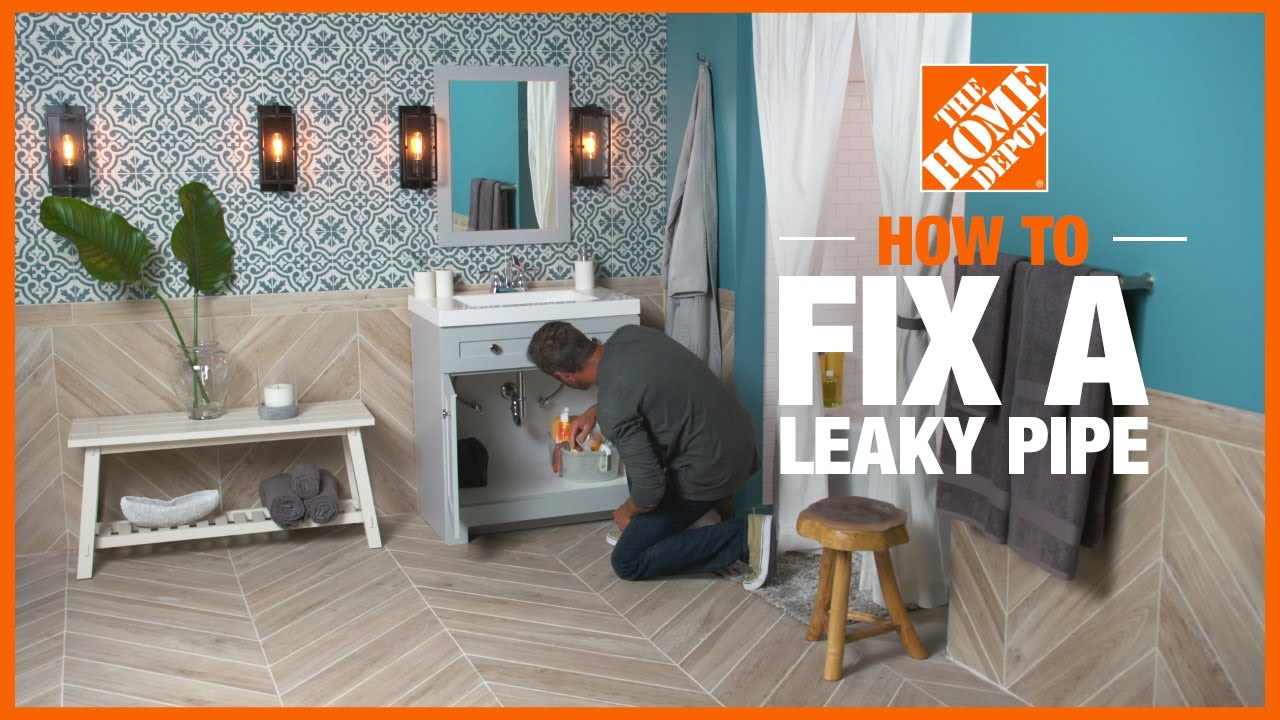
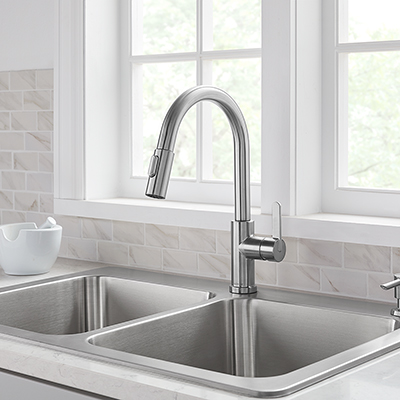
How to Repair a Ball Faucet

Last updated September 7, 2023
Repairing a single handle ball faucet is a relatively simple job, especially for DIY newcomers. Leaks are often caused by the seats and springs that control water flow and temperature. Replacing a leaky faucet or damaged faucet may be more budget friendly than installing a new model. With a few basic tools like a crescent wrench, needle nose pliers and the right faucet parts, you can easily avoid a call to a plumber. Use this guide to learn how to fix a leak from a single-handle ball-type faucet by replacing worn-out seats and springs.
Difficulty:
Beginner
Duration:
Under 2 hours
Table of Contents
Shut Off the Water
Remove the Set Screw and Handle
Check the Adjusting Ring
Remove the Handle Cap
Remove the Cam, Packing and Ball
Replace Seats and Springs
Shut Off the Water

Before you can fix your single handle faucet, you'll need to shut off the water.
- The shutoff valves for the hot and cold water lines are under your sink. Close them both to turn off the water supply. If there aren't individual shutoff valves under the sink, shut off the water supply at your home’s main water shut off valve.
- Turn on the faucet and leave it open, allowing the remaining water in the line to empty into the sink.
- Plug the sink drain or cover it with a towel to protect the sink. This will also prevent any small parts or tools from falling into the drain as you fix your faucet leak.
Remove the Set Screw and Handle

Start troubleshooting by removing the set screw and handle.
- Carefully pry off the screw cover. This is the decorative cap that indicates the hot and cold water.
- Locate the set screw. Once the cover is removed, you should be able to reach the set screw easily. Check your faucet manufacturer's instructions if you can't find the set screw. On some models, the set screw is located on the bottom side of the faucet handle.
- Remove the set screw by using either or an Allen wrench or a Phillips screwdriver. This will loosen the handle.
- Lift the handle from the faucet assembly.
Check the Adjusting Ring

If the adjusting ring is too loose, the faucet can leak.
- Tighten the adjusting ring using needle-nose pliers if it is loose. Test the faucet after turning the water supply back on.
- Use needle-nose pliers to remove the ring if the quick fix above didn't repair your leaky faucet.
Remove the Handle Cap

If adjusting the ring didn't work, remove the handle cap.
- Wrap a cloth around the dome-shaped housing to protect the finish.
- Use tongue-and-groove pliers to loosen and remove the cap. Take care not to apply too much pressure, as you may damage the housing.
Tip: For stubborn caps, vinegar can help loosen deposits that may have built up. Wrap a cloth soaked in vinegar on the dome. Wait for a few minutes and try removing it again.
Remove the Cam, Packing and Ball

Remove the plastic cam, including the cam washer, the rubber packing washer and the metal ball valve assembly. Make careful note of the position of the ball when you remove it, as you'll want to return it to the same position when reassembling the faucet.
Replace Seats and Springs

Locate the valve seats. With the ball removed, the valve's seats should be visible. The seats are the circles themselves and the springs are located underneath the seats.
- Use a towel to soak up any water that remains in the faucet stem.
- Insert a hex wrench through a rubber seat. Tilt it slightly to catch the spring underneath and lift them out.
- Repeat for the remaining seat and spring. Discard the old seats and springs.
- Replace each set with new seats and springs.
Tip: Replacement seats and springs are sold individually, but they also come in faucet repair kits.
Reassemble the Ball Assembly

Once you've replaced the seats and springs you can begin to reassemble the ball assembly.
- Replace the ball valve. Make sure you put it in the proper position with the packing on top.
- Align the tab on the cam to the slot on the faucet.
- Place the cap on top of the cam.
- Apply downward pressure to the ball and packing assembly with your thumb to keep the cam in place as the cap is screwed on.
- Tighten the cap by hand. Don't exert too much force.
Tip: Unscrew the aerator from the opening of the faucet. Clean it to remove any buildup that can block water flow.
Reassemble the Rest of the Faucet

Complete the faucet and test it.
- Use needle-nose pliers to screw on the adjusting ring. Screw it until the ball feels snug in the faucet when the rod is moved back and forth.
- Attach the handle and tighten the set screw.
- Replace the screw cover.
- Turn the water supply lines back on and check for leaks. You may need to turn the main shut off valve back on as well.
- Run both hot and cold water through the faucet few for a minute to remove any air bubbles or debris.
Repairing a broken ball faucet is a project you can do yourself. You may be able to simply adjust the rings. Or you may have to replace both them and the seals. Ready to fix that leaking faucet in your bath or kitchen? Find the tools and parts you need. Use The Home Depot Mobile App to locate products and check inventory. We'll take you to the exact aisle and bay.