How to Repair a Sprinkler

Last updated September 7, 2023
A working sprinkler system is essential for a well-watered lawn and garden. There are several reasons why a sprinkler system doesn’t perform properly. When a sprinkler breaks or leaks, it can cause overwatering or dry areas. Knowing how to repair a pop-up sprinkler spray head or other type means figuring out the cause of the problem. Read on to learn how to repair a sprinkler system, from replacing sprinkler heads to replacing sprinkler valves or solenoids.
Difficulty:
Intermediate
Duration:
2-4 hours
Table of Contents
Evaluate Sprinkler System
Identify the Problem & Dig
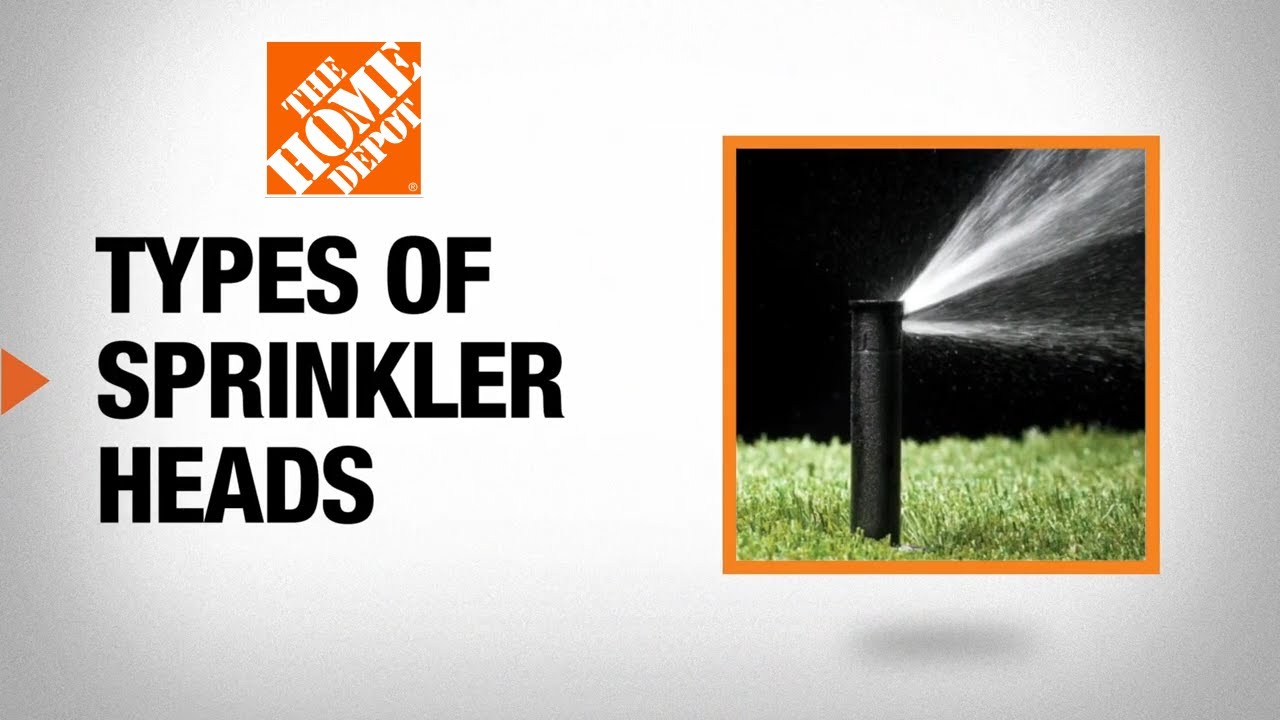
Replacing Sprinkler Heads
Replacing Sprinkler Valves
Replace Faulty Solenoid
Sprinkler Maintenance Tips
Evaluate Sprinkler System

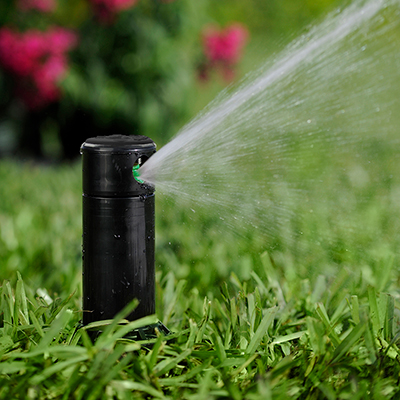
When water runs through the pipes of functioning sprinkler systems, the pressure pushes the riser with the sprinkler head up from the ground. Once the water is off, the head should go down to ground level. Sprinkler heads and their risers often get damaged by foot traffic or lawn mowers.
There are two different types of sprinklers: rotary sprinklers and fixed-head sprinklers. Rotary sprinklers rotate using a gear-driven system. Fixed head sprinklers have an arm that creates a more uniform spray in all directions. When repairing a sprinkler system, make sure you use heads, valves and other parts that are the same model and type as your current system.
Tip: Most manufactuers list part specifications on the top or side of the unit.
Identify the Problem & Dig

Before you try to repair a sprinkler system, first find out why it’s not working properly. Large leaks can cause muddy or soggy areas in a lawn. Small, hidden leaks or complete malfunctions can show up as dry, brown patches. Here’s some common sprinkler issues and solutions:
- Leaking with a little or no pressure spray points to a broken sprinkler head or one with a damaged seal.
- Uncontrollable water pressure, or if the sprinkler keeps leaking after shut-off, indicates a faulty valve.
- If water won’t shut off and you’ve checked the valve, a bad solenoid or other electrical issues may be the problem.
- Constant water leaks or leaks near tree or hedge roots suggest damaged or cracked pipes.
Once you’ve determined the source of the problem, prepare the area for your repair.
- Start by uncovering the damaged unit. Using a small shovel or spade, carefully dig about 5 to 6 inches down around the sprinkler head.
- Check to see if the water pipe is cracked or damaged. If so, repair it.
Safety Tip: Turn off your sprinkler system’s water and electrical at the main source before attempting any of the repairs below.
Replacing Sprinkler Heads

A common solve for repairing a sprinkler system often involves replacing sprinkler heads. There are two ways to do this:
- Replace the entire unit. Unscrew the broken one counterclockwise. Wrap the end of each part with plumber’s tape.
- Replace only the inside of the existing unit. Unscrew the broken sprinkler head and open the casing. Take out the existing components and slide in the new components.
Once you've completed the repair, turn the sprinkler system back on to test it.
Replacing Sprinkler Valves

A properly functioning sprinkler valve, closes or opens completely. When a valve needs replacing, it constantly leaks or never releases water. Since valves are wired to control certain sprinkler areas, it’s sometimes easy to see which is causing the problems. You might see either a muddy spot or a sprinkler that doesn't work.
Repairing a sprinkler system with this kind of problem is as simple as replacing the sprinkler valve or valves. Sprinkler valves are usually enclosed in a box or a PVC irrigation pipe. Here are general steps to replacing a sprinkler valve in a PVC irrigation pipe:
- Get replacement valves that are the exact same model, size and type of the existing valves.
- Cut the PVC pipe with a hacksaw close to where it is already joined together.
- Pull the PVC apart to reveal the valves and wires.
- Disconnect the wires from the broken valve. Make a note or take a picture of how the wires are attached before you disconnect them.
- Connect the wires to the new valve the same way you disconnected them from the old one.
- Insert the new valves and wires back into the PVC pipe, if necessary.
- Rub solvent cement on the cut ends of each piece of PVC pipe and connect them. Let it dry thoroughly.
- Turn the water and electricity back on and test for leaks.
Replace Faulty Solenoid

Replacing a sprinkler head or replacing a sprinkler valve may not solve the issue. Sprinklers that won’t turn off or have low or uneven spray may have an electrical issue. Often a faulty solenoid is attached to the control valve. A solenoid is an electrical part of a sprinkler system that controls its water pressure. It’s also a universal part that can be used for any sprinkler brand or model. Here’s how to replace a solenoid:
- Disconnect the wires between the faulty solenoid and the control valve. Do this by removing the wire nuts or cutting the wires.
- Unscrew the defective solenoid counterclockwise.
- Insert a new solenoid, reconnect the wires and hand screw the new part in tightly.
- Turn sprinkler system back on and test.
Sprinkler Maintenance Tips

- Be on the lookout for chipmunks and other small animals. They can chew through and damage the irrigation wiring inside your sprinkler system's PVC pipes or valve boxes.
- Check your sprinkler system at least twice a year to identify any issues.
- Make sure all the zones or sections managed by your irrigation controller have the same timing. This will provide even watering.
- Perform maintenance regularly. Clean and reset sprinkler heads by unscrewing and flushing the heads and screens with water.
When you repair a sprinkler, it can work properly to keep your lawn and garden lush. The first step is to identify why your sprinkler has leaks, low pressure or doesn’t work at all. Replacing a broken fixed sprinkler, valve or solenoid is something you can do yourself. All you need is time and a few tools like a shovel or a hacksaw. Make sure to call 811 before digging to know where your local water, electrical and utility lines are located.
When you’re ready to repair your sprinkler system, get the parts you need. Use The Home Depot Mobile App to locate products and check inventory. We'll take you to the exact aisle and bay.