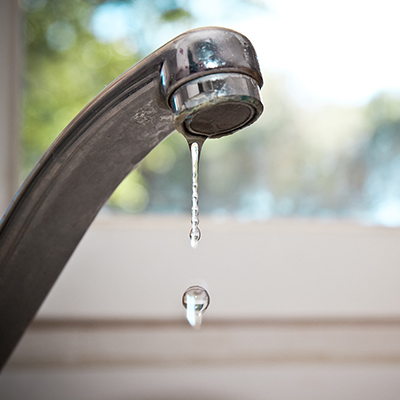
How to Replace a Cartridge in a Faucet

Last updated October 10, 2024
Many common household faucets are cartridge faucets. The cartridge is a plastic piece in the faucet that controls water flow. Worn cartridges or rubber O-rings often lead to leaks. By swapping in replacement parts, your faucet won’t leak at the base or around the handles anymore.
Replacing a faucet cartridge is a
plumbing
fix you can do in less than an hour. All you need is a few simple tools. Read this guide to learn how to fix leaks and drips yourself by replacing the faucet cartridge.
Difficulty:
Intermediate
Duration:
Under 2 hours
Table of Contents
What Type of Faucet Do I Have?
Shut Off the Water
Remove Decorative Handle Covers
Remove the Handles
Remove Cartridge
Remove Retaining Nut
What Type of Faucet Do I Have?
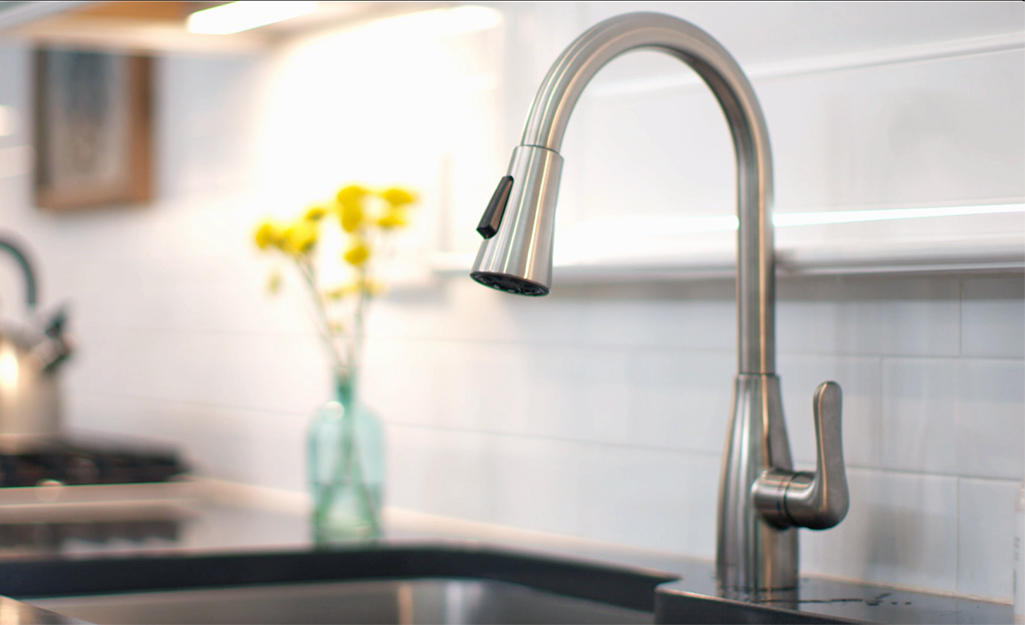
Cartridge faucets come in one or two-handled models. A hint to the type is how you turn off the water:
- If you push the handle down to slow the water to trickle or turn it off, it’s a compression faucet. Repairing those uses a different process than the one described here.
- If you turn the handle to slow the flow, it's a cartridge faucet.
You’ll know for sure which type you have when you take the faucet apart. Use this guide if you find a plastic cylinder inside the faucet.
- One-handled faucets come in cartridge, ceramic disk or ball types.
- Two-handled faucets are cartridge or compression faucets.
When you open up a two-handled faucet and see a
faucet stem
sticking up, that’s likely a compression faucet. They don’t have cartridges. Older homes often have that type of
bathroom sink faucet.
Shut Off the Water
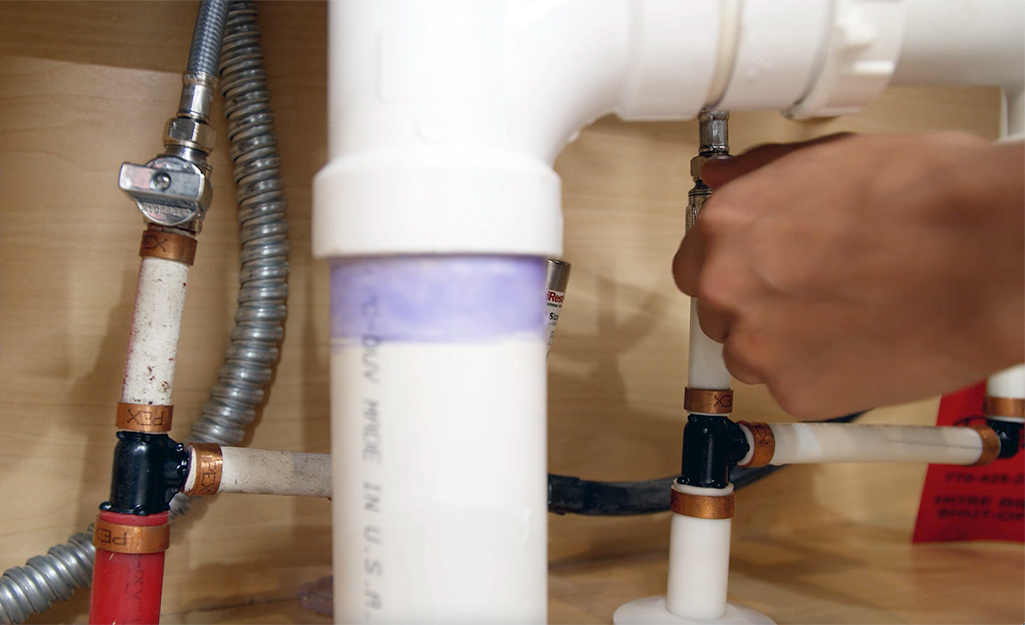
Make sure there’s no water flowing before replacing a sink’s faucet cartridge. Follow these steps to shut off the water supply to your sink:
- Use the shut-off valve underneath the sink to cut off the water supply. Be sure the valve closes completely.
- Turn the hot and cold taps on all the way. This lets the water that's still in the pipes run out into the sink. It’ll slow to a trickle and then stop.
- Turn off the taps.
- Plug the drain. Use the stopper handle on the faucet or a traditional stopper. Even a rag will do in a pinch. This is to keep faucet parts or tools from falling down the drain.
Remove Decorative Handle Covers
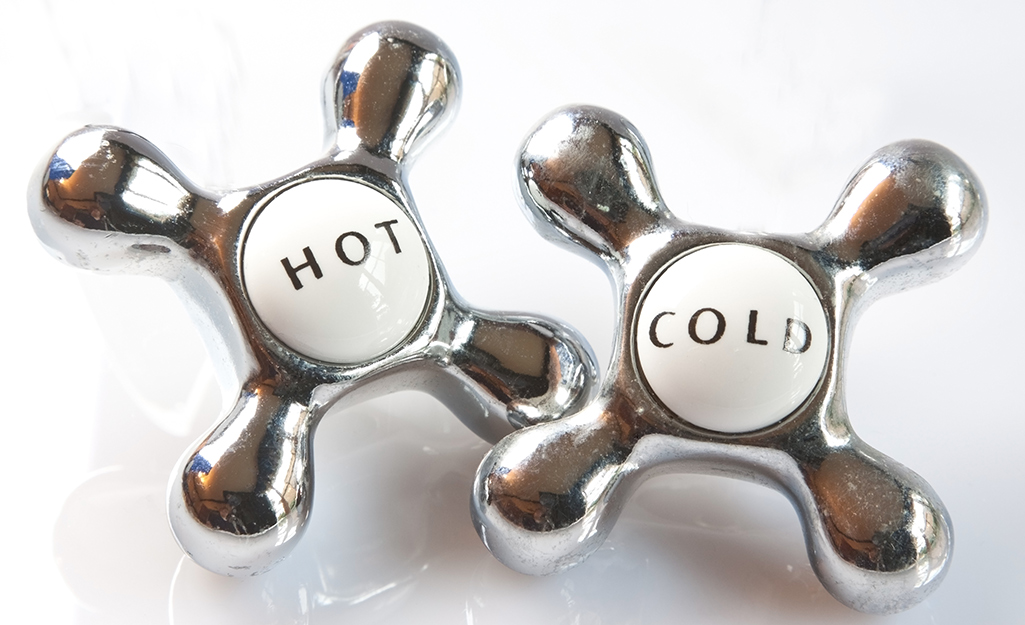
When you’re learning how to replace a cartridge faucet, start with the handles.
Faucet hardware
with crystal ball decor on the taps usually has decorative covers.
Not all faucets have these. If you can see a screw on the handle, skip this step. If you can’t see a screw at the top of the tap handle, you’ll need to remove a cover.
Use a flat head
screwdriver to pop off the plastic cap from the top of each handle.
This will expose the screws.
Remove the Handles
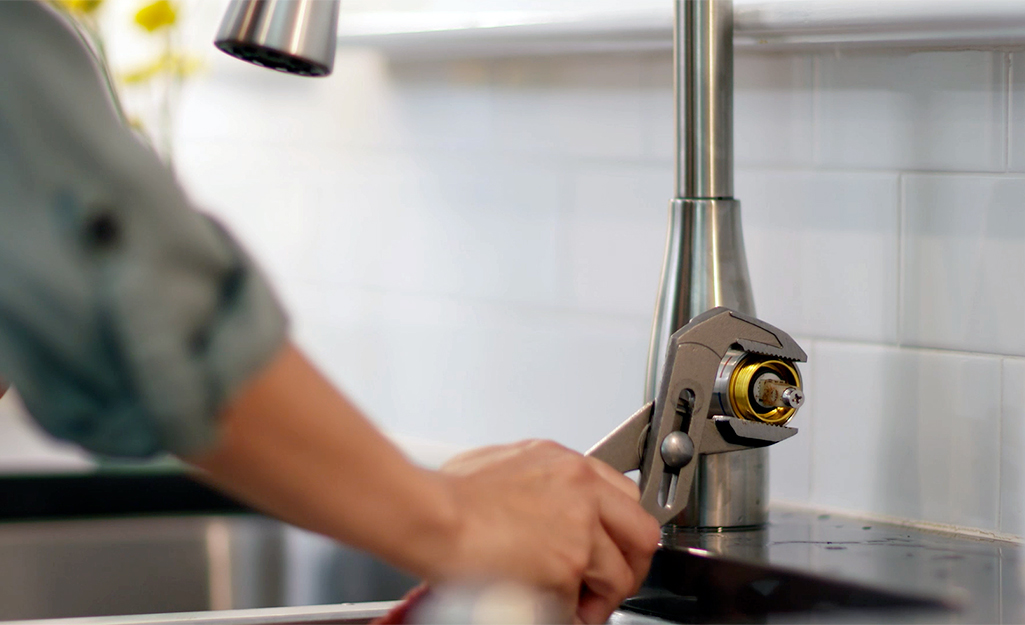
Once you can see the screw on the tap handle, unscrew it. Choose your faucet setup for instructions.
For two handles with screws on top:
- Use a screwdriver to remove each screw. Turn counterclockwise until you can pull the screw out.
- Set the screw aside. Make sure it won’t fall into the drain.
- Carefully pull straight up on the handle. It should come off easily.
- Repeat for the other handle.
For two-angled handles:
- If your faucet has angled handles, the screw may be in a different spot.
- For a screw on the side of a handle, use a
hex key
or 1/8-inch Allen wrench to loosen it. - Pull off the handle.
- Repeat for the other angled handle.
For some two-handled faucets:
- You’ll likely need to remove a bonnet nut or retaining nut.
- Unscrew the nut with an adjustable wrench.
- The plastic cylinder with a stem on top is the
faucet cartridge. It comes in white, blue or black plastic.
For a cartridge faucet with one handle:
- The screw is on the front of the handle. It might be covered with a nameplate or decoration.
- Use an Allen wrench or hex key to unscrew it.
- Remove the handle.
- The bonnet nut is shaped like a bonnet or dome. Twist it off.
- Put it aside, all in one place.
- You may be able to see the cartridge now.
Remove Cartridge
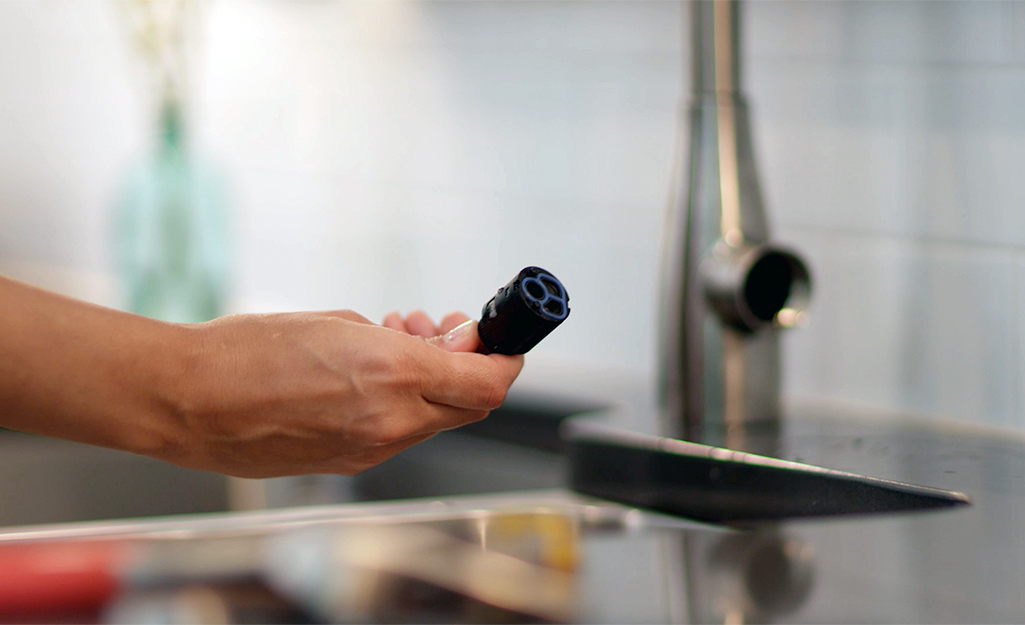
The cartridge is a plastic cylinder with notches in the side. It has a stem on the top. You’ll see it when you’ve removed enough pieces from the faucet. Part of learning how to remove a faucet cartridge is reaching it.
- Lift out the cartridge and set it aside. Use pliers to grip the stem if you need.
If you don’t see the cartridge yet, keep going. For one-handled faucets and some two-handled ones, you may have more pieces to remove. See the next step to learn how to remove a retaining nut and a retaining clip. - If it’s difficult to remove the cartridge, you may need a special tool. Check the manufacturer’s instructions for your faucet for details.
Tip: If there’s a brass nut on the top of the cartridge, remove it and set it aside. Your replacement might not come with one. You’ll need it to reassemble your faucet properly.
Remove Retaining Nut
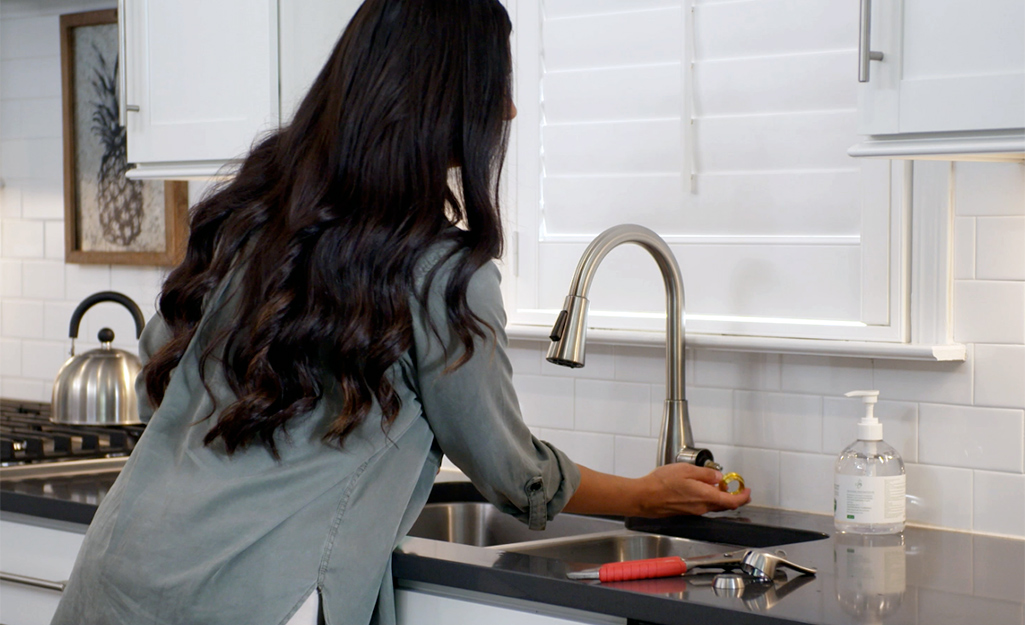
If the cartridge won't budge, check the bottom of the fitting. You may have a retaining nut at the base of the handle. It holds the cartridge in place. Not all faucets have one, but it’s more common on single-handle faucets.
If you have a retaining nut, you’ll need to remove it. (If you don’t have one, skip to Step 7).
- Remove the plastic retaining nut. Use water pump pliers, adjustable pliers or a pipe wrench.
- Once you’ve removed the nut, lift the cartridge straight up.
- If you still can’t remove the cartridge, your faucet likely has a retaining clip. The clip is a narrow piece of brass, shaped like a horseshoe. Using needle nose pliers, pull it straight out.
Remove O-Ring & Springs
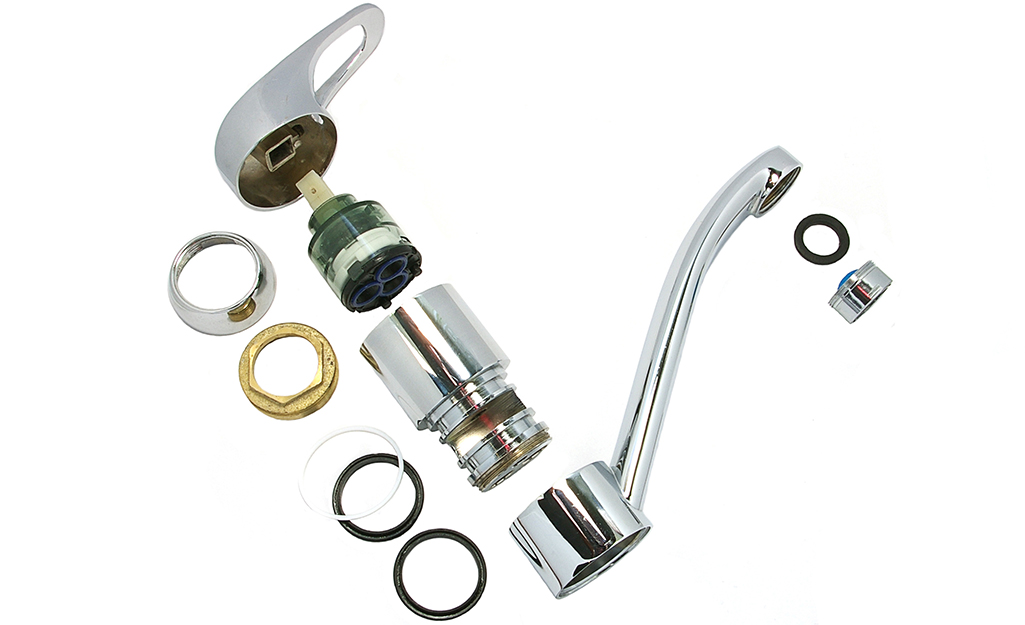
After the cartridge is out, look inside the faucet. Some faucets have an O-ring. It looks like a round rubber O or washer. You may just see a spring. Take out both pieces:
- If there is an O-ring, remove it. You can hook it on the end of a screwdriver.
- If you can’t slip off the O-ring, cut it with a
utility knife. - Remove a spring if you see one.
- Clean any debris from the faucet housing with a soft cloth.
- Using a rag, soak up any excess water in the faucet handles.
Replace Cartridge
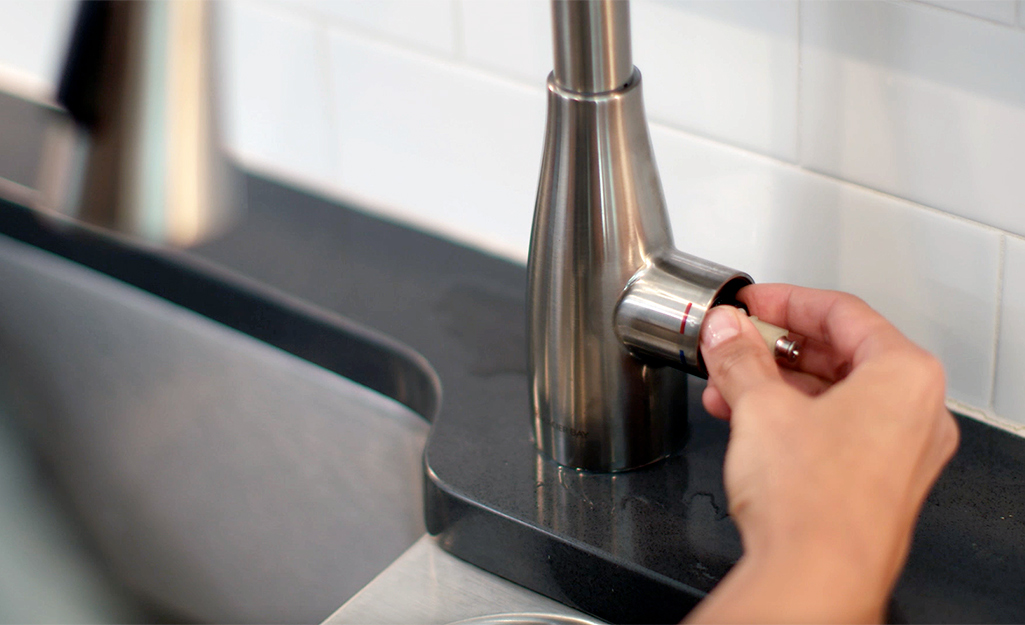
Cartridges come in many shapes and sizes. Rather than trying to figure out how to tell if a faucet cartridge is bad, simply replace it. If you're wondering about it, swap it out. The easiest way to find the correct part is to be prepared:
- Take the O-ring, spring and cartridge to the store with you. That way, you’re sure to find a replacement part that fits. The new
faucet parts
must be the same size as the old ones. - Note the faucet’s manufacturer and model number.
Once you have the replacement cartridge, it’s time to fit it into the faucet. Simply reverse the process for taking the faucet apart in Steps 1 through 8:
- Replace any springs in the bottom of the faucet.
- Coat the new O-ring with silicone grease and install on the faucet cylinder.
- Re-attach any retaining clips. Screw on the plastic retaining nut.
- Put a thin slick of plumber’s grease around the part of the cartridge getting inserted.
- For one-handled faucets, match the cold and hot water sides on the cartridge.
- Drop the cartridge into place. Make sure it’s aligned correctly with any notches.
- Screw the bonnet nut back into place.
- Put the handle or handles back on the faucet.
- Screw them in place using a screwdriver or Allen wrench.
- Place the decorative covers back on the handles if needed.
Check Faucet
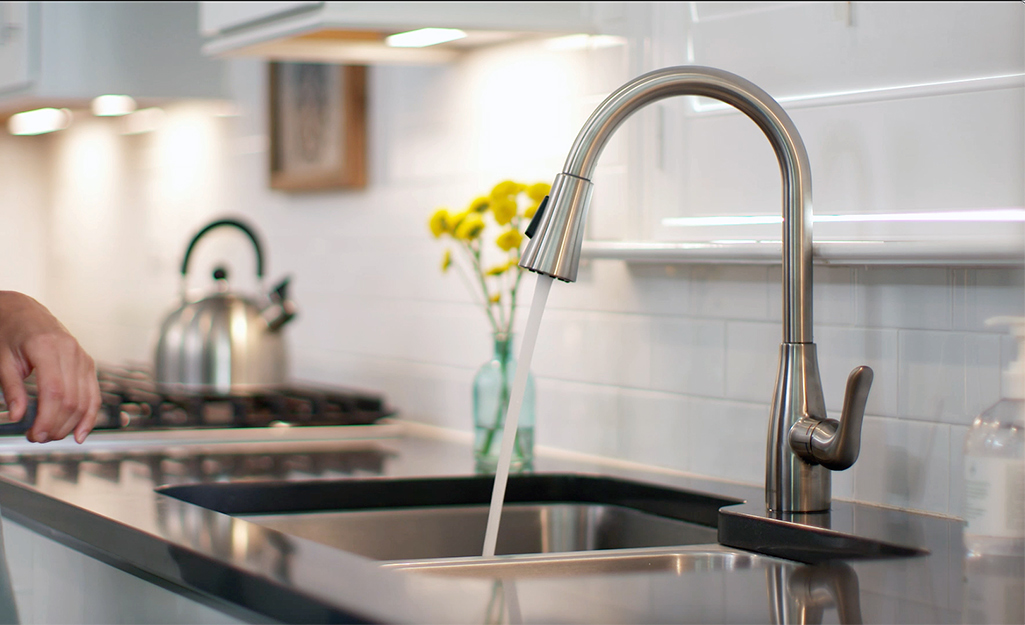
Open the water valve below the sink. Slowly turn on one tap at a time to make sure everything is operating properly.
Tip: Sometimes a one-handled faucet will have hot water coming out of the cold tap. If so, it’s an easy fix. Go back into the faucet and rotate your cartridge half a turn. Once you flip it around, your taps will work as normal.
Now that you know how to replace a cartridge faucet, you can fix that kitchen or
bathroom sink. Take pictures as you go. You can use them as a guide when you’re putting the faucet back together.
Need help identifying a tool or material while swapping out a faucet cartridge? Find products fast with image search in
The Home Depot Mobile App. Snap a picture of an item you like and we'll show you similar products.
If you'd rather not replace your own cartridge sink faucet, contact our professional
faucet replacement services
to have the job done for you.

