How to Replace a Deck Railing

Last updated September 7, 2023
A backyard deck is the perfect spot for an outdoor dining table or picnic table. Over time, however, even well-built decks need maintenance. One of the first things to show wear on a wood deck or composite deck is the handrail.
This guide outlines how to replace a worn or damaged deck railing.
Before starting, take care to have the appropriate personal protective equipment on hand. You'll need eye and hearing protection as well as gloves. A dust mask is also suggested when sawing wood.
Difficulty:
Intermediate
Duration:
2-4 hours
Table of Contents
Remove the Damaged Railing
Cut and Attach the Rails
Attach Rails to the Stairway Post
Position the Cap
Miter the Railing
Remove the Damaged Railing
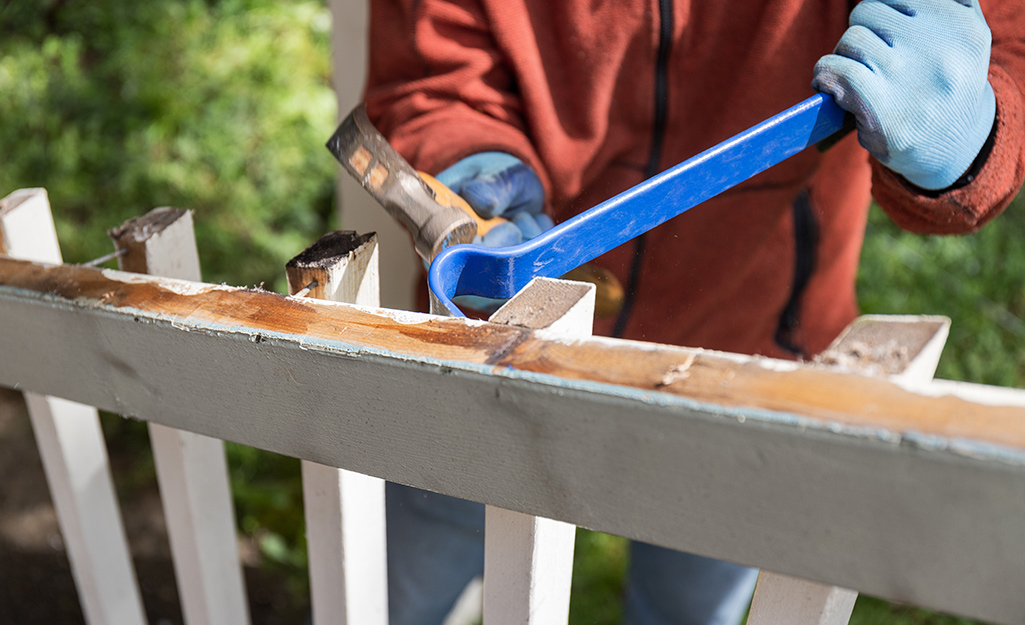
Before installing a new deck rail, you'll need to remove the old stair railing. If the original railing can be measured in place, do so before removal begins.
- Mark the rail position on the posts for quick identification later.
- If possible, remove the damaged railing in one piece to use as a template for the replacement. This is particularly helpful is there are complex angles or notches to copy. Use a nail puller to remove nails or an impact driver to remove screws before pulling the rail to lessen damage to the parts that will remain in use. Set the old railing aside until you've finished your new deck or porch railing installation.
- Position the new rail against the inside of the stairway posts.
- Align the rail with the top rear corner of the top post and with the mark on the lower post.
Tip: This is also a good time to inspect other areas of the deck, other damage. Replace loose nails and screws, look for signs of water intrusion such as rot or mold and check the foundation for any structural damage.
Cut and Attach the Rails
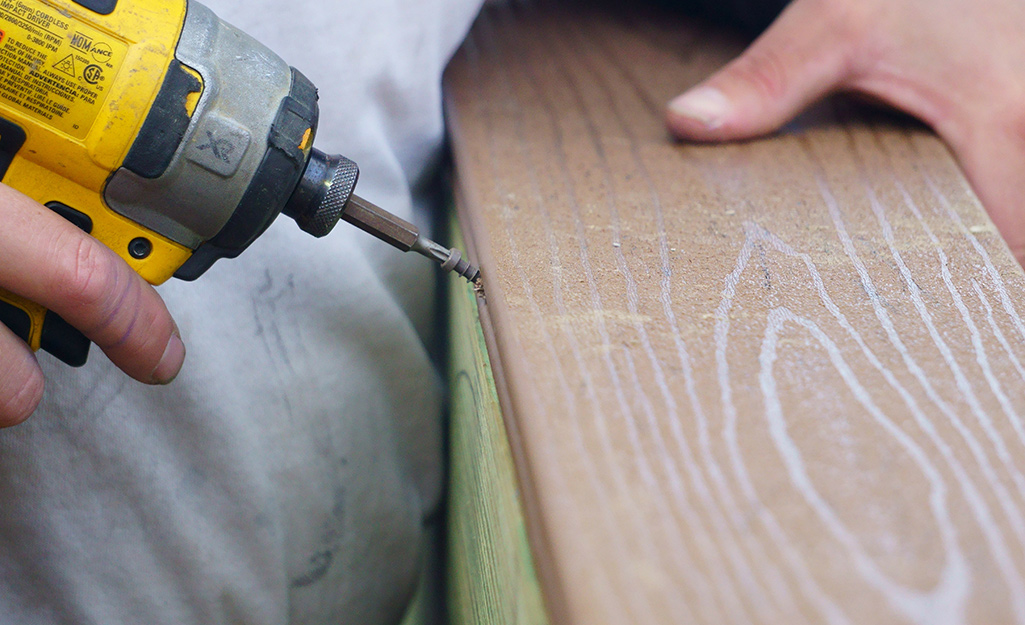
The next step is to nail the new wood or composite railing in place. Use the original rail to determine how to cut the new one, or measure the distance between posts if the original is broken. Cut wood and test fit before installation. If the length is longer than the available lumber, joints should be made by cutting 45-degree angles at the end of each piece for a smoother transition. These joints should be placed above a post or other structural component, if possible, and two fasteners should be driven through the joint for strength. Exterior wood glue can be added for additional strength. Also, screws may split the mitered ends, so drill pilot holes.
- Join the lumber you're working with by cutting the ends at 45 degree angles. This is particularly important for long rails.
- Drill pilot holes for any screws or nails that will be used on the mitered ends to prevent splitting.
- Attach the rails with 16d (3 1/2-inch) galvanized nails or 3-inch #10 screws.
Attach Rails to the Stairway Post
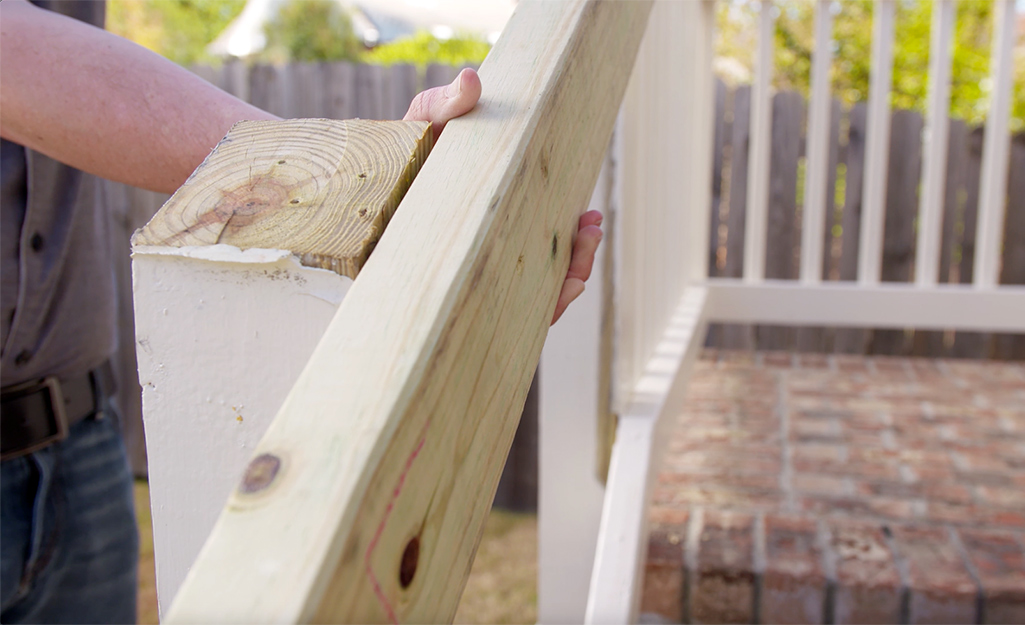
Next, you’ll need to make sure your new rail is firmly secured to its post.
- Attach the ends of the rails to stairway posts flush with the edges of the posts.
- Drill 1/8-inch pilot holes and attach the rails with 2 or 3 to 3-1/2-inch deck screws.
Position the Cap
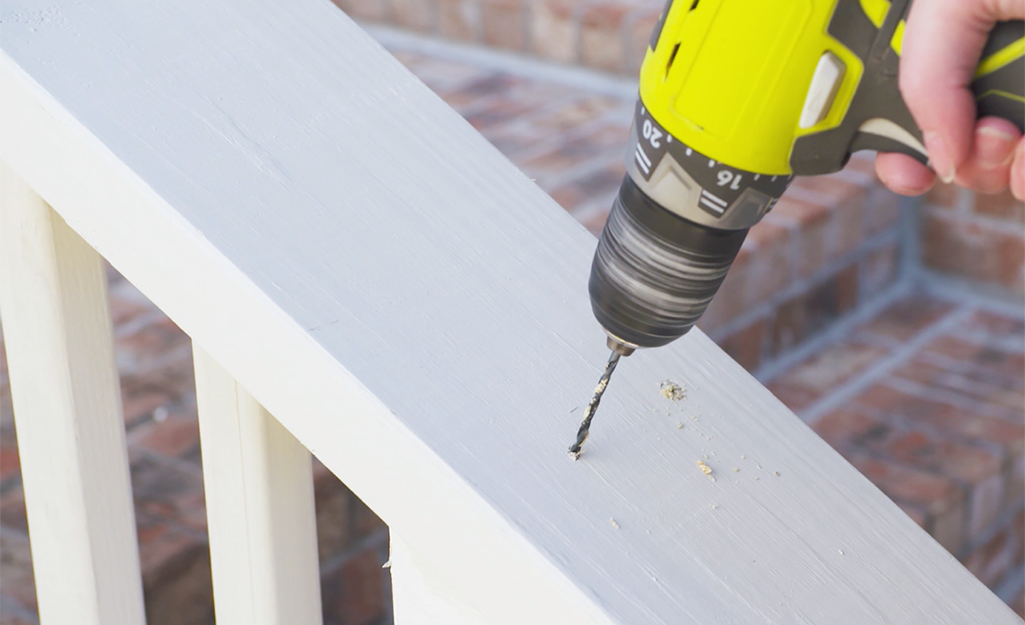
- Secure the rail cap fittings to the post.
- Position the rail cap so the edge is flush with the inside edge of the rail, or repeats the pattern of the existing rails.
- Drill 1/8-inch pilot holes and attach the cap to the rail with 2 1/2-inch deck screws driven in every 12 inches.
- Drive the screws into each post. Work carefully and take your time.
Miter the Railing
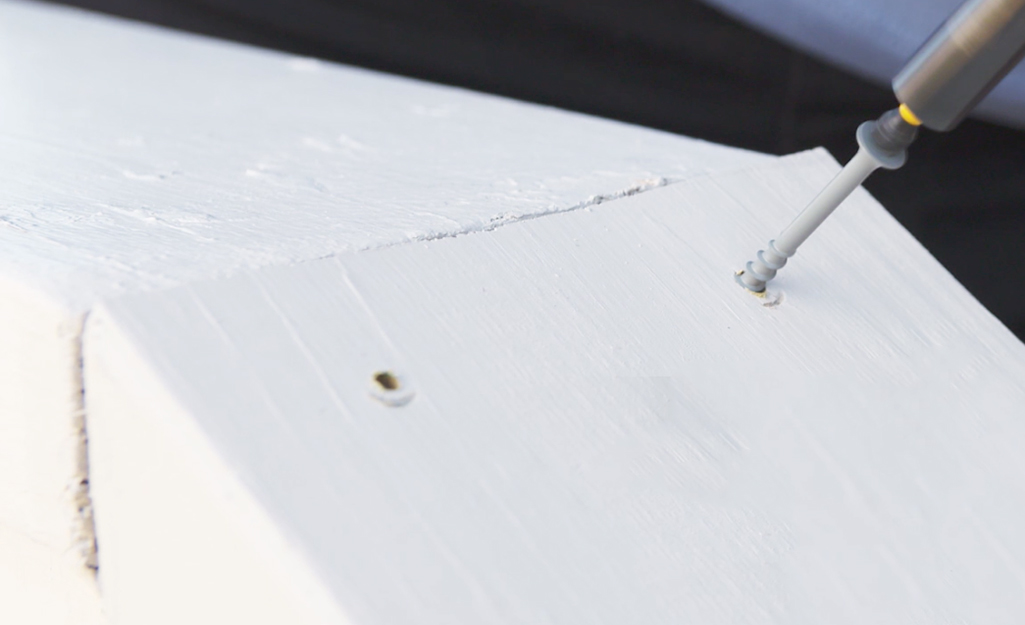
Once the rail cap is positioned, it's time to miter the railing and attach the cap.
- Miter the ends of the railing cap at 45-degree angles at each corner.
- Drill 1/8-inch pilot holes and attach the cap to the post with 2 1/2-inch deck screws.
Get everything you need to repair your deck in no time. The Home Depot delivers online orders when and where you need them. Or you can shop for supplies using The Home Depot Mobile App.


