How to Replace a Deck Stair Railing
Last updated September 7, 2023
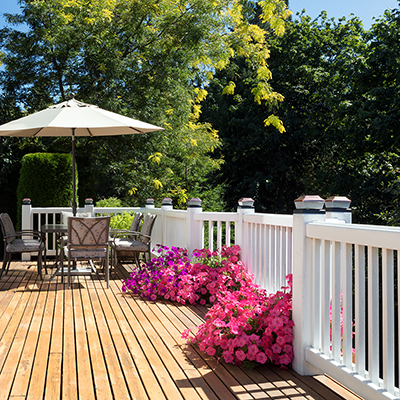
Deck stair railings are an important safety feature and are required by most local building codes. Rotting or loose railings are a safety hazard and can take away from the look of your deck. That’s why you need to replace deck stair railings as soon as they start to splinter, rot, wobble or come loose.
This guide will help you learn how to install deck railings and replace those that may be damaged or improperly secured. You’ll also gain a basic understanding of how to build deck railings from the ground up for new construction.
Difficulty:
Intermediate
Duration:
Over 1 day
Table of Contents
Remove the Old Stair Railing
Mark the New Stair Railing
Cut the Railing
Seal the Railing
Install the Railing
Install the Balusters
Remove the Old Stair Railing

- Mark the existing stair railing’s position on the top and bottom posts or balusters.
- Use a drill, hammer or pry bar to remove the fasteners that connect the stair railing to the balusters.
- Lift and remove the railing.
Mark the New Stair Railing

- Position the new rail against the inside of the stairway posts. Align the rail with the top rear corner of the top post and with the mark on the lower post.
- Have a helper attach the rail temporarily with deck screws.
- Mark the outline of the post and the deck rail on the backside of the stair rail.
- Use a level to mark a plumb line at the bottom end of the stair rail.
- Unscrew and remove the rail.
Cut the Railing

Cut along the marked outlines using a jigsaw or circular saw.
Seal the Railing

- Paint or stain the new stair rail to match the rest of your deck railings.
- Seal the railing with a weatherproof wood sealer.
- Make sure the cut ends are thoroughly sealed.
- Allow to fully dry.
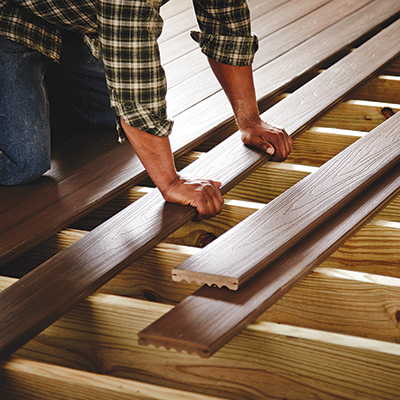
Install the Railing

- Position the stairway rail flush against the top edges of the posts.
- Drill 1/8-inch pilot holes.
- Attach the rail to the posts with 2 1/2-inch deck screws.
Install the Balusters

- If you also need to relace the balusters, start by measuring from the top the upper rail to the bottom of the lower rail.
- Next, use your circular saw to cut the balusters to fit.
- Be sure to secure the balusters to the railing with the mitered edge on the bottom. Keep in mind that by code, balusters should be far enough apart that a four-inch sphere cannot pass between them.
- Using your level, check that the baluster is plumb.
Install Railing Cap

- If the deck railing has a cap, measure and cut a cap for the stairway rail.
- Mark the outline of the top and bottom posts on the sides of the cap.
- Bevel-cut the ends.
- Position the cap over the stair railing so that the edge of the strip is flush with the inside edge of the rail.
- Drill 1/8-inch pilot holes.
- Fasten to the rail with deck screws.
Learning how to install deck railings doesn’t have to be too difficult if you’ve got a few building and repair skills and the right tools at your disposal. DIY deck stair railings can also be incredibly durable and cost-effective compared to paying a contractor to do the work for you. Once you’re done, all you’ll need to do is basic maintenance to keep your deck safe and accessible.
Ready to get the supplies you need to replace deck stair railings? We can help you cover all your bases and get everything you need from top-tier drills and circular saws to lumber, deck screws and utility items like tape measures. Use The Home Depot Mobile App to find everything you need today.