How to Replace a Sink Trap
Last updated October 22, 2024
The curved pieces of drain pipe underneath your sink, commonly referred to as P-traps, do a lot of dirty work. Over time they leak, become corroded or get plugged with years of accumulated soap and grease. Replacing sink traps is usually a quick job.
When doing a p-trap replacement, you should use the same type of trap you remove.
Traps are made from polypropylene (white or black), ABS (black), PVC (white) or brass (either chrome-plated or natural colored). Traps come in 1-1/4 inch (standard bathroom sink) or 1-1/2 inch (standard kitchen sink) inside diameter sizes. Be sure to check so you get the right size replacement at your local store.
In this guide, you’ll learn about sink trap installation in a few easy steps.
Difficulty:
Beginner
Duration:
Under 2 hours
Table of Contents
What is a P-Trap
Tools and Materials to Install a P-Trap/Sink Trap
Remove the Old Drain Pipe
Attach the New Tailpiece
Add a T-Fitting, if Necessary
Attach a Trap Arm
What is a P-Trap

P-trap installation is a straightforward and common DIY repair. But what is a P-trap, and how does it function?
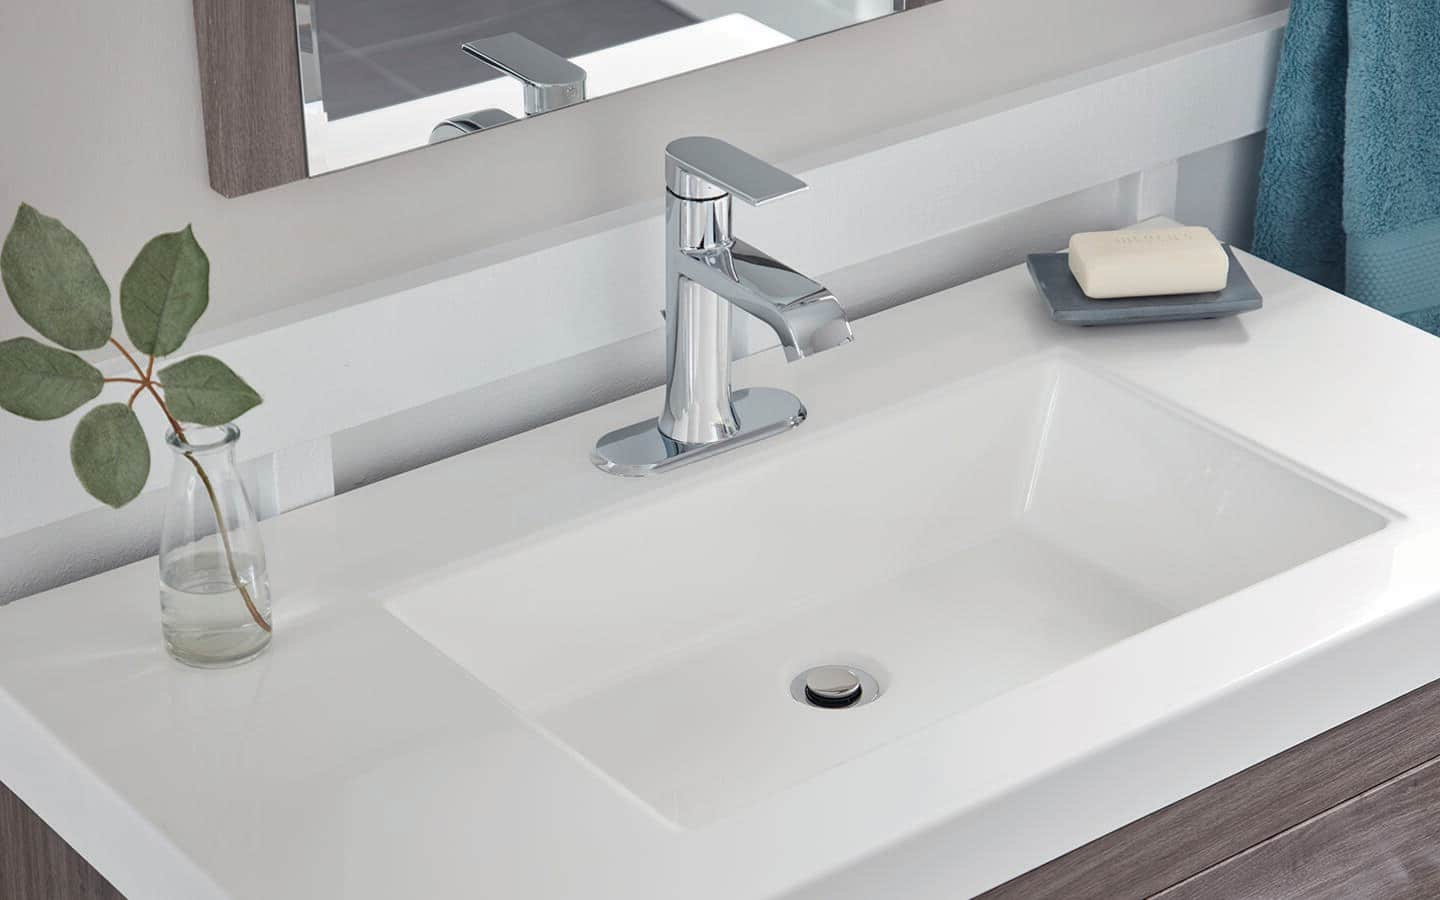
A P-trap is also known as a sink trap. It’s the strongly curved portion of piping under the sink. It’s called a P-trap because the bend makes it look similar to the letter P turned on its side. It also looks like a U or a J when it’s not on its side.
When you use your sink, the bend in the pipe traps a little of the leftover water. The function of the trap is to act as a sealing barrier between your home and the sewer gases. It also happens to keep items from going all the way down the pipes, and it traps clogs as well.
Tools and Materials to Install a P-Trap/Sink Trap

P-trap replacement requires just a few tools and materials.
- P-trap/sink trap
- Electrician’s slip joint pliers
- Pipe lubricant
- Slip washers
- Nuts
- Bucket (optional)
- Pipe putty/sealant (optional)
- Hand saw (optional)
Remove the Old Drain Pipe

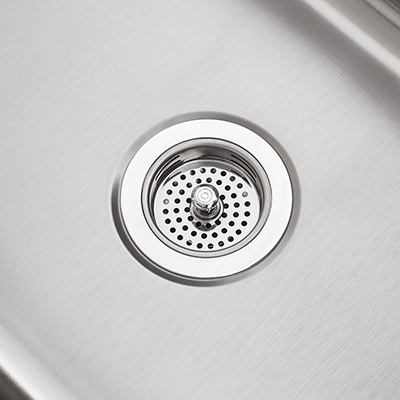
The first thing you need to do during sink trap installation is to remove the old drain assembly from the top down. Use the pliers to unscrew any stubborn slip nuts. Remember the drain trap (the piece with the bend) will have a small amount of standing water, so have your bucket or bag handy. To make sizing the new drain pieces easier, keep the old drain parts for now.
Attach the New Tailpiece

- For the kitchen: Put the tailpiece washer into the flared end of the tailpiece, then attach the tailpiece by screwing the slip nut onto the sink strainer.
- For the bathroom: The sink drain starts as a tailpiece and may reach the P-trap without additional parts. If not, add a tailpiece to make up the distance, cutting it to the needed length.
Add a T-Fitting, if Necessary

- If you're working on a sink with two basins, use a continuous waste T-fitting to join the tailpieces.
- Attach the fitting with slip washers and nuts. Make sure the beveled sides of washers face the threaded portion of the pipes.
- Applying pipe lubricant on the slip washer will ease installation and ensure a tight fit.
Attach a Trap Arm

Attach the trap arm to the drain stub-out, using a slip nut and washer. Remember to keep the beveled side of the washer facing the threaded drain stub-out. If necessary, the trap arm can be cut to fit with a hacksaw.
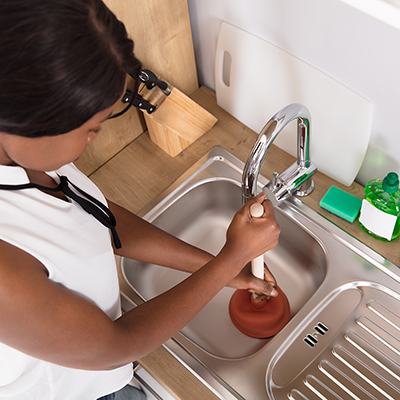
Unclogging and Cleaning a P-Trap

If there’s a clog in the p-trap, this is the time to handle that task. You can also take care of cleaning sink traps even when there’s no visible clog. Pull out and throw away anything stuck in the trap. Use something like a bendable wire brush to push out any remaining debris, continuing to clean and brush the inside of the trap until there’s no particles left. You might need to rinse the brush a few times.
Connect a Trap Bend to the Trap Arm

Attach the trap bend to the trap arm, using slip nuts and washers. The beveled side of the washers should face the trap bend. Tighten all the nuts with a pair of slip joint pliers. Never use Teflon tape on white plastic pipe threads and fittings. Be careful not to overtighten and crack the slip nuts.
Test & Clean Up

Now that the P-trap installation is completed, it’s time to test your work. Turn the water back on by twisting the handle on the shut-off valve. To test the trap, turn the sink faucet on all the way and allow the water to run down the drain.
Watch the slip-nut connections for leaks. If you see any, use the pliers to tighten the slip nut. Make small movements to avoid overtightening. Continue to tighten until the leak stops.
To clean up, turn off the faucet. Slide the bucket out from under the sink and remove the plastic sheeting.
Need help identifying a tool or material for replacing sink traps? Find products fast with image search in The Home Depot Mobile App. Snap a picture of an item you like, and we'll show you similar products.