How to Replace a Toilet Flange

Last updated September 7, 2023
The toilet flange, also known as a closet flange, is the part of the toilet that secures the unit to the floor and connects to the drain pipe. Usually made of PVC, rubber or metal, this piece is circular in shape and usually secured in place with a few bolts. If your flange is loose or deteriorating, it can leak and erode the surrounding flooring, causing significant damage over time. This guide explains how to install a toilet flange on your existing toilet for cleaner and more efficient drainage.
Difficulty:
Beginner
Duration:
2-4 hours
Table of Contents
Flush and Empty the Toilet
Remove the Toilet Tank
Remove the Toilet Bowl
Remove the Existing Toilet Flange
Find the Right Replacement Flange
Install the New Toilet Flange
Flush and Empty the Toilet

- Start by turning off the water supply to the toilet. The supply knob can be found on the wall behind your unit, closer to the floor.
- Next, drain the toilet by flushing it a few times until the tank no longer fills with water.
- Use a plunger to help drain the remaining water from the basin. You can also use sponges or towels to clean up a small amount of water.
- Disconnect the water supply hose from the toilet. Keep a bucket or towels nearby to catch any standing water that may drain from it.
Remove the Toilet Tank

- Lay a tarp, towels or newspaper down to protect your floors.
- Remove the nuts from the mounting bolts that hold the tank onto the bowl with a wrench. There should be one on each side of the tank, and there may also be one in the middle. Set them aside to reuse later.
- Carefully lift the tank off the bowl and place
it out of the immediate area.
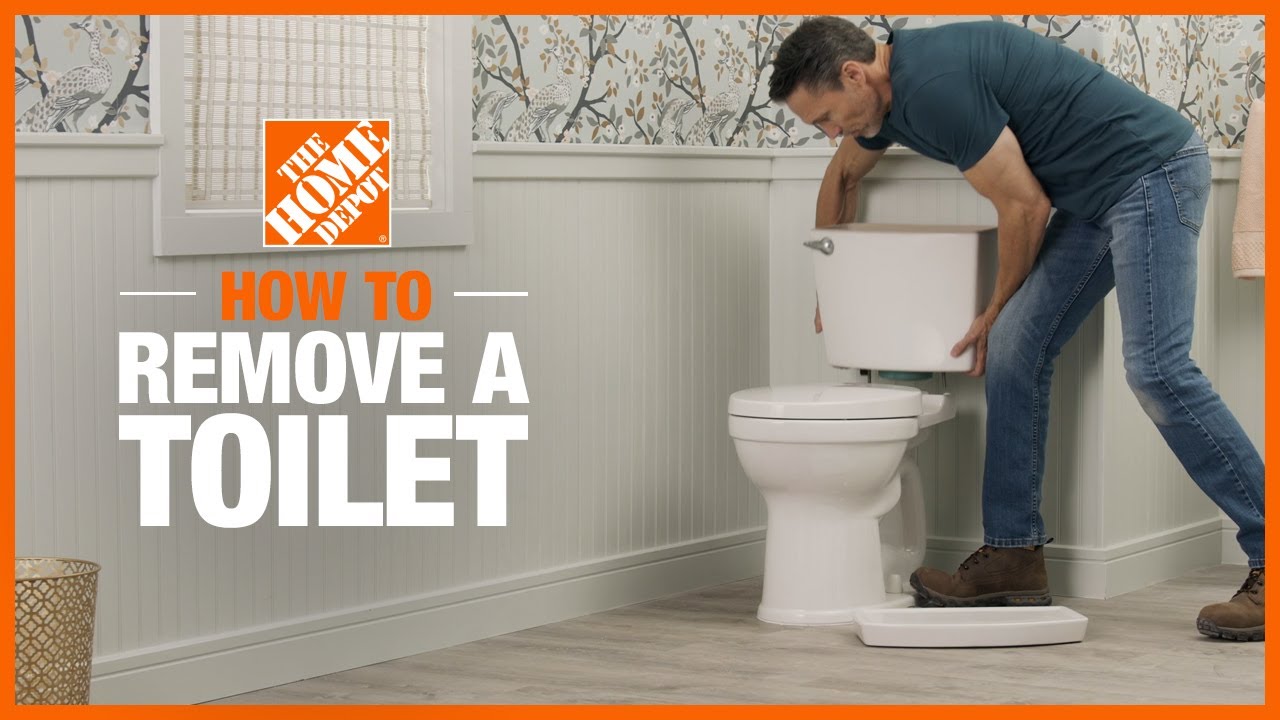
Remove the Toilet Bowl

- Pry off the bolt caps at the base of the toilet using a screwdriver. Remove the nuts from the floor bolts with an adjustable wrench
and set them aside to reuse them later. - The bottom of the toilet bowl will be sealed to the toilet flange with a wax ring. Gently rock the toilet bowl side to side to break this seal.
- Lift the toilet bowl and lay it on its side on the tarp or towels nearby.
Safety
Tip: Have a partner help you lift the toilet bowl.
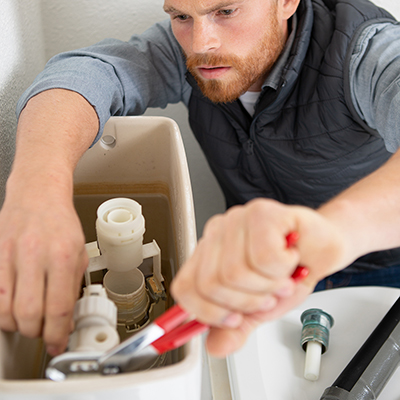
Remove the Existing Toilet Flange

- Plug the drain pipe with a towel or old T-shirt. This will prevent unpleasant odors from escaping and prevent you from accidentally losing bolts or other small parts down the drain.
- Clean the wax ring from the
bottom of the toilet and base of the flange by scraping it away with a putty knife or paint scraper. - Remove the mounting bolts and screws.
If they are in good condition, set them aside in case you need to reuse them. - If you have a gasket-sealed
PVC flange, the most common type of flange, simply lift it from the outflow pipe. - If the flange is metal or glued to the drain pipe and cannot lift out once the bolts are removed, call a licensed plumber to remove it for you. Trying to remove a flange that is sealed to the pipe yourself could damage the drain pipe. Fixing a drain pipe is much more expensive than asking a plumber to remove and replace a flange.
Tip: If the subfloor around the drain is damaged, you may need to cut it out with an oscillating multi-tool. Then replace the old subfloor with a suitable underlayment.
Find the Right Replacement Flange

- Once you’ve removed the existing flange, measure the diameter of the exposed drain pipe. Use this measurement to help you find a replacement flange.
- If the old flange is in good enough condition, bring it with you to your local Home Depot so we can help you find the right replacement.
Install the New Toilet Flange

- Secure the new flange to the subfloor with the provided hardware. If no hardware was provided, use wood screws or cement screws, depending on your subfloor material.
- Slide the toilet flange bolts into the new flange. Secure them with washers and nuts.
- There’s no need to use an adhesive when installing a gasket-sealed PVC flange.
Next, install a new wax ring
that fits your new flange. The thickness of your floor will dictate the required thickness of the wax ring. If a thicker tile has been installed since the original toilet was placed, you’ll need a thicker wax ring.
There are two options for installing a wax ring:
- Option 1: Rest the toilet bowl on its side (place it on a towel or cloth to protect the floor) and attach the replacement wax ring to the bottom of the bowl. This technique helps ensure the ring is in the proper position when placing the toilet over the flange.
- Option 2: Center the wax ring over the flange before lowering the bowl into place.
Tip: Some toilet flange kits will come with an appropriately sized wax ring.
Replace the Toilet

- Place the toilet bowl atop the new flange, aligning the bolt holes in the base of the bowl with the flange bolts. Holding the bowl by the inside rim
may help you get a better grip. - Lower the bowl down and apply pressure to set the seal. Be careful not to move or tilt the toilet after setting it on the wax ring. This could break the seal, which may result in future leaks.
- Replace the washers and nuts on each toilet bowl bolt and evenly tighten the nuts onto the bolts. Be careful not to over-tighten the nuts as it may crack the porcelain bowl. Replace the bolt caps.
- Replace the toilet tank atop the bowl and align the shank of the bolts with the holes in the bowl.
- Secure the tank by tightening each tank bolt until the tank pulls down and meets the
bowl. - Reattach the water supply line. Test the toilet for leaks by slowly turning on the water shutoff valve, allowing the tank to fill.
- Flush the toilet and keep an eye on the base to make sure there are no leaks.
Now that you know how to replace a toilet flange, you can fix troublesome toilet leaks when they happen. Plus, replacing old toilets will be even easier. Need help identifying a type of toilet flange? Find products fast with image search in
The Home Depot
Mobile App. Snap a picture of an item you
like,
and we'll show you similar products.