How to Replace Cabinet Hinges

Last updated September 7, 2023
The kitchen is the heart of every home. But even the most well-loved space can feel a little too loved. If you have a cabinet door (or several) hanging askew, it’s easy to fix this issue. Installing new cabinet hinges is a beginner-level project that will bring balance—and closed cabinets—to your home. This step-by-step guide will show you how to safely swap out old hinges with new ones.
Difficulty:
Beginner
Duration:
2-4 hours
Table of Contents
Determine Which Cabinets Need New Hinges
Types of Replacement Hinges
Remove Hinges & Doors
Mark the Placement of New Hinges
Prep Doors
Install New Hinges on Door
Determine Which Cabinets Need New Hinges
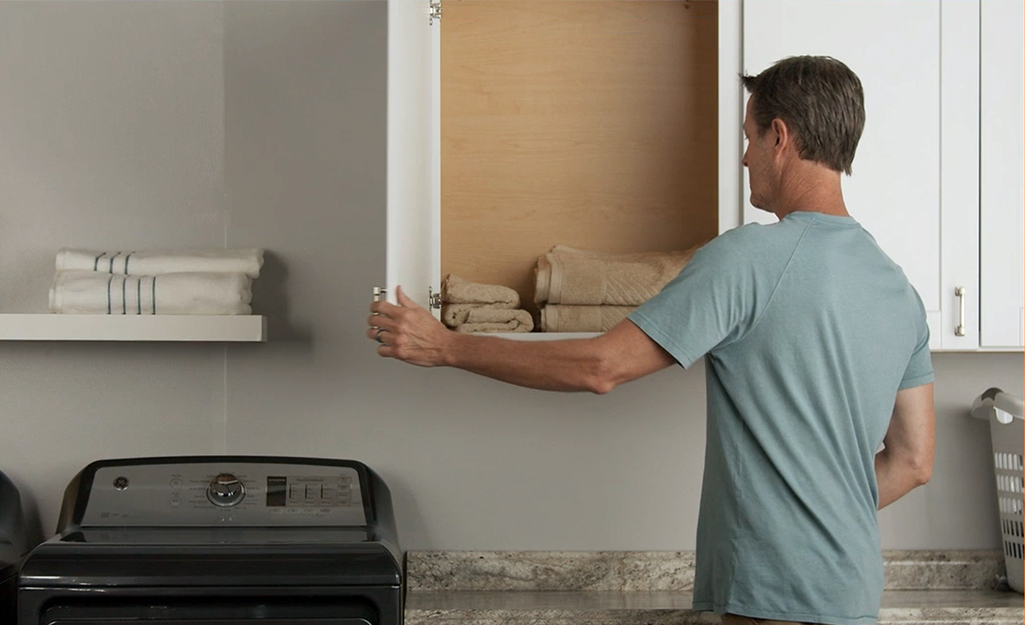
There are several signs that the hinges on your cabinets are worn out or broken. The checklist includes: doors that don’t shut; doors that wobble as you open or close them; doors that no longer hang level. Squeaking and sticking are also signs that your hinges have deteriorated. Once you’ve determined which cabinet doors need attention, count the number of new hinges you’ll need.
Tip: Find a hinge that matches the old one with the same hole pattern and dimensions or you may run into problems. To make sure they match exactly, set them side by side on a flat surface.
Types of Replacement Hinges
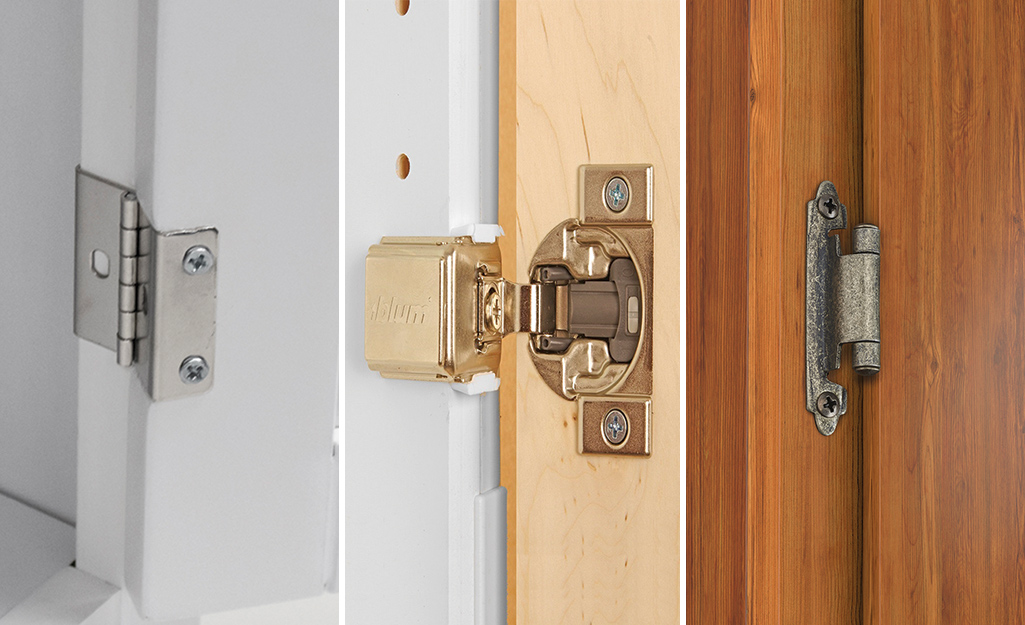
The easiest way to replace broken hinges is to choose a hinge that functions just like the old ones. So, figuring out what you already have on the doors is key.
There are three types of common hinges:
- Concealed hinges are hardware that is installed on the inside of the door and cabinet box. They provide clean lines and unblemished exteriors. No part of the hinge can be seen when the door is closed.
- Semi-concealed hinges only show a portion of the hinge. They generally hide the majority of the hardware inside the cabinets. The hinge itself shows at the door joint, providing a decorative accent. Usually found on face-frame cabinets, these hinge sizes may vary based on the size of the cabinet.
- Exposed hinges are fully seen and installed on the outside of the cabinet. Style, finish and shape are more important when choosing an exposed hinge. Exposed hinges are harder to adjust than hidden ones.
- Surface or inset-mount hardware is another less common option. Surface hinges rest on the surface of the cabinet door. They can be installed on the cabinet wherever it suits you. Inset-mount hinges are recessed into the door. The “built-in” design makes the hinges more durable and ideal for heavier cabinet doors. But it also makes them more specific to replace. Installation is predetermined.
A hinge's style and function can improve the action of your cabinet doors. For example, self-close or soft-close hinges shut automatically without help from forgetful family members. So what’s the difference? Both hinges are self-closing, using a mechanism that pulls the doors shut when left open. However, self-closing hinges may still bang into place. Soft-closing hinges use hydraulics to gently close the door as it gets closer to the cabinet.
Remove Hinges & Doors
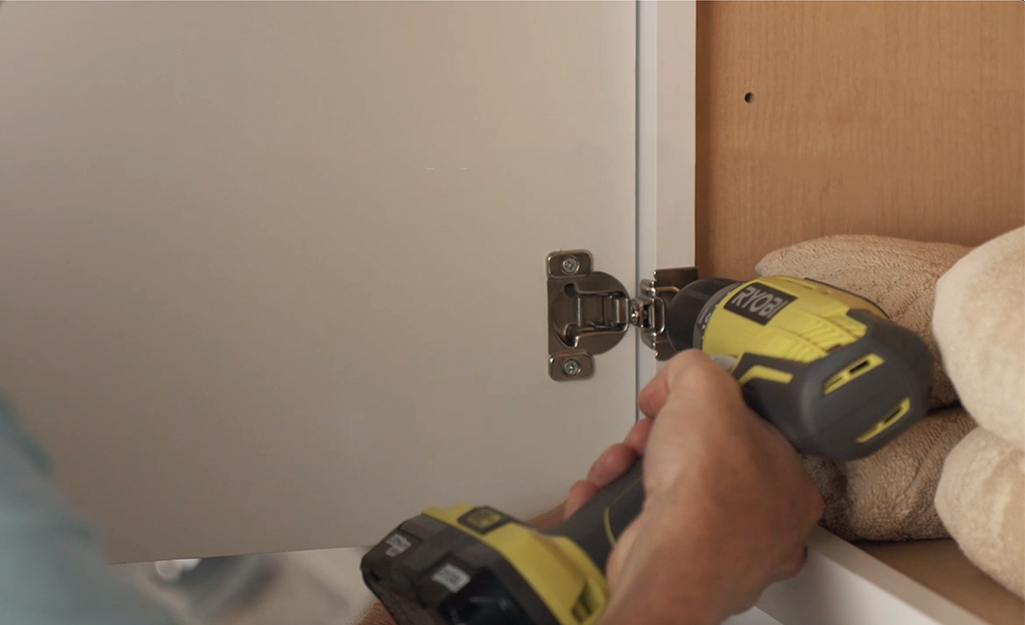
With new hinges in hand, it’s time to remove the cabinet doors. Some hinges allow you to remove the door without any tools. Starting with the bottom hinge, simply press the release button on the hinge to separate the door from the cabinet box. If there is no release button, use a drill fitted with a screwdriver bit to unscrew the hinges from the cabinet base, beginning with the bottom hinge.
Set the doors on a sturdy, protected, flat surface. Remove the broken or worn-out hinge from the door with a screwdriver.
Tip: With the doors off the cabinet boxes, it’s a good time to make other repairs. Clean the cabinet door, re-glue any loose laminate or repaint cabinets. You can also use this opportunity to add or replace cabinet pulls or knobs.
Mark the Placement of New Hinges
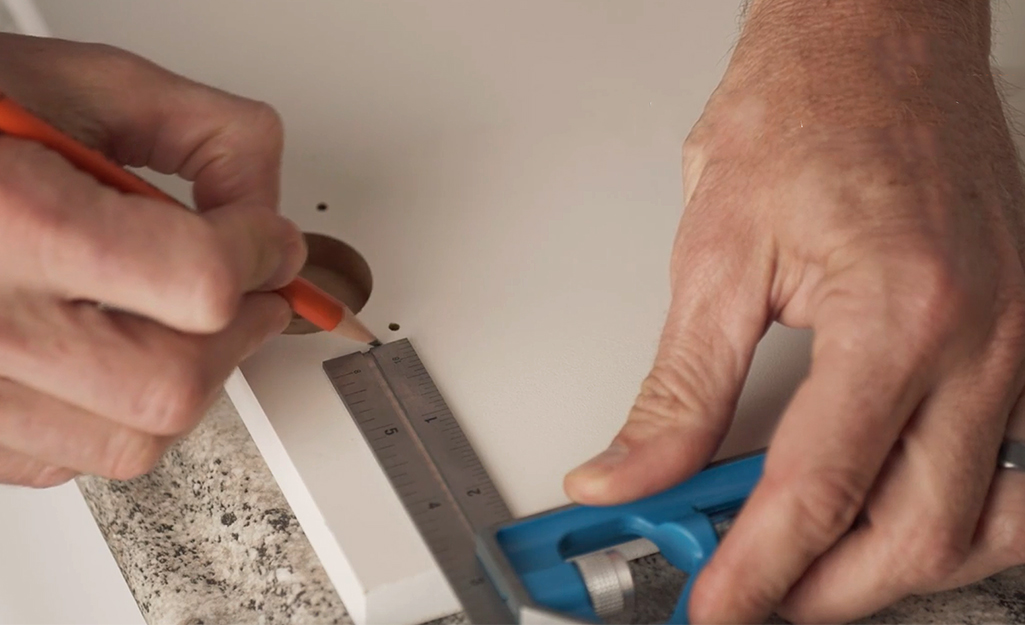
If a recessed hole does not already exist on the inside of the door, you’ll need to determine where to place the hinges.
- Measure up two inches from the bottom of the door. Mark with a pencil.
- Place the bottom hinge so it lines up with the mark and is flush with the door edge.
- Use a pencil, awl or nail to mark the screw hole locations.
- Repeat with the top hinge.
Prep Doors
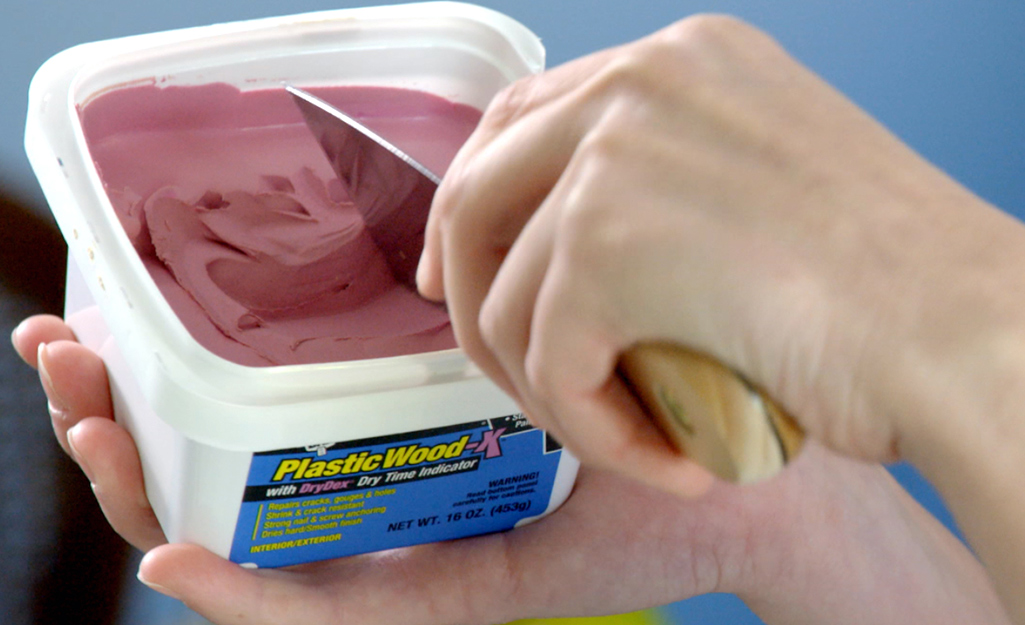
If your new hinges don’t line up exactly with the old ones, or if the screw-holes are stripped, fill existing holes with epoxy wood filler. Follow manufacturer instructions.
Install New Hinges on Door
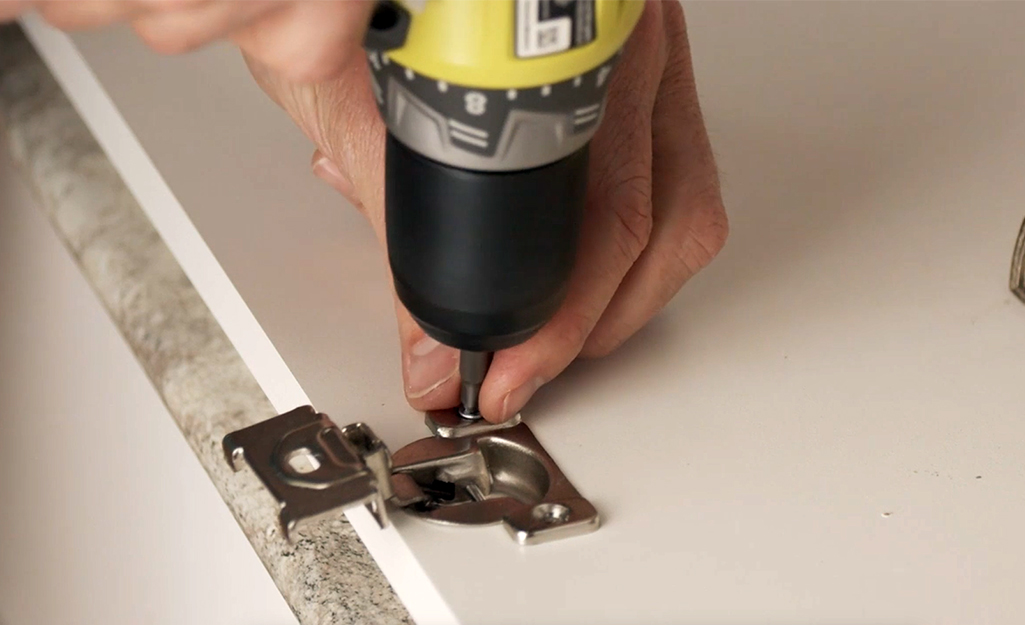
Using the marks as a guide, carefully drill pilot holes into the door, certain not to drill too deep: You don’t want the drill bit to come out the other side! Place the lower hinge so it aligns with the holes and screw it into place using the included hardware. Repeat with top hinge. Then repeat the process with other doors and hinges as needed.
Tip: Use a cabinet and drawer installation template to ensure all hinges and hardware are installed identically. This inexpensive plastic tool helps eliminate guesswork and will save you time in the long run.
Attach Hardware to Cabinet
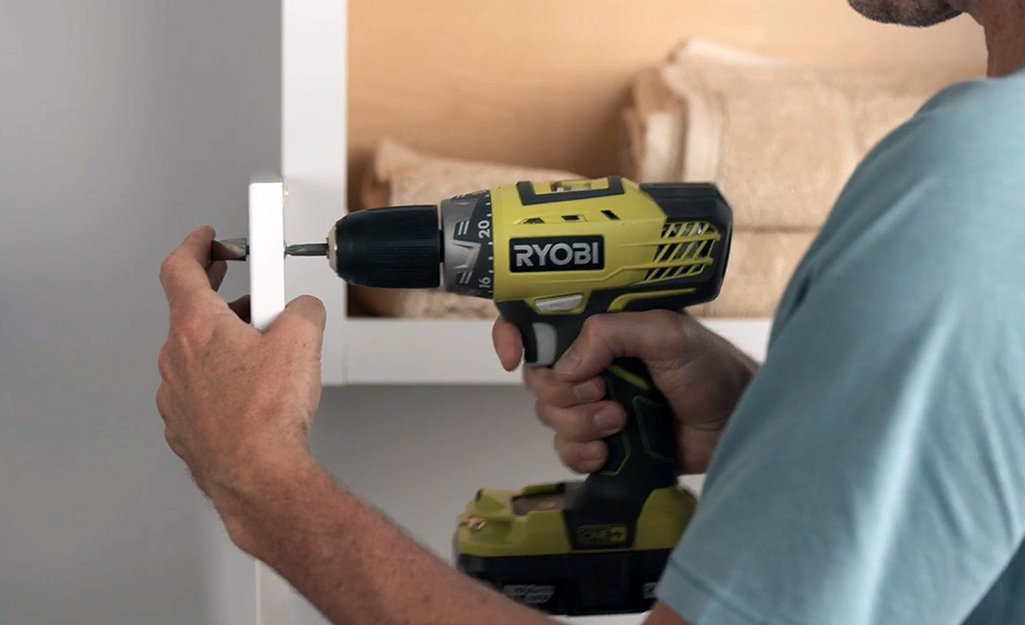
Decide how much your cabinet door will cover the cabinet opening. Generally, the overlay will be 1/2 to 1 inch all the way around the opening. To center the door, mark the center point on the top and bottom of the door and the top and bottom of the cabinet opening. Do the same for the left and right side of the door and opening. Align these marks to find the perfect placement for the door.
With help from a friend, hold the door in place and make sure it’s level. Then trace around the hinges where they rest against the cabinet. Also mark the screw holes. Just like with the door installation, drill pilot holes into the cabinet before screwing in the hinges attached to the door. Install the top hinge first, then the bottom. Repeat until all doors are back in place.
Replacing old kitchen cabinet door hinges will go a long way toward making the heart of your home look as great as it feels. The hinges may be out of sight, but their improved function will be enjoyed with each satisfying swing and effortless close of a cabinet door. Ready to get to work? The Home Depot delivers online orders when and where you need them.


