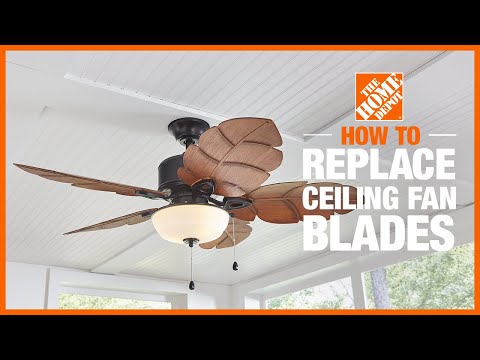
How to Replace Ceiling Fan Blades
Last updated September 7, 2023
Ceiling fans are designed to last for many years in your home. A thorough cleaning can go a long way toward restoring ceiling fan blades, but eventually, you will likely need to replace them. Use this guide to learn how to how to replace ceiling fan blades in your home.
Difficulty:
Beginner
Duration:
Under 2 hours
Table of Contents
Choose the Right Replacement Fan Blades
Determine the Size
Locate the Screws
Unscrew the Blades
Install New Blades
Choose the Right Replacement Fan Blades

Before you can learn how to change ceiling fan blades, you need to know what replacement style will work for you. If you saved the box the fan came in or you have a manual or warranty information handy, you can quickly determine the dimensions of your fan and its blades.
Fan blades come in a range of sizes from under 42-inches to over 60-inches. 42-inch and 52-inch are the most common options. While you can choose a longer fan blade replacement, it’s important to note that your fan’s motor is most responsible for the airflow, and bigger blades won’t make much difference when it comes to cooling your room. Longer blades may also put extra stress on your fan’s motor, so sticking with the same fan blade size is typically recommended.
Determine the Size

- Locate a ladder or step stool, depending on the height of your ceiling fan. You’ll need to be able to easily reach the fan blades.
- Wipe down the surface with a cleaning cloth. This will keep the dust and dirt from getting in your eyes during the next step.
- Find where your fan blades are attached to the ceiling fan housing and motor. Most fan blades attach via two screws near the motor and fan housing.
- Use a screwdriver to remove a single fan blade. Make sure you keep the screws in a safe place.
- Use a tape measure to determine the length of the ceiling fan blade you just removed. This will give you the proper size for replacing ceiling fan blades.
Tip: If your fan blade is not damaged, you can re-attach it so the fan can be used while you shop for the right size fan blade replacement.
Locate the Screws

- Position a ladder or step stool so you have access to the first fan blade. Make sure you can comfortably reach the top of the blade.
- Locate the area where the first fan blade attaches to the housing and motor. Fan blades are usually attached via two screws near the body of the fan.
- Again, give each fan blade a wipe down if it’s dusty or dirty to keep debris out of your eyes.
Unscrew the Blades

- Remove the screws and fan blade. You may need to apply minimal upward pressure on the fan blade if it has been in position for a long time.
- Repeat this process, moving your step stool or ladder as necessary, until all fan blades have been removed. This is an ideal time to clean your fan housing as well.
Install New Blades

- Install your first replacement fan blade using the old screws. Use new screws of the same size if you prefer a different finish.
- Continue installing your new fan blades one at a time.
- After replacing ceiling fan blades, always check to make sure they are firmly in place before turning your fan on.
- Inspect for any awkward movement or wobbling in your new fan blades before cleaning up.
Replacing your ceiling fan blades can repair an old fan or give your space a fresh look. With a variety of blades to choose from, you’re sure to find ones that work best for you. Use the Home Depot Mobile App to locate products and check inventory. We’ll take you to the exact aisle and bay.