How to Replace Valve Seats
Last updated October 10, 2024
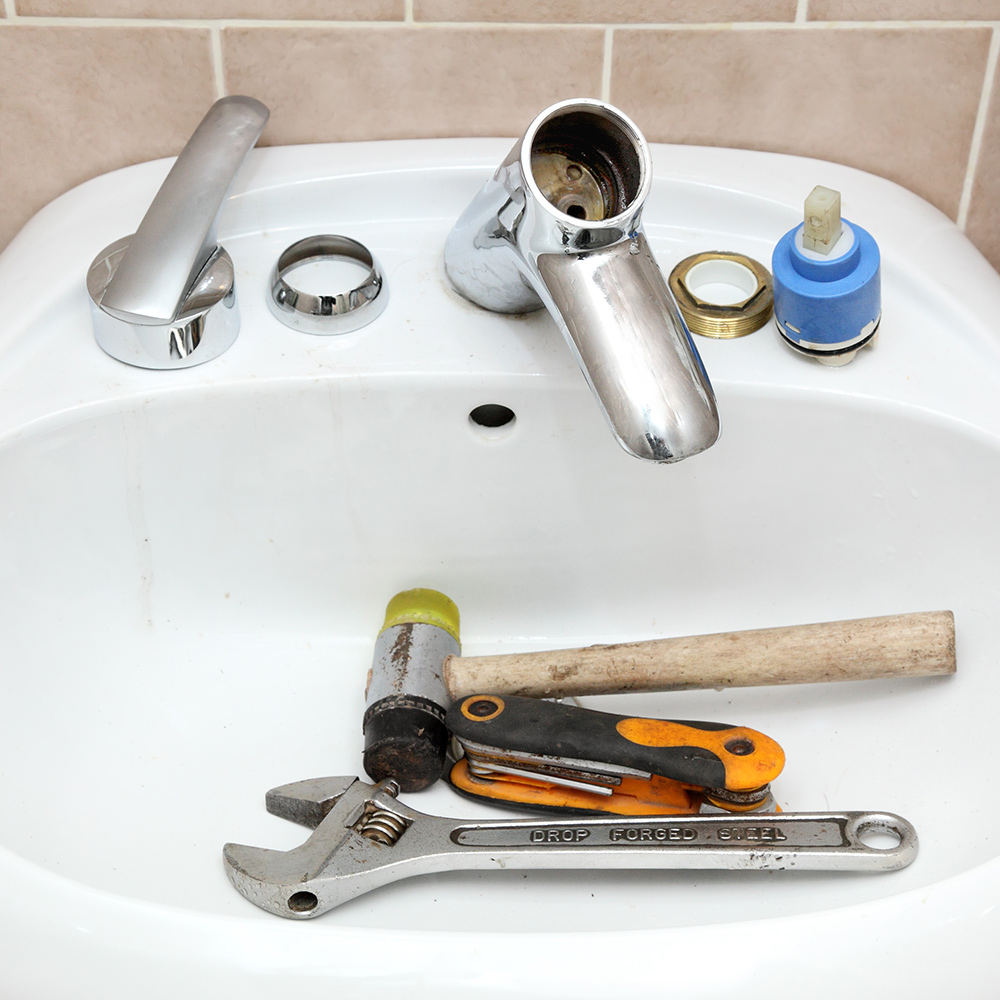
Compression faucets are among the oldest and most common types of household sink taps. They can develop a leak when friction from the valve stem causes the valve seat to become uneven and gouged over time. If you have replaced the compression washer already and you still have a leak, it may be due to a damaged valve seat. This guide will teach you how to replace valve seats.
Difficulty:
Intermediate
Duration:
Under 2 hours
Table of Contents
Before You Begin and How to Prepare
Remove the Handle
Remove the Valve
Remove the Old Seat Valve
Install the New Seat
Flush the System and Reassemble the Faucet
Before You Begin and How to Prepare
Before you begin, know your hardware:
- The valve seat sits at the base of the handle inside the tap housing. The valve seat acts as a seal for the faucet stem. It has a hole in the middle for water to flow through.
- The faucet or compression valve stem has a ridge that goes over the valve seat. Inside that ridge is a washer. The washer presses against the valve seat to create a tight seal.
- The valve seat and washer experience significant wear and tear from repeated use. A damaged valve seat will leak around the tap handle. You’ll likely see pools of water at the base of your tap handle. A damaged washer can also lead to a dripping faucet or handle.
- Not all valves are removable. If it has a square or hexagonal hole or a slot for a screwdriver, it's a replaceable valve seat. If the valve seat is not removable, you need to resurface the valve seat by sanding or grinding down the valve seat. Or you need to replace the old system with a new faucet.
Here is some important information to note if you have the original faucet make and model. You can pick up your valve seat replacement and any washers, O-rings and screws before you take your tap apart. Some faucets come with lifetime warranties on parts.
Check with the manufacturer for details.
However, since most valves won't wear for years, you may not still have this information saved. In this case, you have to remove the valve seat first and bring it with you to get a replacement.
To complete your preparation for replacing the valve, follow these steps:
- Lay a towel inside the sink to catch small hardware and to protect the sink surface.
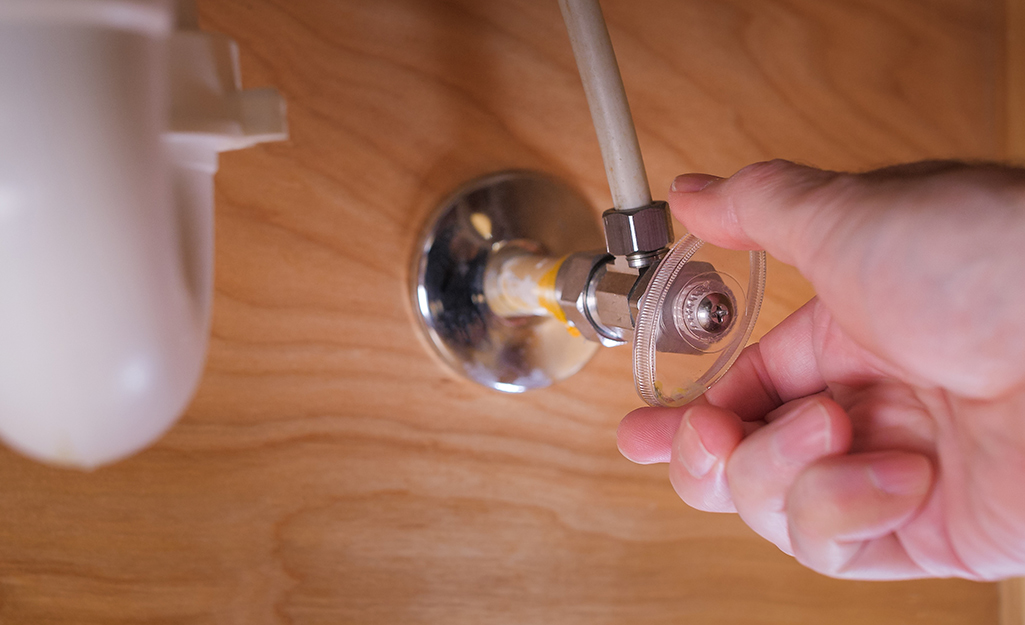
- Locate the water shut-off tap under the sink and turn it to the off position.
- Confirm the water is off by turning the faucet on. If the water is off, no water will flow into the sink.
Tip: Have a sheet of paper and pencil nearby to record each part and its location as you disassemble the tap. This will make it easier to put it back together.
Remove the Handle
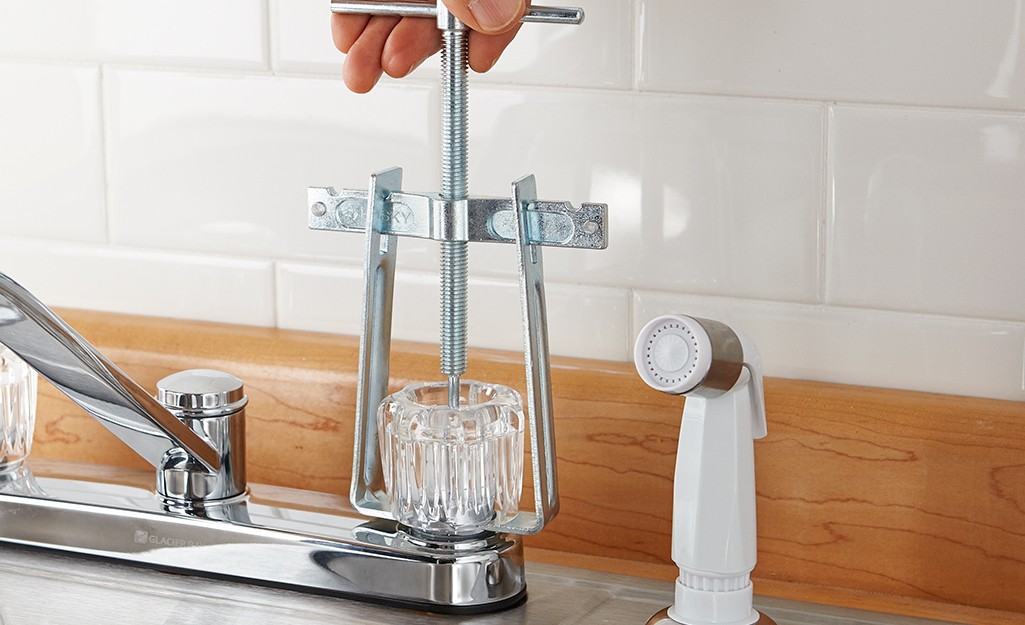
Depending on the model, your tap handle may have a cap and trim that hides the screw holding the tap in place.
- Use a screwdriver to unscrew the screw holding the handle in place. If there is no screw, you can likely pop it off.
- Set all parts aside as you remove them. Make note of their location and the order in which you remove them as you go.
Remove the Valve
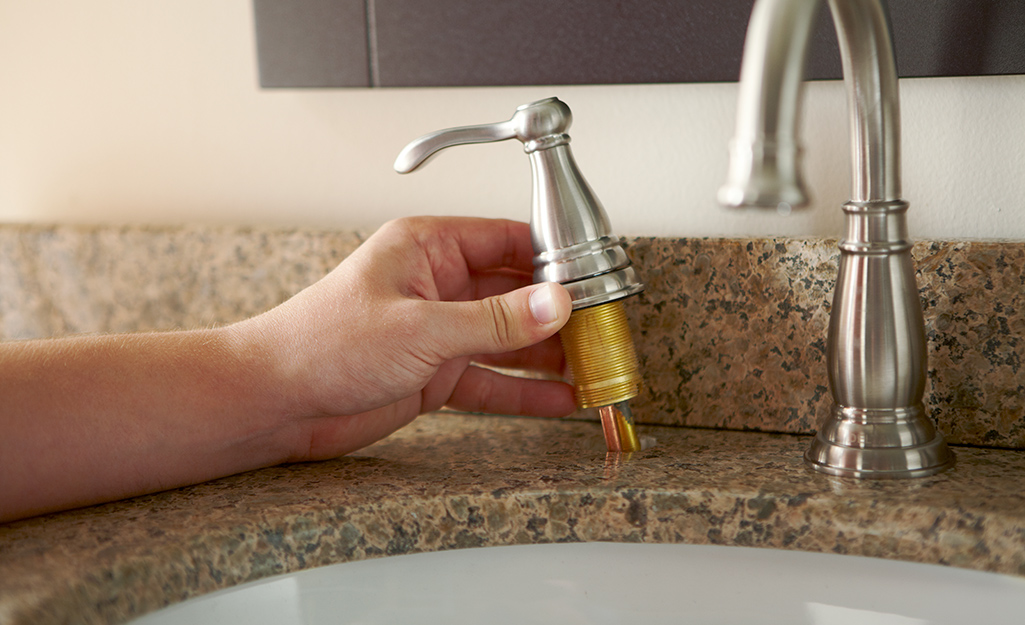
- Using water pump pliers, also known as tongue and groove pliers, loosen and remove the compression valve stem. Set it aside and record it in your notes. Remove washers and O-rings from the valve stem.
- Clean and inspect the valve stem, washer, screws and O-rings as you go. Regions that have hard water or a high mineral content in their water will have excessive build-up.
- Replace the O-rings, washers and bib screws if they show even minor damage. It’s easier to replace them now while the system is apart, rather than wait until there is an issue and have to take it apart again.
Remove the Old Seat Valve
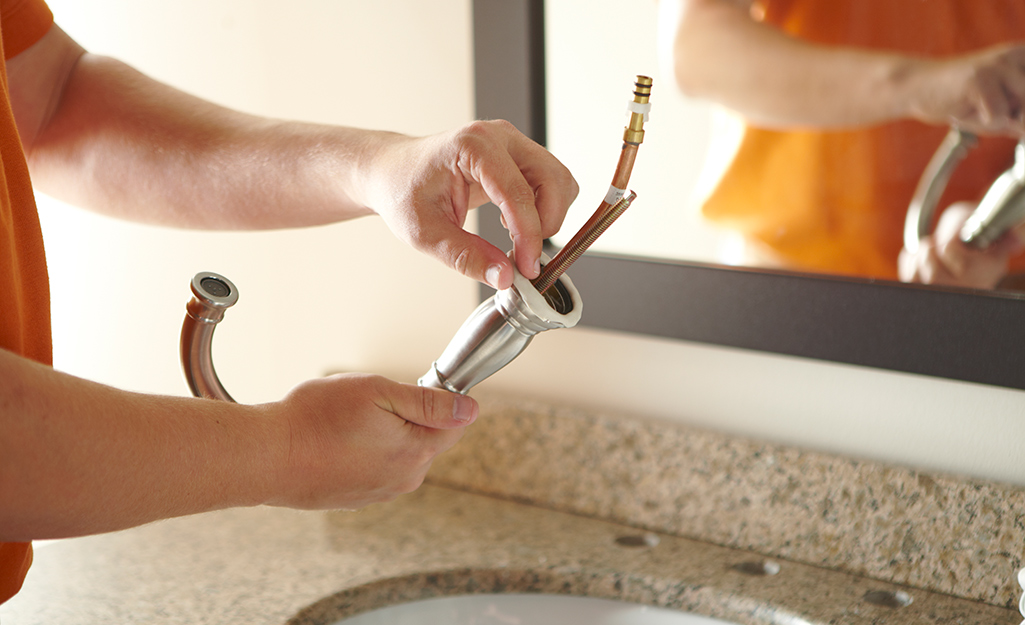
The seat wrench is a L-shaped tool for removing the valve seat. It has a head at one end to grip and remove the worn valve seat. At the other end is a head for putting the new valve seat into place. They come in various models and sizes. The basic set has two per package.
- Select the appropriate head that fits snugly in the valve seat. Insert it into the valve seat and turn it counterclockwise quickly and firmly. If the valve is stuck, apply penetrating oil or spray lubricant and wait for a few minutes, then try again.
- Remove the valve seat and clean out the empty housing of any residue or debris using a clean rag.
- If you haven’t picked up your replacement part, you likely need to take this with you to pick up the exact same valve seat. If you already have your replacement part, head on to step seven.
Install the New Seat
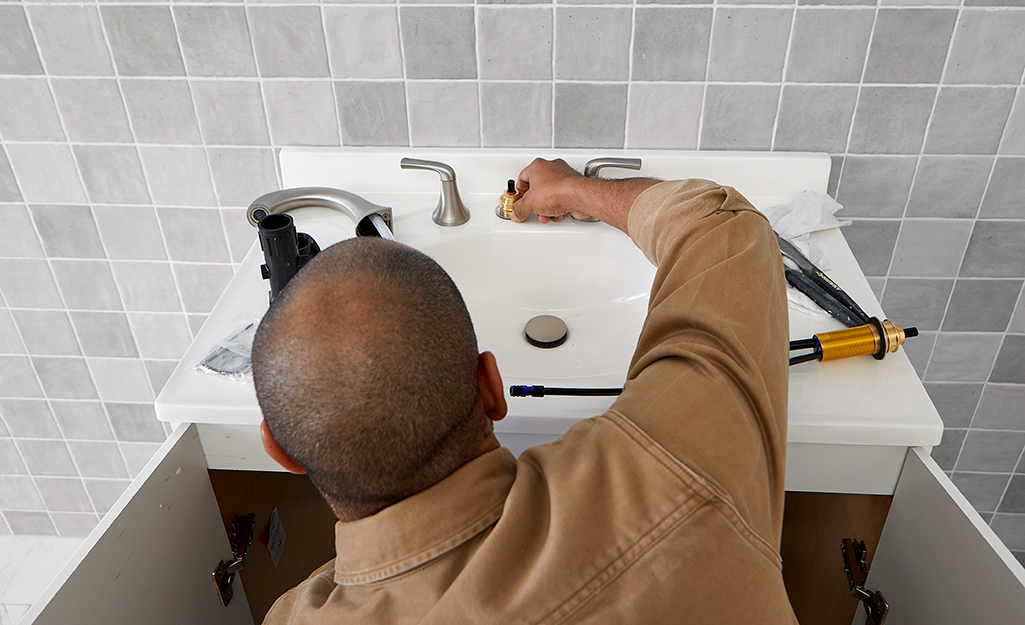
Put a new valve seat in the clean faucet housing using the seat wrench. Set the new valve seat by turning the wrench firmly clockwise. Do not over tighten the new valve seat or you risk damaging the threads.
Flush the System and Reassemble the Faucet
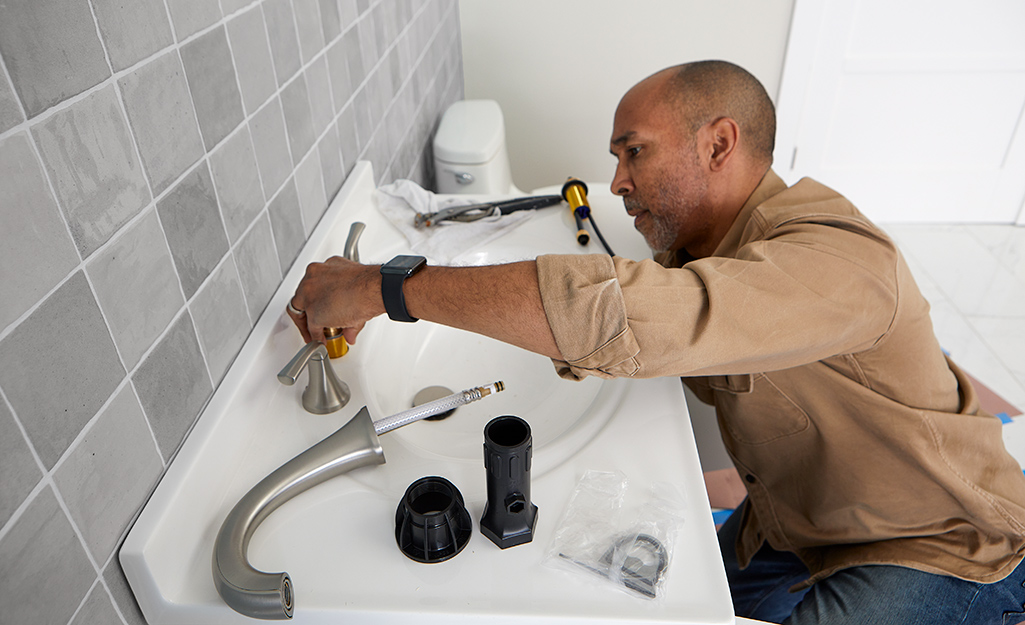
Before reassembling the faucet, flush any ground-off debris out of the system:
- Cover the faucet housing with a rag.
- Gently and slowly, turn the water on from under the sink for just long enough that the water reaches up to the rag and flushes the system. Turn the valve back off under the sink.
Have a helper on hand when you're flushing the system. Ask them to turn the tap under the sink on and off while you wipe away the water and debris.
Once you've flushed the system:
- Reassemble the washer, O-ring, bit screws, compression valve, faucet handle and handle cap in the same order you removed them, following your notes.
- Turn the water on under the sink. Remove the towel from the sink. Turn the tap on and check for leaks.
When you know how and why a faucet leaks, it can give you the confidence to make your own repairs. This guide offers you knowledge about the inner workings of a compression tap and the steps for how to replace a valve seat.
When you are ready to pick up your replacement parts, use The Home Depot Mobile App to locate products and check inventory. We’ll take you to the exact aisle and bay.


