How to Run Wires Through Walls

Last updated January 31, 2024
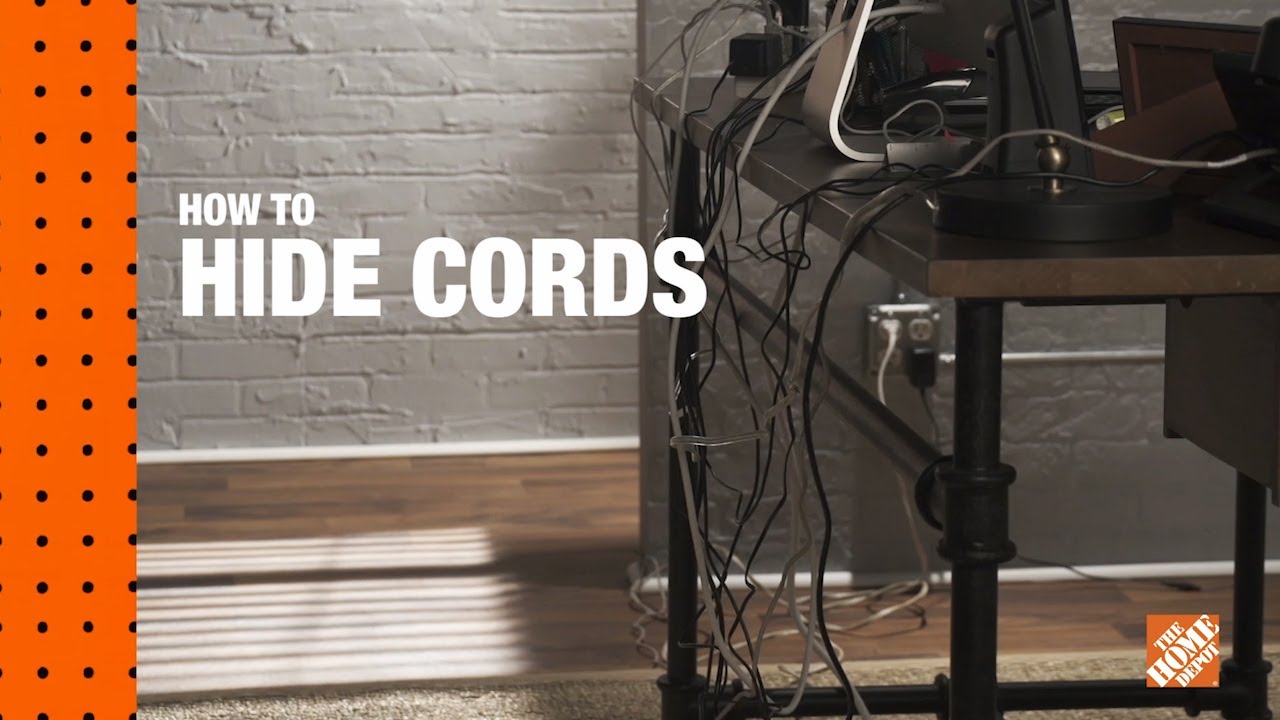
A wall-mounted flat-screen television is a focal point of a welcoming living space. Tangled cables and wires dangling from the TV can ruin the look of the room. Hiding power cords, cables and wires creates an uncluttered appearance. One cable management method is to attach molded plastic cable raceways to the walls and baseboard. Another is to conceal the cords and cables within the walls.
This guide will help you learn how to run low voltage cables through the wall using low voltage boxes and face plates.
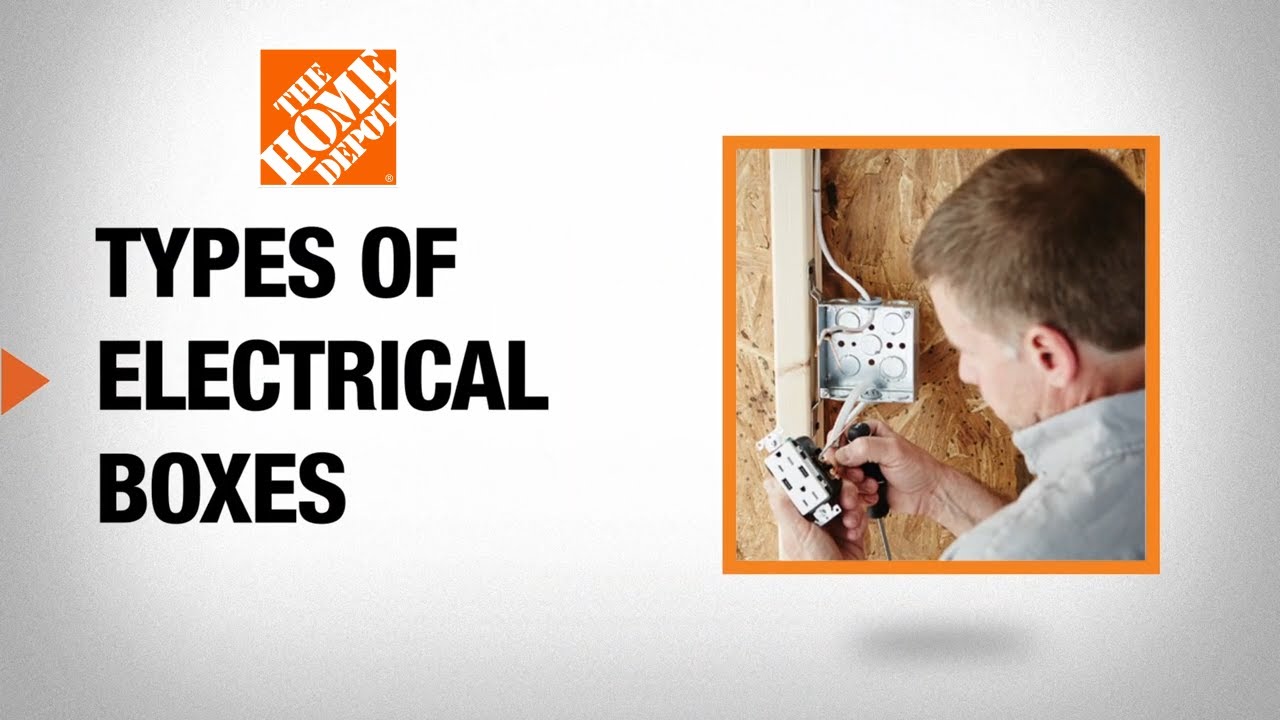
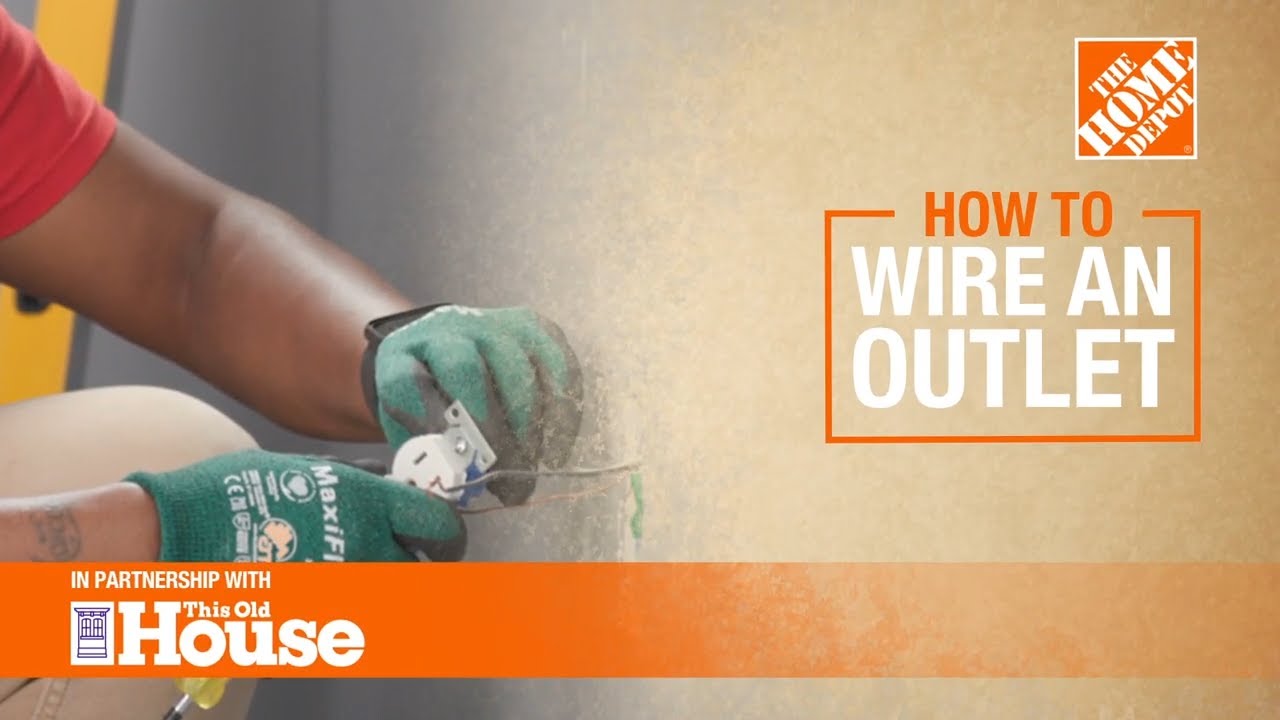
To learn how to add an electric outlet behind the TV, refer to our guide How to Wire an Outlet.
Difficulty:
Intermediate
Duration:
2-4 hours
Table of Contents
Mark the Wall
Locate Studs in the Wall
Cut the Holes
Install the Low Voltage Boxes
Run Fish Stick Through Holes
Push the Cords and Cables Through
Mark the Wall

Use a pencil to mark the wall indicating the bottom edge of the TV where it hangs on the wall. Unplug the TV and disconnect wires. Remove the TV from the wall brackets holding it in place.
Locate Studs in the Wall

The next task is to locate the studs behind the wall in the desired installation area for hiding wires in a wall. The wires and cords will run through the mostly hollow space between the studs.
The stud finder you’ll use for this task should detect not only the wood studs but also the existence of pipes and wires behind the wall.
- Use painters tape and a writing instrument to mark the stud locations.
- Mark the top installation location at a point on the wall where it will be concealed by the TV. Mark the bottom exit hole at a point on the wall closest to a power outlet. Make sure to note where the electrical wiring is using the stud finder.
- Run the stud finder down the wall between the marked installation and exit points. Look for blocks, the wooden spacers between the wall studs. If blocking is detected, you may have to cut or drill through it to run the lines down behind the walls.
- Make careful measurements when marking the locations. A 2 1/2-inch minimum clearance from any stud is needed to run the wires through smoothly.
Cut the Holes

A drywall hand saw or an oscillating multi-tool may be used to cut through the drywall. The saw will cut through drywall and create airborne dust and debris that can be harmful if inhaled, so wear a dust mask.
- Before cutting the holes, attach a trash bag with painters’ tape to the bottom of the wall to catch drywall dust. Wear a face mask or respirator mask to avoid inhaling the dust.
- Even if the stud finder detects no wires or pipes, be careful to cut just through the wallboard and stop. Don’t push so hard that the saw blade punches all the way into the wall when it breaks through.
- Carefully fold and remove the trash bag from the work area.
Install the Low Voltage Boxes

Install the low-voltage boxes before running the wires through the entrance and exit holes. Low-voltage brackets and receptacle boxes also work for hiding wires in a wall.
- Place one of the low-voltage boxes or brackets on the entrance hole. Use a writing instrument to mark the corners of the box on the drywall. Use a level to draw a line connecting the corners.
- Using a utility knife, score along the tracing line to make it easier to cut through the drywall.
- Cut along the tracing line with a drywall saw. The saw should go no more than a half inch into the wall. Remove the cut drywall from the opening.
- Push the low-voltage box or bracket into the opening. Use a screwdriver to turn the box tabs behind the wall and secure the box into place.
- Align the other box or bracket over the exit hole. It should be adjacent to or above the power outlet.
- Mark the corners of the second box on the drywall and draw a line connecting the corners. Score along the tracing line with a utility knife. Cut along the tracing line with a drywall saw.
- Push the low-voltage box or bracket into the exit hole cavity. Use a screwdriver to turn the box tabs behind the wall and secure the box into place.
Run Fish Stick Through Holes

The fish stick (also called a fish tape or glow rod) is a flexible rod with a small hook attached to the end. Use the fish stick to catch and pull the wires through the space behind the walls. The fish stick helps run the cords and wires through if there’s insulation in the wall.
- Push the fish stick up through the bottom exit low voltage box and out through the top low voltage box. The fish stick should be protruding from both the top and bottom holes.
- Tape the fish stick to the wall temporarily.
Push the Cords and Cables Through

This step details how to run the wires through walls after the low voltage boxes have been installed.
- Hook the fish stick around the data, audio, video, or other low voltage and wires at the top.
- Pull the wiring down towards the exit hole, removing the fish stick once the wires are through.
Attach the Face Plates

Once all the cables are through, attach the top and bottom face plates.
The choice of face plate will accommodate the data, video, audio, coaxial or cables. Choose a wall plate with a flexible opening to run the wires and cables through as an option to a plate with a coaxial cable jack.
Replace the TV

These steps complete the task of hiding wires in a wall.
- Replace the TV onto the wall brackets. The TV should completely cover the entrance hole.
- Slightly insert the wires at the lower exit hole to conceal them.
- Connect other cables as needed.
- Plug the TV cord into the power outlet.
Knowing how to hide data cables and low voltage TV wires behind walls helps you create a clean and efficient look in the entertainment or family room. When you are ready to begin your cable and cord management project, download The Home Depot Mobile App and check out the supplies and tools you need.