How to Sand Concrete

Last updated August 12, 2024
Concrete is a popular building material in homes due to its low cost and high durability. Sanding concrete makes patios and driveways more visually appealing and prepares countertops and floors for sealants and other coatings.
Sanding concrete provides a smoother appearance, removes stains and refreshes old surfaces. This guide reviews how to sand concrete, including how to prepare for concrete sanding and how to choose the best sanders and sandpaper for your job.
Difficulty:
Intermediate
Duration:
2-4 hours
Table of Contents
How to Prepare for Concrete Sanding
What Is the Best Sandpaper for Concrete?
How to Sand Concrete
More Tools. More Products. More Perks.
How to Prepare for Concrete Sanding

Sanding concrete prepares surfaces for sealants, repairs damage and increases visual appeal. Use handheld sanders or angle grinders for countertops and other small jobs. Use walk-behind drum sanders for driveways, patios and other large jobs.
Take the following steps before sanding concrete.
- Inspect the surface and remove wood or metal objects like embedded nails.
- Fix cracks or holes using a concrete repair patch or other concrete repair material. When sanding concrete foundations with visible cracks, make sure they do not have structural damage.
- Remove remaining debris and sweep the surface with a broom.
- Clean the surface with dish soap and water. For smaller areas, use a cleaning brush and run a squeegee over the surface to remove any remaining particles. For larger outdoor areas like driveways, use a pressure washer.
- Remove smaller furniture and cover large or anchored pieces with drop cloths or tarps.
- For indoor projects, apply plastic sheeting in the doorway and close HVAC vents to seal the room and prevent dust from escaping into the rest of the house.
- Wear a dust mask or respirator to prevent inhaling concrete dust. Wear safety glasses to protect the eyes. Consider using hearing protection when using belt sanders, as they can be loud.
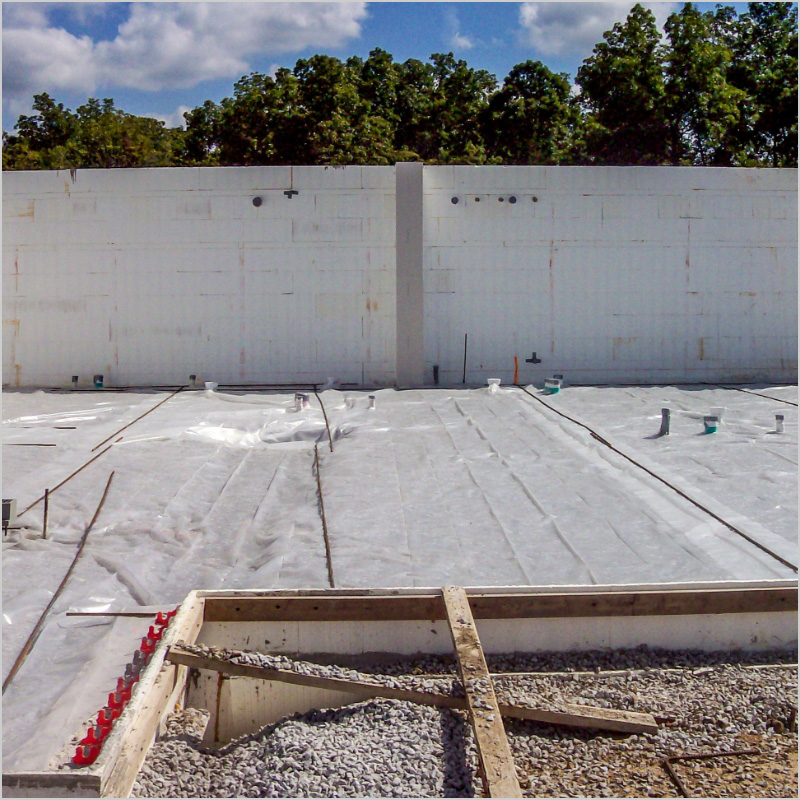
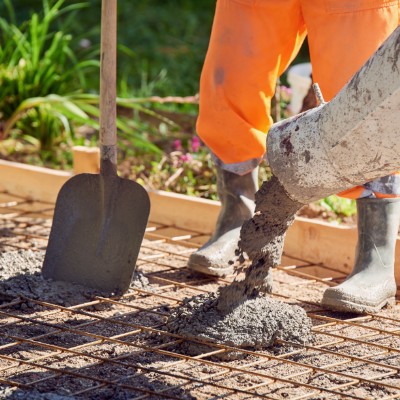
Pro Tip: New concrete can reveal bumps or sharp edges after curing. Do not sand new concrete until after it has adequately cured and dried. (See our guide “How to Pour Concrete.”)
What Is the Best Sandpaper for Concrete?

Sanding concrete often takes multiple steps that require increasingly fine levels of grit. Most sanders use sandpaper, but angle grinders and drum sanders use diamond-based attachments with different grit levels. Choose diamond-grit sanding discs or sandpaper intended for hard surfaces, not for wood surfaces.
- Coarse, 40- to 60-grit is for basic stripping and sanding.
- Fine, 80- to 120-grit is for smooth finishes and sanding down minor imperfections.
- Superfine, 200- to 400-grit or higher is for the smoothest finishes.
Many clients will want a smooth, finished concrete surface. The following are popular styles of finished concrete based on the exposure level of the aggregate, the sand, gravel or other granular material in the concrete.
- Salt and pepper or minimal aggregate finishes leave a small amount of aggregate exposed. Sand the concrete surface down about 1/16 inch for this look.
- Aggregate finishes leave aggregates more fully exposed. Sand the concrete surface up to 1/4 inch for this look.
How to Sand Concrete

When sanding concrete, choose between wet sanding and dry sanding.
- Wet sanding creates less dust and reduces wear on pads but takes longer.
- Dry sanding is faster but creates more dust. When dry sanding, consider sanders that have built-in vacuums to reduce dust.
Consider the following types of sanders:
Use a handheld orbital sander for countertops or smaller areas, especially when polishing surfaces. Sanding by hand is optional but time-consuming and only recommended for the smallest areas.
- Attach sandpaper with the chosen grit level.
- Move the sander with even, steady pressure across the concrete to prevent divots or swirls. Keep the sander in motion to avoid sanding too deeply.
- Make follow-up passes as needed to smooth out uneven areas. Repeat with increasingly fine sandpaper until you achieve the desired smoothness.
Use an angle grinder for countertops or smaller areas, especially when reducing rough edges.
- Attach the disc with the chosen grit level.
- Work from the outer part of the area and move toward the center. With larger areas, consider dividing into sections and grinding one section at a time.
- To keep the grinder from overheating, take breaks to allow it to cool down or use a wet angle grinder.
Use a belt sander for garage or basement floors.
- Attach the sandpaper at the chosen grit level.
- Maintain a firm grip and move the sander evenly across the concrete surface. Do not apply heavy downward pressure.
- Repeat with increasingly fine sandpaper until you achieve the desired smoothness.
- If the sander leaves sanding marks, consider using an orbital sander on part or all of the surface to ensure the sanding is even.
Use a floor sander, also called a drum sander or walk-behind sander, for driveways, patios, garage floors and other large areas.
- Attach the disc with the chosen grit level.
- From behind the sander, move it slowly from one side of the surface to other while pushing both handles evenly.
- Sand in rows until the surface is even.
- To ensure thorough, even results, sand in a crosshatch pattern. Make rows in one direction across the entire surface, then make rows in the perpendicular direction.
Between changing the sheets of sandpaper or sanding discs, remove all dust from the surface.
- If dry sanding, sweep or vacuum up the dust and then wipe the surface.
- If wet sanding, remove the wet slurry of dust and water.
After sanding the concrete to the desired smoothness, apply concrete sealant to protect the surface and maintain its appearance. Use latex acrylic sealants for areas with high foot-traffic.
Concrete floors should be resealed once a year.
Pro Tip: Use our rental services for floor care and refinishing equipment.
More Tools. More Products. More Perks.

Be more competitive and boost your bottom line with Pro Xtra, The Home Depot’s free loyalty program built for Pros. Sign up today to access the enhanced Pro Online Experience, built with the online business tools and time-saving features Pros need.
Create a quote, prepare bids and lock in pricing using a free Pro Xtra account during your concrete project. Simply fill your online shopping cart, log in to your Pro account and use the “Create a Quote” field at checkout.