How to Screen in a Porch

Last updated September 7, 2023
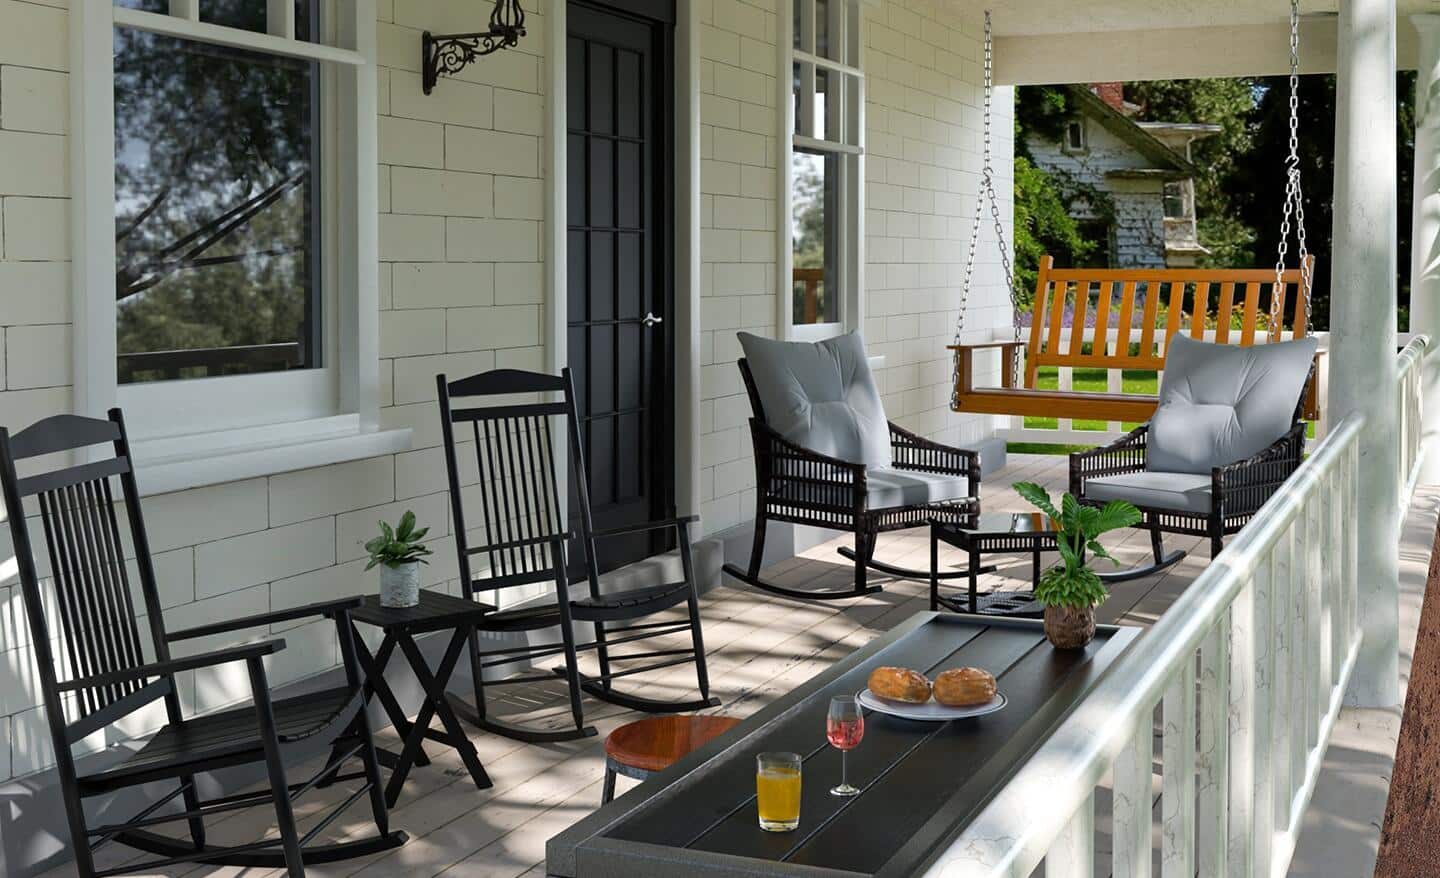
Screening in a porch is a great way to enjoy the outdoors in a comfortable, bug-free environment. However, the screen itself can sag, develop holes and need replacing every few years.
This guide will teach you how to screen in a porch with a screen framing system and how to stretch porch screen to fit the framework.
Difficulty:
Beginner
Duration:
2-4 hours
Table of Contents
Calculate Materials
Types of Screen Material
Install Base Strips
Attach Screen
Install Cap Strips
Calculate Materials

Screen framing systems or porch screen kits make it easier to add or replace screen around your porch. The method provides much cleaner results than with stapling.
To calculate how much material you’ll need, sketch a diagram of your porch with measurements for all vertical and horizontal pieces of the frame that will support screen.
To determine how much screen you will need, multiply the overall width and height of the porch and then add an additional 10 percent for waste.
Pieces of base strips with grooves to hold the screen and the cap strips that cover the base come in 8-foot sections. They can be cut to fit using tin snips or a similar cutting tool.
Tip: Screen frames can be made any size, so screen sizes range from 3-foot widths to 8-foot widths. When screening in a porch, select rolls of screen appropriate for the dimensions of your framework or for any frames that need replacement mesh.
Types of Screen Material

Choosing the screen mesh material is another consideration when figuring out how to screen in a porch.
Fiberglass screen is the common choice for porches because it is less expensive than aluminum screen. It is easier to install because of its flexibility and doesn’t crease like metal screen mesh is prone to do.
Metal screen mesh, such as aluminum screen, is more durable than its fiberglass counterpart, which stretches and tears more easily than other types of screen fabric.
If potential damage from pets’ paws is a concern, screening in a porch – at least the bottom portion – with pet-resistant screen is an option. This type of pet screen is made of plastic mesh that is puncture and tear resistant. It can be a good choice if pets or children will be on the porch but its thickness makes it more visible than fiberglass or metal screen mesh.
Install Base Strips

Start by removing the old screen, if necessary, and any hardware or fasteners used to attach it to the structure.
- Attach the base strips that have been cut to size onto the wood frame of the porch. Use 1-inch wood screws or drywall screws inserted into each slot of the base strip.
- Use a drill fitted with a screwdriver bit to secure base strips to the wood frame and be careful not to over-tighten, which could cause warping.
- At corners, base strips are butted against each other; no mitering is required.
Attach Screen

Use screen spline to attach the screen to the base strips. Spline is made of hard rubber or vinyl and fits tightly into the groove of the base strip, or any screen frame, to pinch the mesh securely in place. The size of spline depends on the material the screen is made from.
Fiberglass screen requires .175-inch diameter spline.
Use .160-inch diameter spine for aluminum screen.
- With a utility knife, cut a section of screen slightly larger than each opening.
- Roll the screen into the groove of the top horizontal base first, using a screen spline rolling tool.
- Pull the screen fabric tight with one hand as you roll the spline to keep the screen in place.
- Now, roll the two sides, keeping the screen centered in the opening.
- Finally, use the screen roller in the bottom horizontal base, pulling down slightly on the mesh for a tighter fit.
- Trim any excess screen from the outside edges.
Tip: Learning how to stretch porch screen is easy with this method once you have the hang of it. Don’t be afraid to remove the spline and try again for results that satisfy you.
Install Cap Strips

Cap strips conceal the area where screen is attached to the base strips.
- As the caps are placed onto the base strips, tap gently with a rubber mallet until it snaps in place.
- This will cover the screens to give the porch a trimmed and finished look.
- If adjustments or repairs are needed, pry off the cap strips with a screwdriver, re-spline the screen and replace the base cap.
- Finish the project with a new screen door to match the cap trim.
The method for how to screen in a patio is much the same as screening in a porch. Porch screen kits, pre-framed screens or screen panels for porches can also be used for patio applications if there is an existing roof.
In just a few hours, you can have your screen porch looking like new. Now that you’ve learned how to screen in a porch, the key is to have the right tools and materials to do the job. Use The Home Depot Mobile App to locate products and check inventory. We’ll take you to the exact aisle and bay.