How to Sharpen a Chainsaw

Last updated September 7, 2023
Is your chainsaw cutting slowly? Is it burning or smoking as it cuts? Did you hit metal while cutting through a tree or tap the concrete while clearing debris? Do you hit the dirt with the chain as the saw is running? If the answer is yes, your chain needs maintenance.
A sharp chain cuts quickly and in a relatively straight line. A well-sharpened chain will prolong the life of the chainsaw's engine, sprocket and guide bar by reducing wear.
A dull chainsaw is a dangerous chainsaw. Having to force the cuts puts strain on the machine and operator. It also increases the potential for injury as the ability to cut is reduced, causing the operator to use force to manipulate the machine. Be sure to refer to the owner’s manual for proper machine and cutting lubricants.
In this guide, learn how to sharpen the chain, using chainsaw files or electric chainsaw sharpeners, while the chain is still on the saw.
While reading the owner's manual and adhering to all safety procedures is always advised, it is particularly important to familiarize yourself with the proper handling and usage of your chainsaw. Follow and practice all safety guidelines.
Difficulty:
Beginner
Duration:
Under 2 hours
Table of Contents
Choose the Correct File Size
Remove the Power Source
Clean the Chainsaw
Set Up the File and Guide
Set Chain Tension
Secure the Bar
Choose the Correct File Size
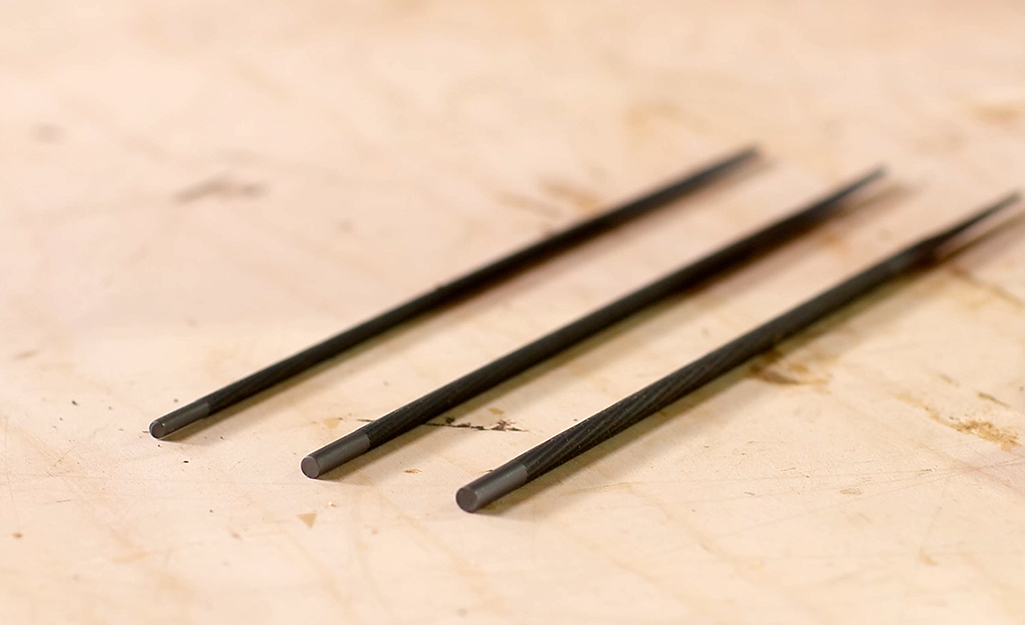
Chainsaw chains are sharpened with special files. While some professional loggers use square files like the ones to sharpen knives, almost all other chainsaw owners use round files for sharpening.
There are three common sizes of chainsaw files: 5/32, 3/16 and 7/32. Select the correct size for your chain. Check the owner’s manual or the label on the original box for the correct file size.
The specifics for the chain are printed on the side of most guide bars. Use this information to find the replacement chain for your saw and get the file information there.
Remove the Power Source
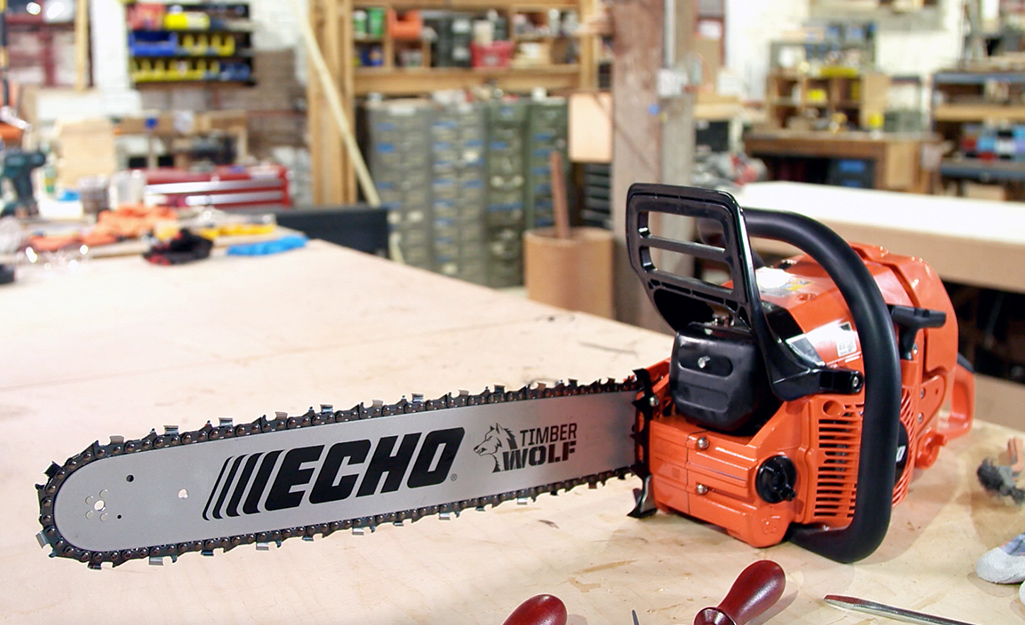
Just as you would disconnect the spark plug from a lawn mower to sharpen the mower blades, disconnect the chainsaw from its power source while the chain is being maintained.
A chainsaw connected to its power source could start unexpectedly and you may be seriously injured. Having the battery installed or an electric cord plugged in while working on a chainsaw is just like working on a running gas saw. Disconnect the electric power source, whether it is a battery or a cord, before you begin servicing. Always stop the engine of a gas saw if it’s running.
There are three types of power options for chainsaws: battery, corded and gas. It is imperative that the chainsaw cannot be accidentally turned on during maintenance. To this end, remove the battery or unplug the device. Gas-powered chainsaws have a multistep manual process for start-up, so they are much safer with regard to accidental starting. Be sure to read the owner's manual and familiarize yourself with your saw's start-up procedure.
Clean the Chainsaw
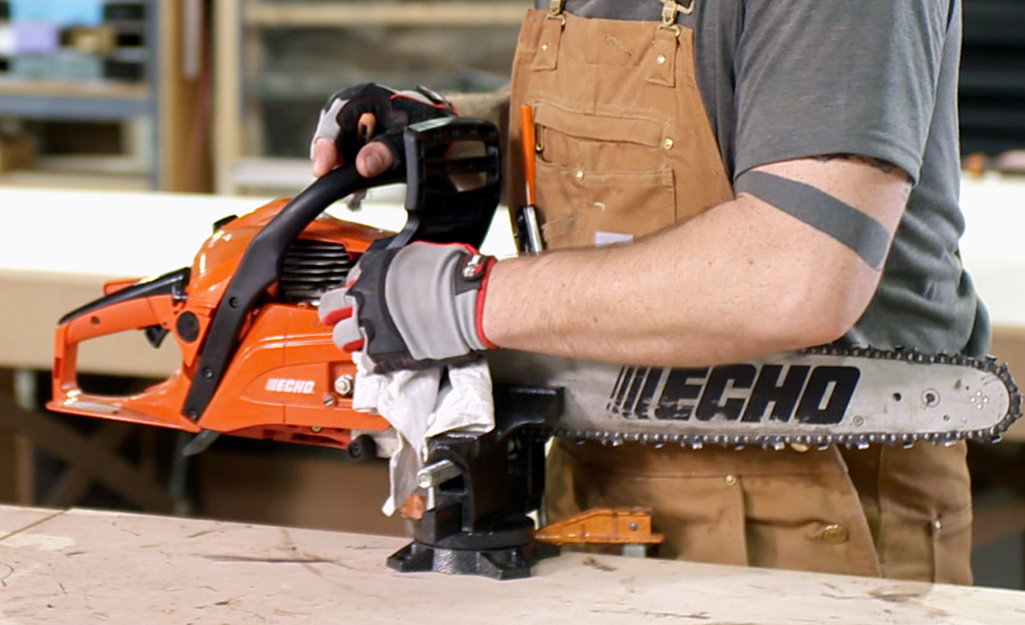
The first step in maintaining a chainsaw after removing the power source is to clean the machine of dust and debris. Chainsaws are oily tools. Cutting lubricant assists with the smooth flow of the chain across the bar. This lubricant abundantly covers the chain and bar and any debris that the machine picks up in the course of operation.
It is important to clean the debris and excess oil off of the machine. Using compressed air, a brush or a rag is a simple means by which to clear the machine of debris. If working indoors, be sure to account for the presence of lubricant by placing plastic or rags underneath the tool prior to maintenance. Be sure to wipe the motor housing and especially the handles clear of oil, grease or debris.
Set Up the File and Guide
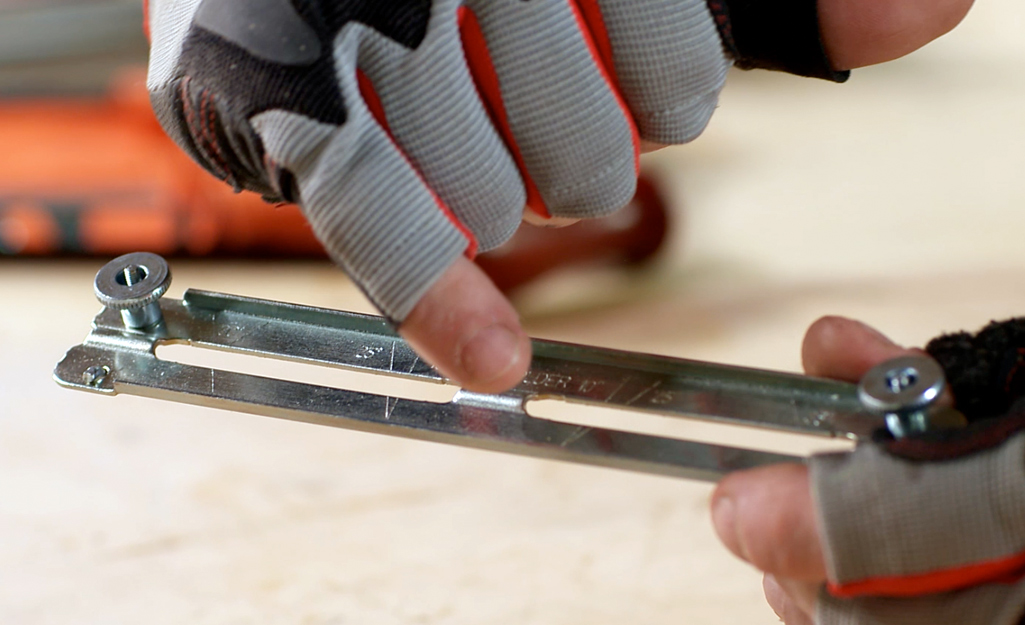
A file handle is a must and a guide is extremely helpful. Fortunately, chainsaw sharpening kits are available with everything you need.
The sharpening kit will have instructions on how to assemble the file, handle and guide. Follow the instructions of the file tools closely. The guide will hold the file at the proper depth in the tooth and help you move the file at the correct angle.
The guide will probably have markings for several angles. Following the 30-degree marks on the guide will work for most chainsaws. If you’re not sure about the proper angle, check the chain. Each tooth should have a small line close to the bottom of the cutter showing the angle that is best for the particular chain.
Safety Note: Always wear heavy duty work gloves when sharpening the chain to prevent injury.
Set Chain Tension
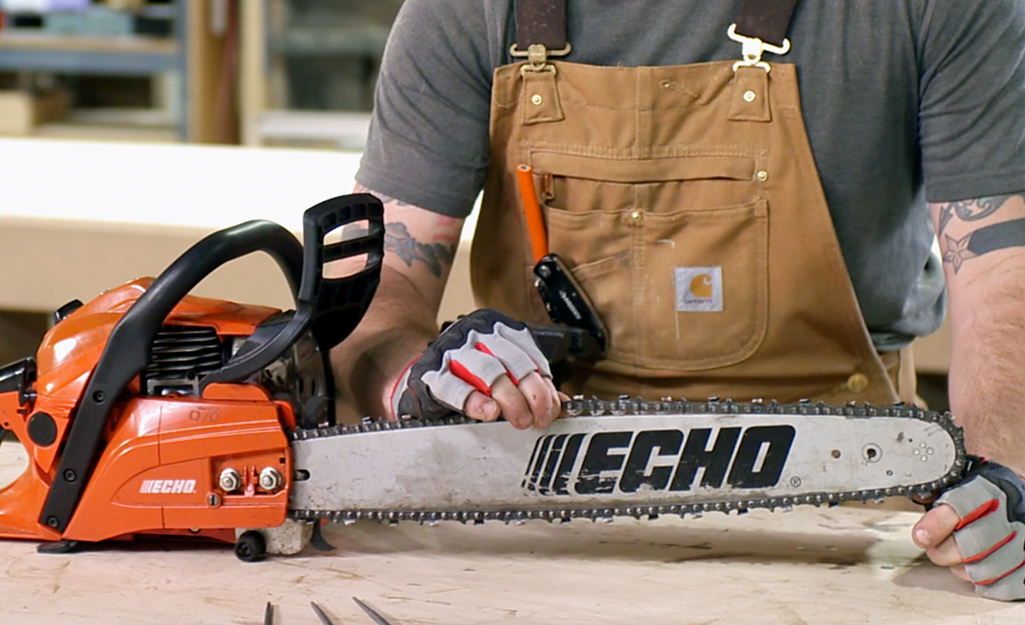
This step is important for sharpening the chain while it is on the saw. A chain that is too loose will allow the tooth to rock backwards when pressure is applied to the cutting edge.
Having a properly tensioned chain will also make a saw cut better. Check it every time the saw is used.
The desired tension for a chain is when the chain can be pulled away from the bar almost enough to see the tips of the drive teeth in the rail. These drive teeth should not be visible if the chain isn’t being pulled away from the bar.
To test the tension of the chain, grasp the chain along the top center of the bar (be sure to wear heavy gloves when doing this) and quickly release it. A properly tensioned chain will snap back into position. If the chain is slack, it needs to be set to the proper tension.
- Loosen the guide bar retaining nuts.
- Lift the guide bar up and turn the tensioning screw clockwise. These are located on the front or side of the chainsaw body.
- Tighten the retaining nuts after adjusting.
The right chain tension is essential to your saw’s operation and keeps you from making a visit to your local tool repair shop.
Secure the Bar
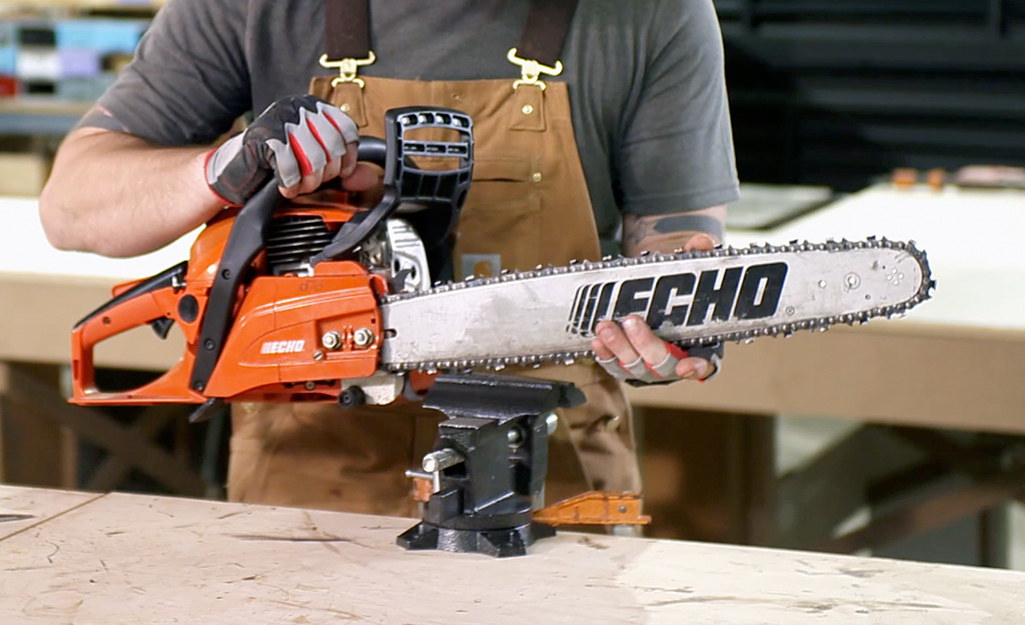
Now that the chain is ready for sharpening, secure the saw in a bench vise at home or in the shop or a stump vise on the job site. Holding the saw in place is important to achieve consistent results from tooth to tooth.
You can only file a chain so many times before the cutting blades wear down. If they become too small to file, the chain will need to be replaced with a matching one by following these steps:
- Release the chain brake and remove the nuts or screws holding the guide bar plate on the side of the saw.
- With the plate removed, slide the bar forward to release it from the tensioner. This will create slack in the chain and allow you to easily remove it.
- There’s a tension screw on the inside edge of the guide bar – loosen this screw a bit to make installing the new chain easier.
- Thread the new matching chain onto the chainsaw’s clutch drum, making sure the drive links engage with the sprocket.
- Check that the chainsaw chain direction matches what you just removed.
- Carefully thread the remainder of the chain onto the bar and around the nose.
- Pull the guide bar away from the chainsaw to create some tension in the chain and replace the plate.
- Don’t tighten the nuts or screws all the way yet as the bar will need to be allowed to move a little as the chain is adjusted to the correct tension.
- Tighten the tension screw until the chain can be lifted about a half-inch off the bar in the middle, then tighten the guide bar plate.
Tip: To make the chain removal process easier, most saws come with a screwdriver/wrench combo tool sometimes called a "scrench."
Sharpen One Side
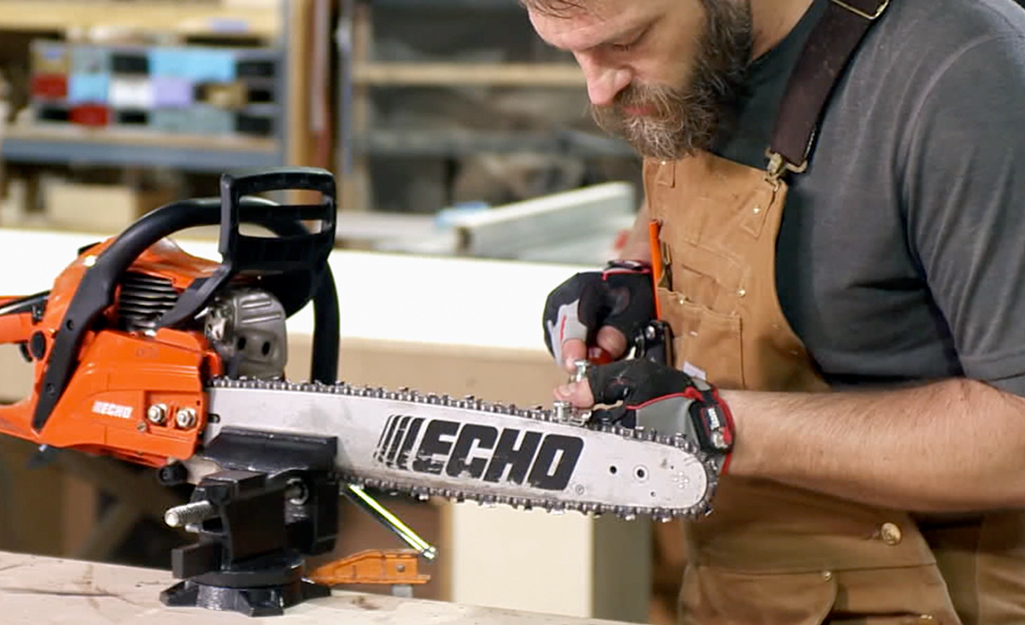
If the chain is dirty, clean it with a wire brush before starting. Any debris stuck to the teeth will hinder sharpening.
- Use a marker or a lumber crayon to mark the tooth where you start.
- File the teeth from the inside towards the outside. The easy way to remember the correct direction is that the tip of the file should always point away from the engine.
- Hold the file at a 90-degree angle to the flat sides of the guide bar. Move the file at a 30-degree angle to the straight line of the chain. Maintain both angles throughout the stroke. Be careful to not vary at the end of the stroke and round off the edge you just created.
- If you're using a file to sharpen the chainsaw, file every other tooth along the chain. Then, reverse direction and begin sharpening every other tooth in the the opposite direction.
- After sharpening a couple of the teeth, release the chain brake and rotate the chain forward to continue sharpening.
- The tooth is sharp when there is a burr that can be seen or felt with a fingernail on the other side of the tooth’s edge. Be careful checking for burrs. They can leave a nasty torn cut on unprotected flesh.
Reverse Direction
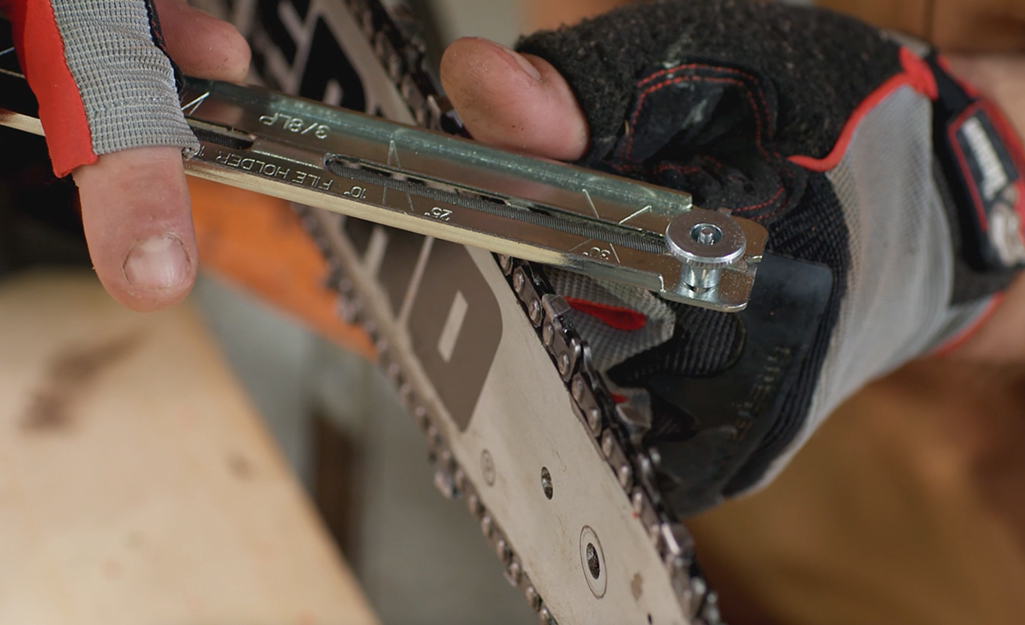
Once the first side of the chain is done, reverse the saw in the vise and sharpen the remaining teeth. Remember to file from the inside out.
Remember that, unlike abrasives, files are cutting tools. The file will cut away unwanted metal and leave a sharp edge sufficient to cut down trees and branches. Files only cut on the push stroke. Don’t apply any pressure on the return, or pull, stroke. Pressure on the return will shorten the lifespan of a file used on metal.
Electric Rotary Sharpeners
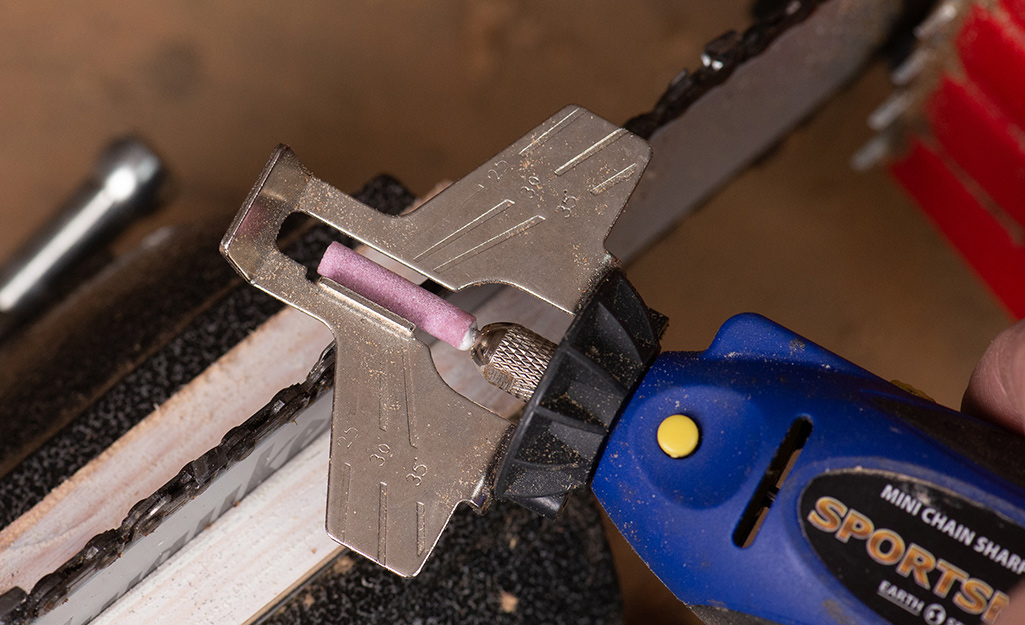
Rotary sharpeners do their work with an abrasive stone attached to a rotary tool bit rather than a file. With a rotary sharpener, the tool’s direction can be reversed from tooth to tooth or you can follow the every-other-tooth method used with a file.
Sharpeners can be powered by an internal battery, corded AC current or by attaching to a 12-volt battery. Rotary tools meant for chainsaws have an angle guide and depth guide attached. Chainsaw kits for other rotary tools should include these guides as well.
Avoid overheating the teeth with a powered tool. If the metal becomes too hot, the edge will soften and will not maintain a sharp edge. A sure way to tell if a tooth overheats is if the color changes to blue. A good rule of thumb is to never let the tooth get so hot that you can’t touch it and leave your finger on it up to the count of five. If a tooth needs extra time with the stone, move on to the next tooth while that one cools. If a blade is very dull, it is better to sharpen the chain twice in one sitting than risk overheating the teeth by grinding too hard for too long.
It is very important to hold the rotary tool square to the bar and at the correct angle to the chain when it is applied to the tooth. These tools cut faster than a file and can change the geometry of your edge quickly.
When sharpening with a rotary tool, the next step needs to be completed with a file and depth gauge jig.
Filling the Depth Gauges
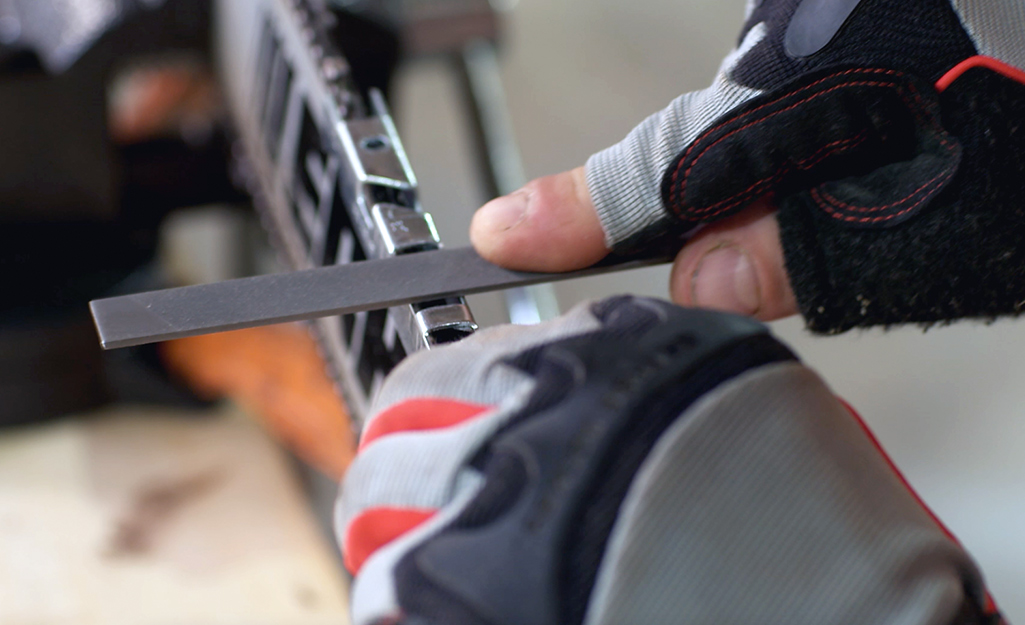
The rounded protrusion just before each tooth is a depth gauge. This part of the chain is commonly called a “raker” after the raker on crosscut saws. They don’t actually do the job of a raker (removing chips from the cut), but they do set the depth of cut each tooth takes into the wood. If they’re too tall, the cutter hardly bites into the wood at all. If they’re too short, the cutter can get buried in the wood so deeply that the engine stalls.
The sharpening kit includes a depth gauge tool and a flat file. Set the jig on the chain, leaving one raker showing. If any part of the raker protrudes above the tool, it should be shortened with the flat file. Rakers need to be filed from the same side as they would be sharpened with a file. If the file seems to chatter or skate across the raker, it will need to be filed from the other side.
The depth gauges do not need adjustment for every sharpening, but it is good to check them with the tool every time before using chainsaws.
Sawing Safely
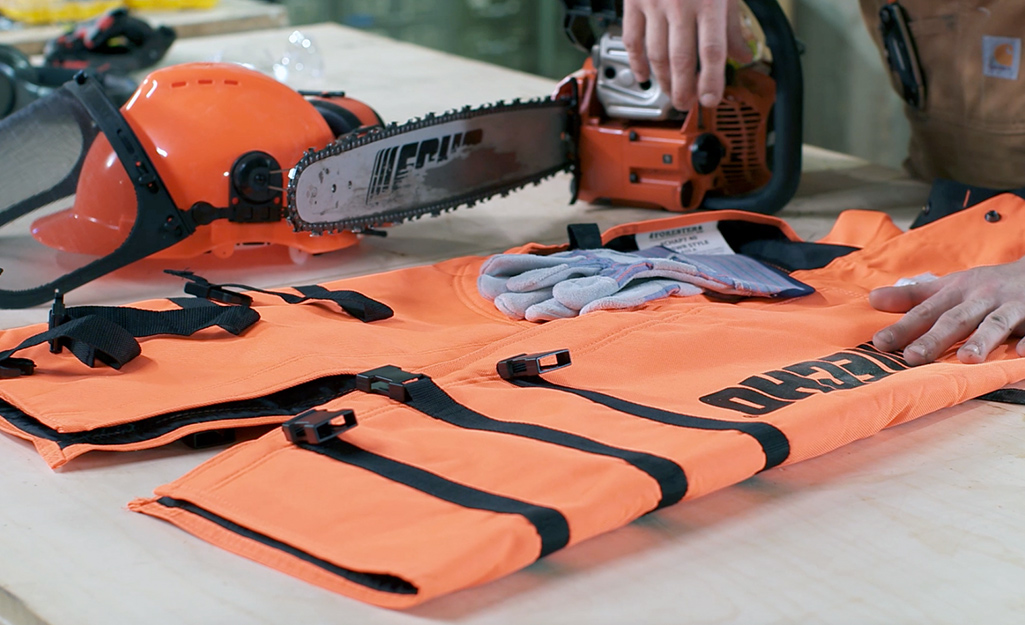
Now that your chain is sharp, let’s talk chainsaw safety. Many people underestimate the danger of using a chainsaw, especially small saws made to be used occasionally by homeowners. The truth is, any saw that can cut through a tree can do a great deal of damage to a human body.
Chainsaw safety gear includes:
- Hearing protection
- Safety glasses or face shield
- Thick leather gloves
- Steel toe boots
- Chainsaw chaps
- Helmet, if working with limbs overhead
Regular maintenance of the chain of your electric or gas-powered chainsaw ensures the blades are sharp for your next project. Use the Home Depot Mobile App to find the sharpening supplies you need for your chainsaw.
When you need to use as chainsaw for a one-time project, consider rental. You can rent chainsaws and more from The Home Depot’s Tool Rental Center.


