Table of Contents
Level Your Garden and Soak with Water
Lay Plastic
Remove the Plastic and It's Ready
Related Products
How to Solarize Soil

Published November 17, 2023
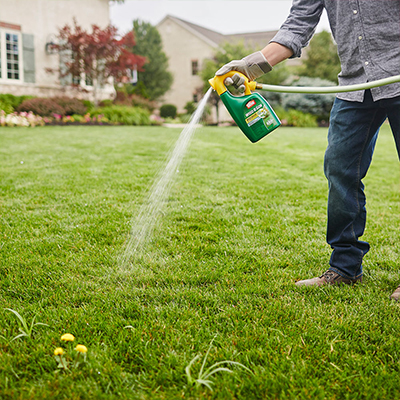
Keeping your garden and lawn healthy can be tricky. You don't have to reach for the weed killer, though. If weeds and soil-borne diseases are posing a serious problem, learning to solarize your soil surface can help.
This organic technique uses sunlight to heat the soil, kill weeds and seeds and fight off a variety of different issues, including a pest problem or soil-borne pathogen issue.
Use this guide to learn more about soil solarization. It's a simple, organic process that, over time, will improve your garden soil.
Difficulty:
Beginner
Duration:
Under 2 hours
Level Your Garden and Soak with Water

Soil solarization is a process that uses the heat of the sun to kill weeds, weed seeds and insects. Learning how to solarize soil is a simple three-step process, but it does take time. You will need at least six weeks during the hottest part of the year to create solarized soil.
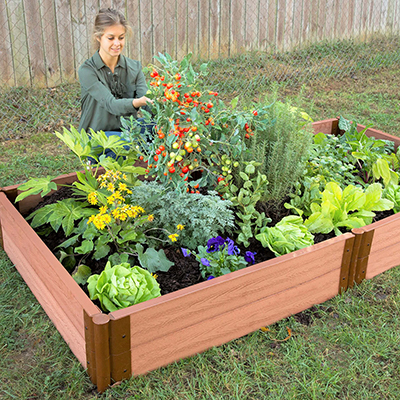
The first step is to level your garden or raised bed by clearing all rocks, debris and plant material. This step will take time in a large garden or backyard, but needed for proper solarization.
Once your work area is clear, grab a garden hose and soak the garden soil with moisture. Plan to begin this project after a good soaking rain, if possible. Ample soil moisture is essential for creating solarized soil.
Lay Plastic

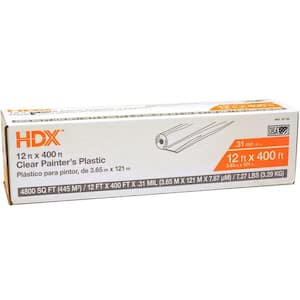
The next step in soil solarization is to lay down plastic. For this, you'll be using clear plastic sheeting. Here's how to lay down plastic properly:
- Lay down the plastic in your work area. Work carefully to ensure smooth edges if you're putting plastic in a raised bed.
- Pull the plastic as tightly as possible across the surface of your work area or raised bed.
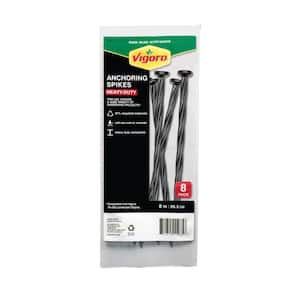
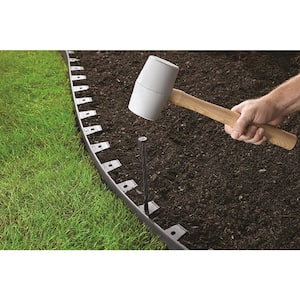
- Use staples to secure the plastic in place. Securing your clear plastic sheet or plastic tarp in place with garden staples will keep wind, rain and weed seeds out, while effectively trapping the heat you want. You can also use lumber to weigh down the plastic.
Tip: Make sure you don't have mounds of soil piled up when you're tackling your yard or raised bed maintenance before solarization. Solarization works best when the soil is level before the plastic sheeting covers it. This provides proper heating to the entire surface.
Remove the Plastic and It's Ready

Over the warm summer months, your soil temperature will rise when covered with the plastic sheeting. This process of soil solarization will help you get rid of perennial weeds and other common garden issues without chemicals.
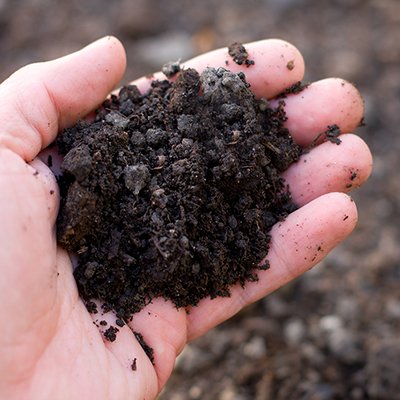
Before you can remove the plastic, you'll want to wait six to eight weeks for the soil solarization process to take place. After six to eight weeks have passed, you should have healthy soil that's ready for planting again.
Remove the plastic sheeting, saving it for another use, if possible. Your soil will be ready to plant.
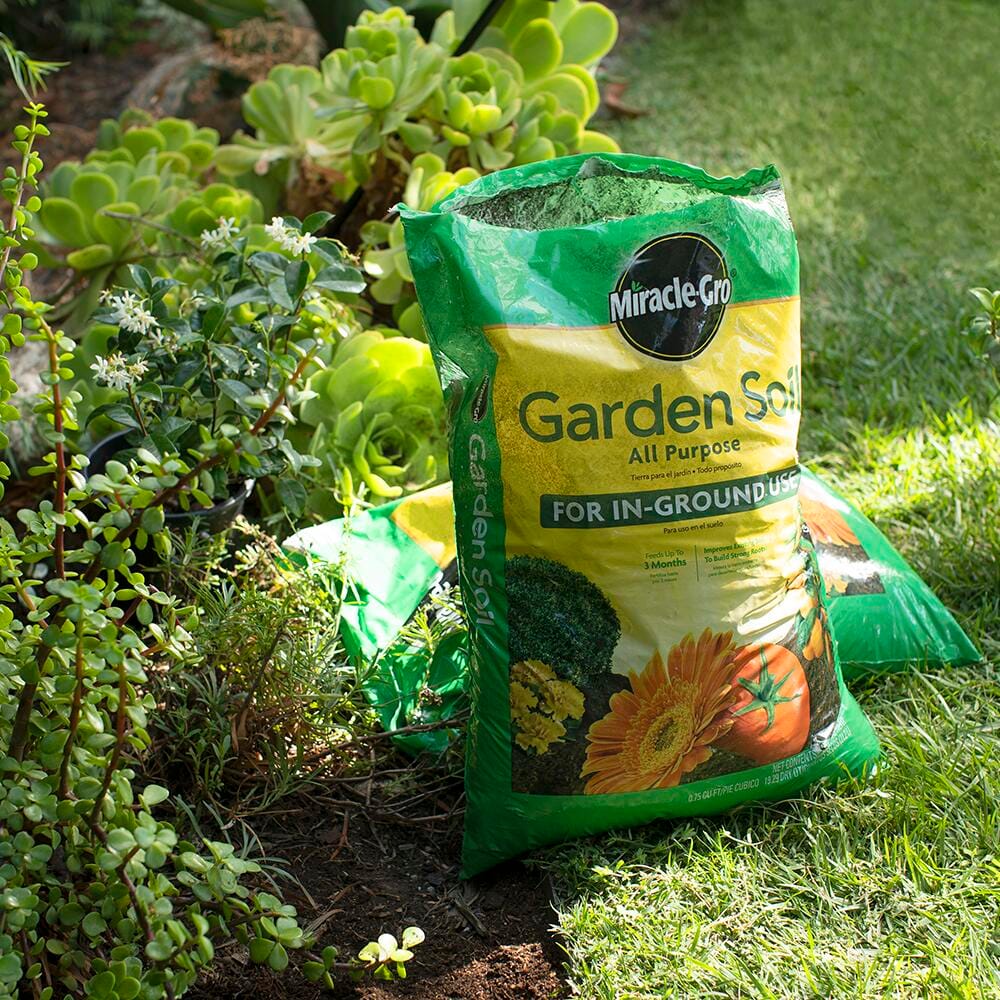
Tip: If you're amending soil with compost, add it before you lay down the plastic sheeting. You can amend soil after solarization, but be careful not to disturb the soil too much.
Soil solarization works in all types of gardens, making it a great choice for backyards and serious fruit and vegetable gardeners. Soil solarization is especially effective in raised beds. With patience, this process will help give you a bountiful harvest next year, whether you're growing vegetables or flowers around your home.
Ready to make your garden your favorite place on your property? From potting soil to seeds, seedlings and gardening tools, The Home Depot delivers online orders where and when you need them.
Explore More on homedepot.com


