How to Tape and Mud Drywall
Last updated August 8, 2024
Taping and mudding drywall turns individual pieces of drywall into a single, solid wall. When you know how to mud and tape drywall correctly, you’ll have a better surface to paint. Use this guide for details on how to tape and mud drywall and the types of mud and tape available. Plus, learn techniques for properly mudding drywall for a smooth, flat surface.
Difficulty:
Beginner
Duration:
Over 1 day
Table of Contents
Types of Drywall Mud and Tape
Prepare to Mud and Tape Drywall
Mud Wall Joints and Screws
Apply and Smooth Tape
Mud and Tape Corners and Edges
Apply Second Coat of Mud
Types of Drywall Mud and Tape

Knowing how to mud and tape drywall means you can easily conceal drywall holes, indentations and imperfections.
Mud comes in either “dry” or “wet” varieties. Below are the five types of joint compounds used most often for mudding drywall.
- Dry mud is a quick-setting powder available in plastic-lined bags. Powdered mud requires mixing with special tools. This timed drywall mud hardens quickly but takes several hours to dry completely between coats. It makes as a strong base layer.
- Pre-mixed or “wet” mud is ready to use. Use water to thin the mud to the right consistency when applying it to the drywall.
- All-purpose joint compound or mud has bonding agents that cause the drywall tape to hold better. It’s commonly used as a first coat. All-purpose mud is harder to sand, so it’s rarely used as a finish coat.
- Lightweight, all-purpose drywall mud is lighter in weight and easier to sand than all-purpose joint compound. It’s a versatile choice for mudding drywall. You can use it as a first and second coat for seams and corner beads. Or as a finish coat.
- Topping mud is a form of dry mud that is lighter than all-purpose. It’s best used for final coats.
The most common types of drywall tape are paper, fiberglass mesh and preformed.
- Paper tape is non-adhesive. This means you’ll use a layer of compound to stick it to the drywall surface. Paper tape isn't elastic either, so it’s good for creating stronger joints in the weakest areas of drywall.
- Fiberglass mesh tape is self-adhesive and attaches to the drywall surface very well. It is also budget friendly, durable and resists mold.
- Preformed drywall tape is made from paper, plastic, thin metal or other materials. Good for outside wall corners, this type of tape creates a smooth, consistent appearance.
Tip: This guide shows you step-by-step directions on how to tape and mud drywall using paper tape.
Prepare to Mud and Tape Drywall

Drywall mud can harden in as little as 15 minutes. Make sure you’re organized and ready by following these tips before mudding drywall.
- Gather the supplies needed such as the tape, mud pans, joint compound and paint buckets.
- Wear coveralls to protect your clothing from drywall mud.
- Use plastic, canvas drop cloths or tarps to cover nearby furniture or block off your work area. This will make clean up easier and prevent damage.
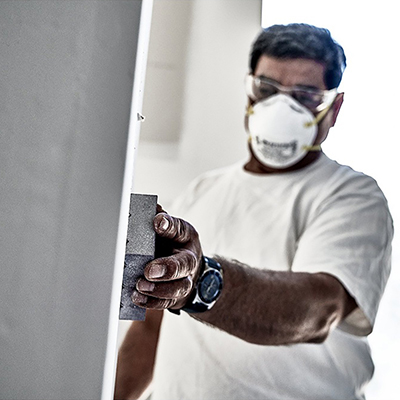
Tip: Consider using a mask or respirator mask to avoid breathing in dust when sanding and finishing drywall.
Mud Wall Joints and Screws

- Use a utility knife or paint scraper to apply about an inch of mud to fill the joints.
- Apply mud to cover the spots where screws attach the drywall sheets to the studs.
- Wipe away any excess mud.
Tip: When hanging drywall, make sure to pair the long edge of each drywall sheet with each other. These long edges are beveled and purposely thinner to create a more seamless joint when joined.
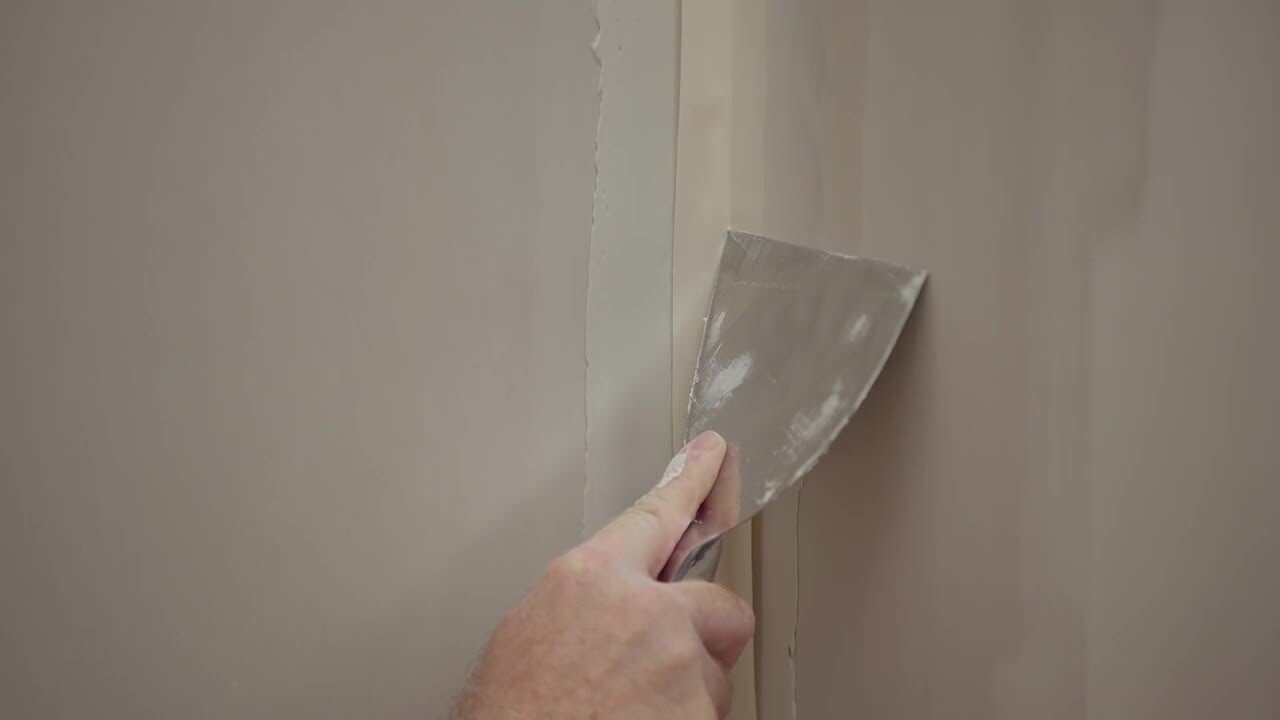
Apply and Smooth Tape

Here are general directions on how to tape drywall to create a smooth surface for mudding the joints.
- Place a piece of paper drywall tape over the wet mud in the joint.
- Every 12 inches or so, push the tape into the mud with your finger to hold it in place.
- Pull the utility knife along the tape, embedding it into the mud. This will also push out air bubbles along the way.
- Starting at the center of the tape, work the knife down towards the corners until the ends are embedded into the mud.
Tip: Consult your tape’s manufacturer for specifics.
Mud and Tape Corners and Edges

Below are general steps on how to tape and mud drywall to the inside corners and edges where two pieces of drywall meet.
- Apply mud with the utility knife to both sides of an inside corner.
- Place a creased strip of paper drywall tape in the corner over the compound.
- Pull the utility knife along the tape, embedding it into the mud and pushing out air bubbles.
- Use light strokes to push the tape into the corner. Wipe away any excess mud.
- Place strips of preformed tape on the outside corners and edges.
- Apply mud over the taped corners and edges with consistent vertical strokes.
- Wipe away any excess compound.
- Allow the mudded and taped areas to dry overnight.
- When completely dry, sand the areas with 100- or 120-grit sandpaper for a smooth finish.
Apply Second Coat of Mud

Taping and mudding the joints and corners is just one part of knowing how to mud drywall. The next step is to apply a second coat of compound to these same areas. No paper drywall tape is needed for this step.
- Apply a thin layer of mud with a 10-inch drywall knife. Use consistent strokes.
- Wipe away the excess mud.
- Allow the second layer of mud to dry 24 hours or overnight.
Apply Final Coat of Mud

The next step in your tape and mud drywall project is to apply a third coat of mud. This will cover any remaining imperfections on the drywall.
- Put the mud into a paint bucket and add enough water to create a thinner consistency of mud before applying. See manufacturer's directions for specifics.
- Use a power drill with a mud mixer attachment to mix the mud and water.
- Apply the thinned mud with a 12-inch drywall knife.
- Wipe away any excess mud and allow to dry overnight.
Sand Taped and Mudded Drywall

After your third coat of mud has dried completely, it’s time to sand and smooth the wall with 120-grit sandpaper. Although you can do this by hand, consider using a drywall pole sander to make the job easier.
- Start by folding the sandpaper around the ends of the pole pads.
- Tighten the wing nuts on the back to clamp the sandpaper in place.
- Using light to medium pressure, run the pole over the joints to smooth the surface.
- Keep sanding until there are no lines between the edge of the compound or any ridges or pinholes elsewhere in the compound.
Now that you know how to tape and mud drywall, your new walls will be smooth and ready for painting. Get the tools, compound and tape you need for hanging drywall. Use The Home Depot Mobile App to locate products and check inventory. We'll take you to the exact aisle and bay.