How to Tarp a Roof

Last updated April 5, 2024
Tarping a roof stops leaks temporarily and protects your home from the elements. When installed correctly, roof tarps can shield your home from bad weather for up to 90 days.
This guide details how to tarp a roof in a simple, affordable way—and keep you dry until you can fix the issue or have a professional team make repairs.
Difficulty:
Intermediate
Duration:
2-4 hours
Table of Contents
Assess the Damage
Measure the Area
Prepare and Position the Tarp
Secure the Tarp
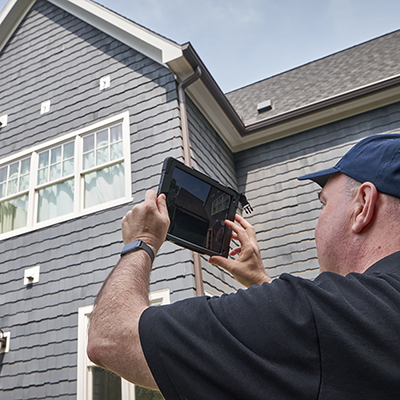
Assess the Damage

Begin with a full examination of the damage, then clear the area of debris. These helpful tips are also important to keep in mind:
- Avoid tarping a roof during a storm while it's windy or raining.
- Wear appropriate safety equipment. This includes gloves, goggles, protective clothing and sturdy boots.
- Use a ladder to reach the roof. Closely examine the area for broken shingles and other areas of damage.
- Homeowners with a steep or slippery roof should assess the damage from the safety of their ladder. Do not step directly onto the roof.
- Carefully clean the debris from your roof using your broom. Remove branches, leaves and other rubble to give yourself a better view.
- For safety and support, ask a friend to help you examine, clean and tarp your roof.
Measure the Area

Correctly measure the damaged area to buy the correct size tarp.
- Use a measuring tool to calculate the surface area of the damage.
- Make note of your measurements and choose a heavy-duty tarp in the appropriate size.
- When unrolled, the tarp must cover the damaged area plus four feet of overhang from the roof’s peak.
- Any extra tarp can hang safely off the edge of the roof.
Prepare and Position the Tarp

This step ensures that your tarp is properly positioned on your roof. Your tarp must be secured and weighed down so that it won’t come loose in windy or stormy conditions. There are several ways to secure and weigh down the tarp.
- The easiest way to secure a tarp is to use sand bags to weight it down and keep it from blowing away. This is best used as a temporary measure.
- For a more secure and longer-lasting fix, create an anchor board by rolling a 2 x 4-inch board into the tarp's peak end. Nail the tarp to the board. The board must be 2 feet longer than the tarp's width and sit against the roof to avoid collecting rainwater, snow or debris. Screw the board to the roof as a temporary anchor using nails long enough to screw through the tarp, board, shingles and decking.
- Sandwich the tarp by nailing a second 2 x 4-inch board over the first. This step ensures that the tarp stays taut and fully protective.
- Repeat the first two steps three times for the tarp’s remaining peak ends.
- Do not position, prepare or secure the tarp without help. This is a two-person job. Additionally, complete this project only when the weather is mild. Never stand or step on your tarp as it may be slippery.
Secure the Tarp

Secure the roof tarp to prevent flapping, water seepage and debris from entering the damaged area.
- To secure the tarp, use your screw gun to screw through the four tarp-rolled boards. Use screws long enough to screw through the tarp, board, shingles and into the roof decking. This fastens the tarp securely to the roof.
It also damages the shingles so you will need to replace them when you remove the tarp. However, replacing shingles is less expensive than the extensive water damage that can occur if your roof leaks. - Secure the tarp’s remaining sides with additional 2 x 4-inch boards using a screw gun and screws. These boards do not need to be rolled in the tarp.
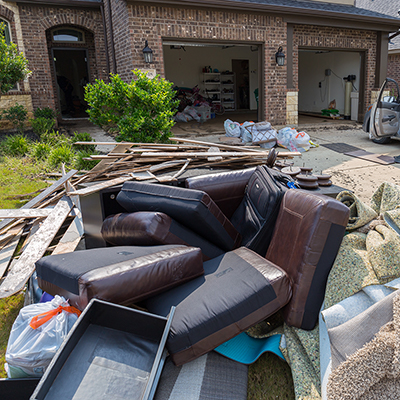
Roof tarping is a temporary solution to protect your home from damage. Make sure to get your roof inspected and repaired to avoid additional damage inside your home.
You can find everything you need to tarp and repair your roof, plus rent the aerial equipment to reach your roof, on The Home Depot Mobile App or at your local The Home Depot.