How to Tie-Dye
Last updated September 7, 2023
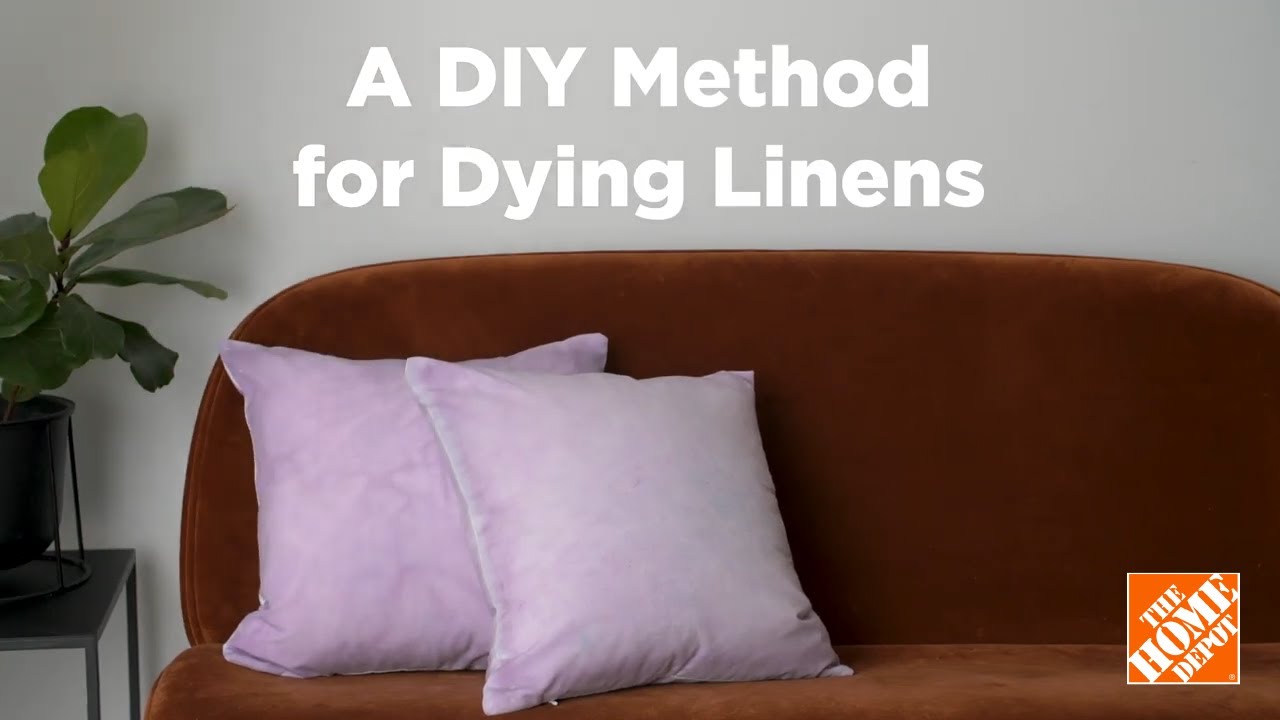
Learning how to tie-dye is a tried-and-true way to give new life to old articles of clothing, as well as linens and other items.
A timeless project, tie-dying is a fun project that you simply can't mess up.
Whether you choose a classic tie-dye method, like we show you here, or you opt for something truly unique, the beauty of tie-dye is that you can make it your own. This guide will give you step-by-step instructions as well as some other methods to help you make a groovy creation.
Difficulty:
Beginner
Duration:
Over 1 day
Table of Contents
Gather Your Supplies
Prep Your Space
Pick Your Pattern
Try Reverse Tie-Dye
Rinse and Hang Dry
Gather Your Supplies

Learning how to tie-dye is pretty straightfoward thanks to tie-dye kits and other common items like rubber bands that you likely have at home.
Here is a complete list of what you need to gather up:
- Tie-dye kit
- Water (temperature according to kit instructions)
- Rubber bands
- Disposable gloves
- 100 percent cotton items to tie-dye (shirts, socks, curtains, pillowcases, etc.)
- Tarp
Prep Your Space

You'll want to make sure you are dyeing on a large, flat surface that can be covered.
- Once you've gathered all your supplies, lay them out on the tarp so everything is within reach.
- Thoroughly wet each item (you can use the sink, shower or a bucket filled with water) you’re dyeing, then squeeze out the excess water so the item is damp, but not soaked.
- Now that your shirt or other items are damp, lay them on the tarp.
Pick Your Pattern

It's time to decide on the tie-dye design you want to create. The three most common methods are spiral, stripes and crinkle.
Here's how to create each:
- Crinkle: Bunch up the item in a totally haphazard way (crinkled tighter for more original color showing, looser for more dye) and put enough rubber bands on to keep it in one piece. This will create a one-of-a-kind design that’s totally random, and almost galactic-looking.
- Spiral: Pinch the center of the item and slowly twist it clockwise (or use a fork and twirl it like spaghetti), smoothing the fabric around itself into what looks like a swirly lollipop. Then, fasten with about six rubber bands to make triangular sections that will look like pizza slices. When using the traditional tie-dye method, you can color each section a different color for a true rainbow look.
- Stripes: Fold the item up into a 1-inch to 3-inch accordion fold (the fold that goes back and forth), vertically or horizontally. Then, secure it with about five to eight rubber bands, starting at each end and working inward, making sure to space them a few inches apart. Like the spiral, you can use a different color for each section.
Tip: Follow package instructions for water-to-dye ratio. Keep in mind that more dye will leave less white space on the finished design. Make sure you turn the item over to dye the back as well.
Try Reverse Tie-Dye

If you have darker items to redesign, give reverse tie-dye a try by using bleach instead of a tie-dye kit. When bleach dyeing, work in a well-ventilated area and always wear gloves. To reverse dye:
- Add one-part bleach to one-part water into squeeze bottles. Carefully shake them to mix. Squeeze the bleach solution onto the items, making sure to get the back of each item. Keep a close eye on them and watch the color change. Rinse once you’re happy with the color. Depending on the fabric and original dye on the item, this process might take between 10 minutes to an hour.
- Remove the rubber bands and rinse the item under cold water until it runs clear. Black items will usually leave the water a reddish-orange color.
- Wash each item separately in cold water, then machine dry or hang it on a clothesline to air dry.
Rinse and Hang Dry

- When you've finished dyeing your garment, let it sit on the tarp according to package instructions (between one and 24 hours).
- Once set, put your gloves back on and remove the rubber bands.
- Rinse each item under cool water until the water runs clear.
- Wash each item separately in cold water, then machine dry or hang on a clothesline.
Tip: The shorter you let the item sit, the lighter the colors will be. If you want vibrant colors, allow the item to sit longer. If you're looking for more pastel hues, wash the item about two to four hours after dyeing.
An ideal DIY project for any age, tie-dye allows you to create something unique and enjoy it over and over. The Home Depot is your DIY headquarters. Looking for a product to complete your project? We have options to deliver online orders when and where you need them.