How to Trim a Doorway

Last updated September 7, 2023
Replacing the trim of an interior doorway upgrades the look of any room of your house. The process of how to trim a doorway requires making precise cuts. This ensures the finished woodwork is tidy and fits securely.
Trimming an interior door is a DIY project you could complete in an afternoon. This guide will show you how to trim a doorway in a few steps.
Difficulty:
Beginner
Duration:
Under 2 hours
Table of Contents
Prepare to Install Door Trim
Calculate Length of Vertical Moulding
Calculate Length of Head Moulding
Cut the Head Moulding
Attach the Head Moulding
Cut the Side Moulding
Prepare to Install Door Trim

The new interior trim – also called moulding or casing – should be consistent with the style of the rest of the house. Look around the house for a common design or similar trim details on other doors and windows.
Consider whether the trim will be installed with mitered joints at the corners, corner blocks, or with the slides butt-jointed into the header. The following specifically is about miter casing for a doorway without existing trim or moulding.
Calculate Length of Vertical Moulding

As you begin trimming a doorway, you will need to make some measurements and calculations before you cut. A door trim that is flush to jamb can lead to unintentional gaps forming over time as the wood dries or the house settles. Installing the door trim slightly away from the jamb edges will help hide the discrepancies. This intentional gap between the trim and edge is called a reveal.
- You’ll need a set square to calculate the side lengths of the trim. Adjust the blade on the set square to 1/8 inch and put the body against the door jamb.
- Place a sharp pencil against the end of the set square blade, and run along the length of the jamb, drawing a line for the reveal.
- Repeat this process for all three sides of the door jamb.
Calculate Length of Head Moulding

The next step of how to cut trim for a door is to calculate the length of the moulding that goes on top of the door.
Use a tape measure to measure the distance between the vertical reveal lines you've drawn on either side of the door jamb.
You’ll need a helper for this task to ensure an accurate measurement. Hold the head moulding piece above the door. Draw a line to indicate the direction to make the miter cuts on both ends of the trim.
You are now able to position the top piece of trim.
Cut the Head Moulding

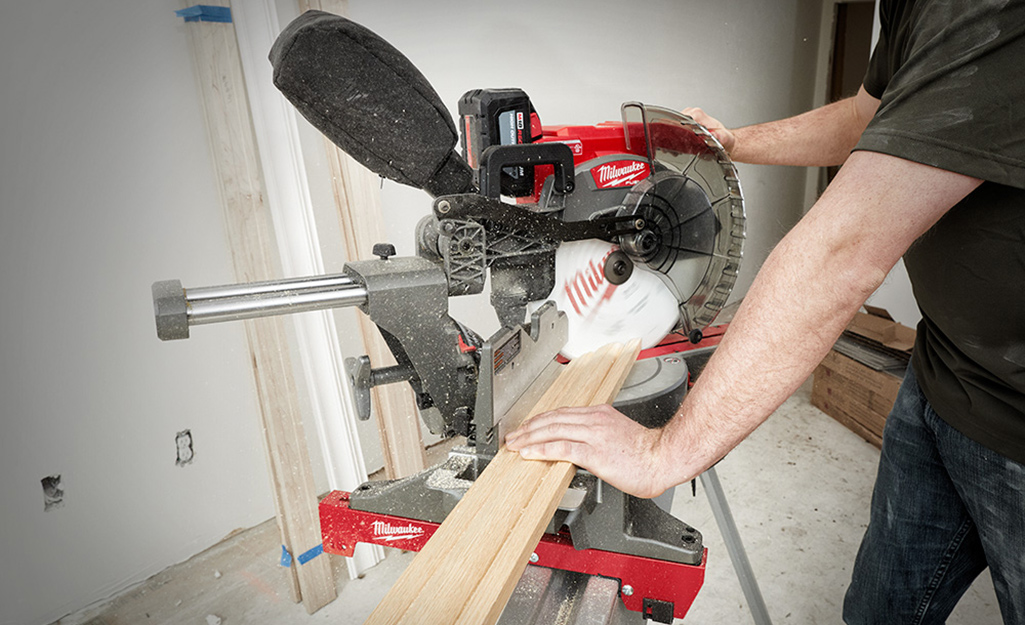
Once you’ve figured out how to cut trim for a door, it’s time to use the miter saw.
- Set the miter saw to a 45-degree angle.
- Cut the moulding on one end that is longer than the doorway is wide. Then, measure the length of the moulding from the inside point of the miter you just cut to the desired length.
- Use a pencil or marker to mark the opposite end of the trim piece where the reveal line intersects. Ask a helper to help with holding the board to make an accurate and level mark.
- Change the direction of the saw blade and make a corresponding 45-degree cut at that mark. Cut long to avoid making the piece too short to reach from reveal line to reveal line.
- Reposition the piece to check that its shorter edges meet the vertical reveal lines.
- Carefully make incremental cuts with the miter saw to shave the edge as necessary achieve the correct length.
Attach the Head Moulding

- Place the cut piece of trim above the door jamb and test the fit. Ask a person to help you with this task.
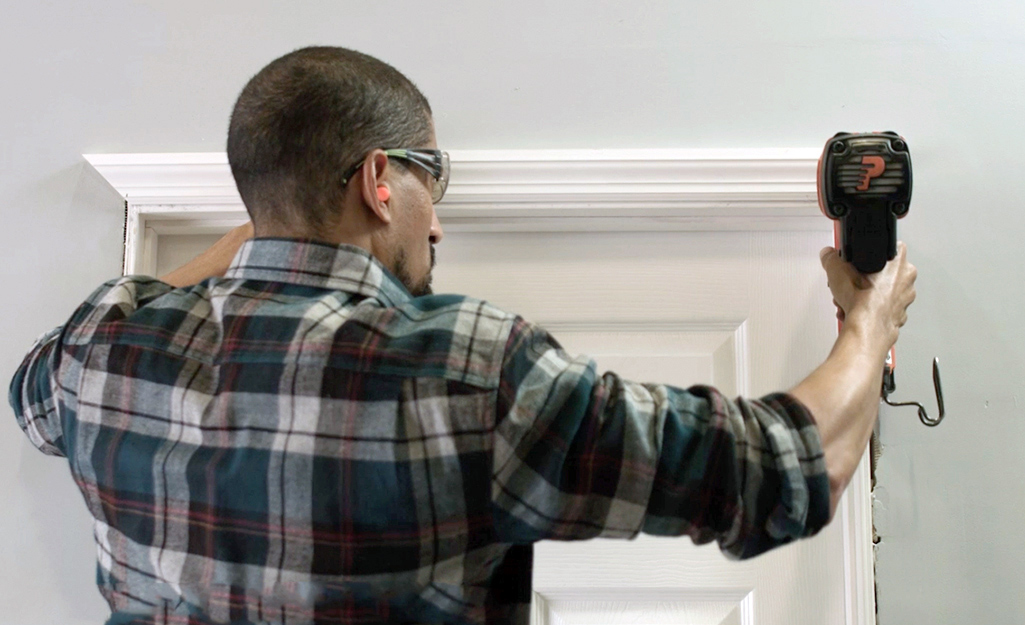
- Once you have gotten it to fit well, you will secure the board. Use a nail gun or pneumatic air compressor nail gun with a gauge of 16 or 18 to attach the moulding piece to the door jamb with trim nails.
Tip: To prevent splitting the wood trim while trimming a doorway, avoid nailing a quarter inch from the side edges and 1 inch from the edge of the moulding.
Cut the Side Moulding

- Position one of the side moulding pieces against the door jamb. Again, draw a line to guide the miter cut.
- Measure the length of the side piece from the inside corner of the head moulding piece to the floor. Make a mark.
- Measure and mark the boards for both pieces of side trim.
- Knowing how to cut trim for a door is key to getting the right fit. You’ll use the miter saw to cut the top of each piece of side moulding at a 45-degree angle to fit into the head moulding. With the saw blade in the correct 45-degree position for the left trim piece, make your cut. At the other end of the same board, make a straight cut. Repeat this cutting process for the trim board on the right side of the door.
Attach the Side Moulding

After you’ve cut the side pieces, put them in place. Nail each board at 12-inch increments.
To secure the corners, use wood glue. Be sure to wipe excess glue off. Use 1-inch brads from the top and side to pin the pieces together.
Finish Cleanly

Once the head and side pieces of door trim have been nailed in, you're nearly finished trimming a doorway.
- Use a nail set to drive the nail heads below the surface of the door trim.
- If you use paint-grade trim, use paintable putty to fill nail holes. For stain-grade trim, use a wood filler that is close to the natural color of the wood.
- Allow putty/filler to dry and sand flush with the face of the board.
- Caulk the gap between trim and wall paint. When using stain-grade material, be careful to apply a clean bead of caulk for a clean transition between finishes.
You can learn how to trim a door and refresh the look for any doorway in your house. Measuring accurately before trimming a doorway will help you get an exact fit as you cut and place the moulding. Download The Home Depot Mobile App to check out the door trims and supplies for your next renovation project.


