How to Trim a Window

Published December 11, 2023
New interior window trim gives any room a finished look. Think of trimming a window interior as creating a picture frame that draws attention, adding an element of decor in your home.
This guide will teach you how to install interior window trim. The simple wrap-around style has clean lines, and even beginners can complete this DIY project, trimming a window in a short amount of time.
Difficulty:
Beginner
Duration:
Under 2 hours
Table of Contents
Before Installing New Window Trim
Mark the Reveal Lines
Cut and Install Top Trim
Cut and Install Vertical Trim
Cut and Install Bottom Trim
Finish and Prep the Trim
Before Installing New Window Trim

Before you give your interior windows a fresh look with new trim, you’ll have to remove the existing window trim. You’ll need a utility knife, hammer and pry bar for this task.
- Place the utility knife along the seam between the moulding and wall. Apply pressure to score through the dry paint into the drywall. Do this on all four sides to prepare for trimming a window.
- Insert the pry bar into between the trim and wall. Gently tap the pry bar with the hammer to loosen the trim from the wall.
- Pry the trim from the wall.
- Repeat this step for the opposite side trim and upper and lower trims.
Mark the Reveal Lines

The first step in how to trim a window is to mark the reveal lines. If window casing is installed flush to jamb, unintentional gaps can form over time as the wood dries or the house settles. Installing the trim slightly away from the jamb edges will help hide discrepancies. This intentional gap is called a reveal.
- Use a tape measure and a sharp pencil to mark the jamb 1/8 to 1/4 inches from the inside edge on all sides of the window. This gives you a reference mark in trimming a window interior.
- Look around the house for doors and windows possessing similar details as the one you are trimming to find a common dimension for the reveal.
You are now able to position each piece of trim.
Cut and Install Top Trim

Now that the old trim has been removed, follow these steps for how to trim a window by starting at the top.
- Using a miter saw, make a 45-degree cut on one end of a piece of trim that is longer than the window is wide.
- Position the shorter edge horizontally along the upper reference mark, with its angle resting on the vertical reveal line.
- Use a pencil or marker to mark the opposite end of the trim piece where the reveal line intersects. Ask an assistant to help with holding the board to make an accurate and level mark.
- Change the direction of the saw blade and make a corresponding 45-degree cut at that mark. Cut long to avoid making the piece too short to reach from reveal line to reveal line.
- Reposition the piece to check that its shorter edges meet the vertical reveal lines.
- Carefully make incremental cuts with the miter saw to shave the edge as necessary to achieve the correct length.
- Place the bottom edge of the upper trim piece on the penciled reveal line.
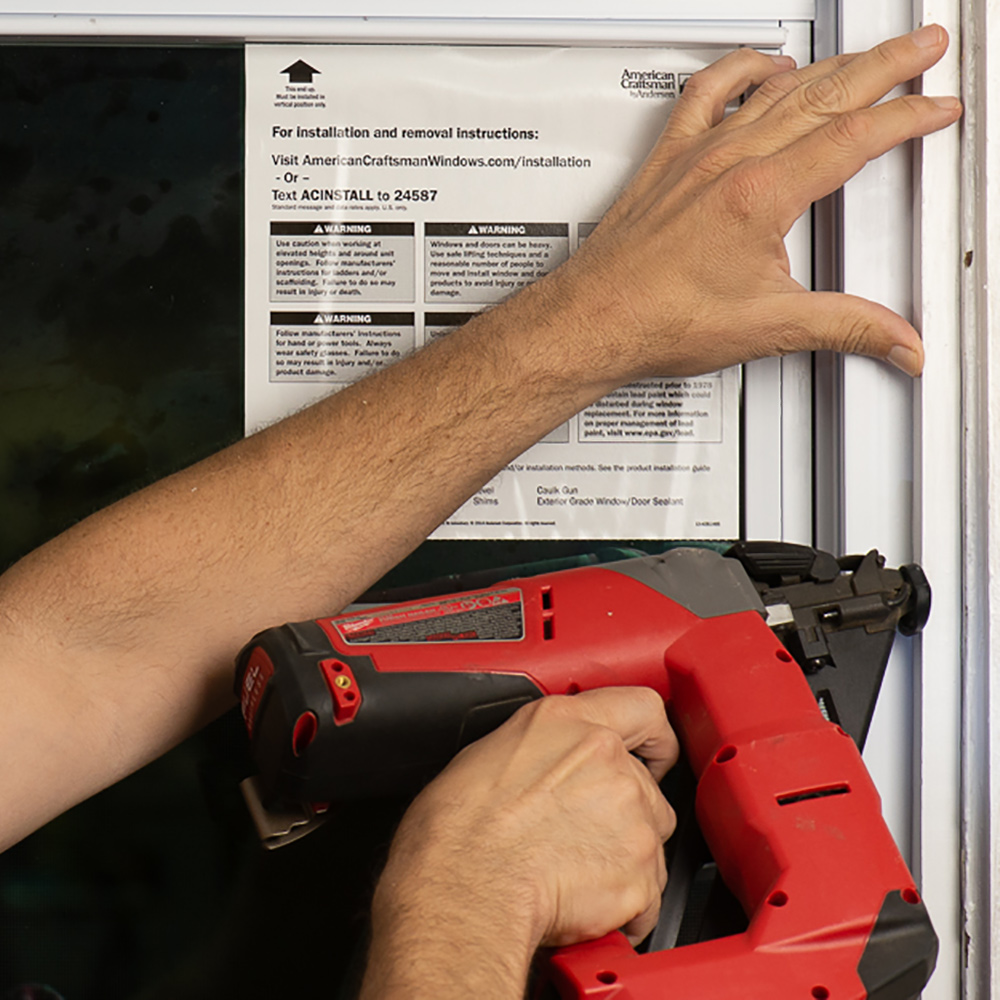
- Use a brad nailer for this part of trimming a window interior. Attach the trim to the jamb with 1 1/2-inch 18-gauge brad nails in 6-inch increments.
- Use 2-inch or 2 1/2-inch brad nails for the thicker part of the trim boards.
Cut and Install Vertical Trim

The top trim is done, so follow these steps for how to trim a window by working on the trims along the sides.
- Make a 45-degree miter cut for the top end on a length of trim that is longer than the window is tall.
- Position the board along the vertical reveal line so that its angle joins the upper trim.
- Mark the board where it intersects the lower horizontal reveal line.
- Make a corresponding 45-degree cut to the trim and adjust, if necessary, as you did with the top piece.
- Apply wood glue to the corner joint and reposition.
- Using a brad nailer, insert 1 1/2-inch 18-gauge brad nails at the trim’s top and side to join the pieces together.
- Wipe away excess glue from the joint.
- Fasten the vertical leg to the jamb as you did with the top piece.
- Repeat the steps for the second vertical piece of trim.
Cut and Install Bottom Trim

To begin, make a 45-degree cut on one end of a piece of trim that is longer than the width of the window.
- Check the fit of the joint when the trim is placed along the reveal line. Adjust the angle of the miter, if needed.
- Change the direction of the miter saw blade for the opposite end of the trim.
- With the board still longer than needed, make a test miter cut and check its fit.
- When satisfied with the angle, make incremental miter cuts to gradually shave the length of the bottom trim for a perfect fit.
- Apply wood glue to the cut ends, reposition and pin to the vertical legs.
- Wipe excess glue from the joint. Nail to the jamb as you did with the other pieces to complete trimming a window in your home.
Finish and Prep the Trim

After installing the window trim, prepare it for staining or painting with these steps:
- Fill the nail holes with paint-grade spackling and sand away excess. Use wood grain putty for stain grade materials.
- If the trim is pre-finished, use a colored wax and wipe away excess. If the material will be stained in place, use a wood grain putty and sand away the excess.
- Caulk the gap between trim and wall paint. If material is being stained after mounting, be sure to stain and finish before caulking.
- When using stain-grade material, be careful to apply a clean bead of caulk for a clean transition between finishes.
Follow the steps for how to trim a window to revive the look of any room in your house. You can incorporate these fundamental steps of trimming a window when using architectural features like rosette blocks at the corners or a more traditional style of trim that includes a window apron. When you are ready to start your project, download The Home Depot Mobile App and check out the inventory.