How to Use a Lock Washer
Published September 5, 2023
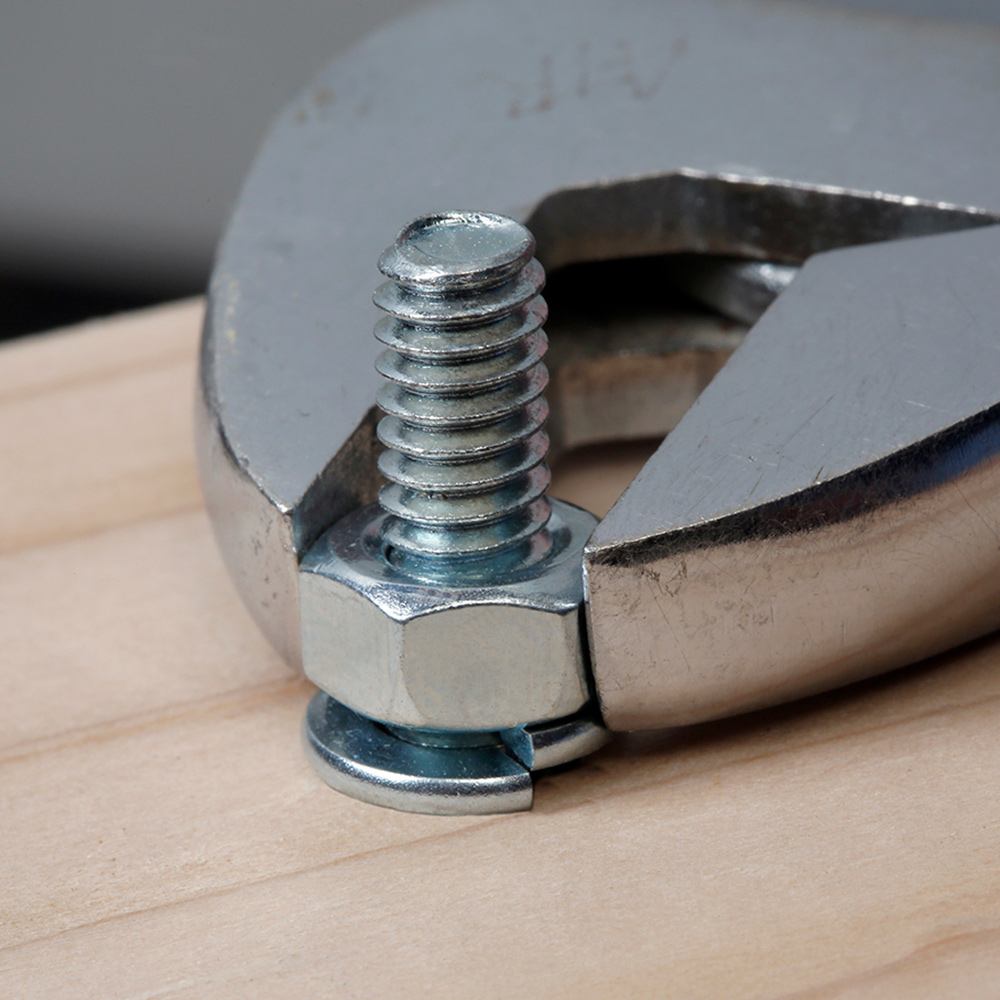
Often used with nuts, bolts and other fasteners, washers are thin plates with central holes used to distribute the pressure load between two joining surfaces. They also keep nuts or bolts from driving into the material of the surfaces being joined. Vibration, friction and general use can cause standard threaded fasteners to come loose over time, but lock washers are designed to maintain a secure connection. This guide reviews how to use lock washers and the different types there are.
Difficulty:
Beginner
Duration:
Under 2 hours
Table of Contents
How Lock Washers Work
Types of Lock Washers
How to Attach a Lock Washer
How to Remove a Lock Washer
How Lock Washers Work
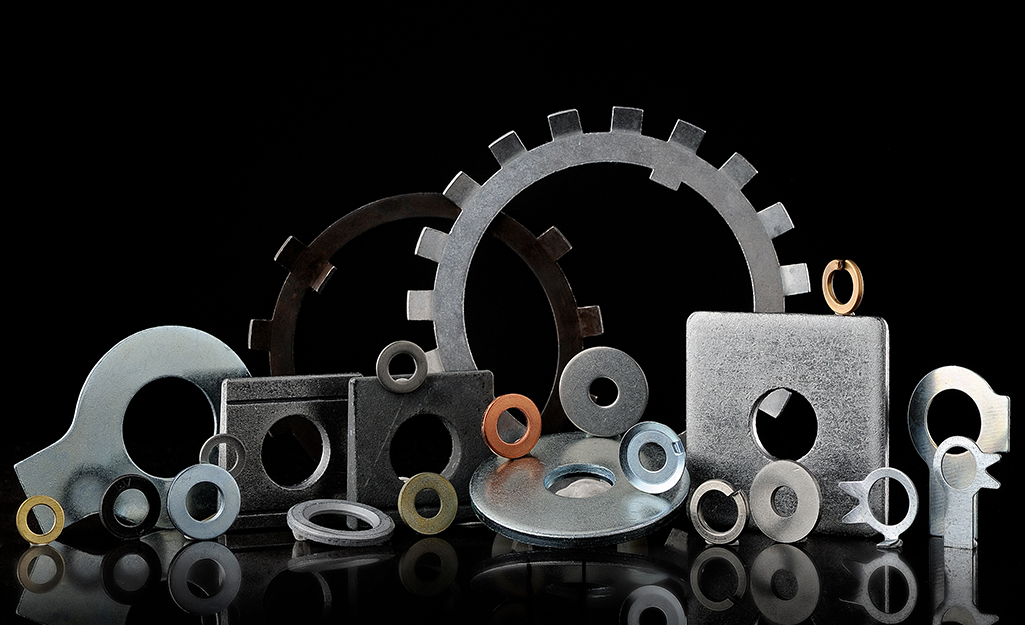
- Lock washers are designed to be tightened to a required torque beneath an ordinary fastener. They exert a spring tension that keeps the fastener from vibrating loose. They are often attached to the nut side of the fastener.
- Lock washers are made from such hardened metals as stainless steel, galvanized steel, zinc-plated steel and silicone bronze.
- Lock washer use often involves transportation, such as automotive, aircraft or marine applications that see persistent vibration.
Types of Lock Washers
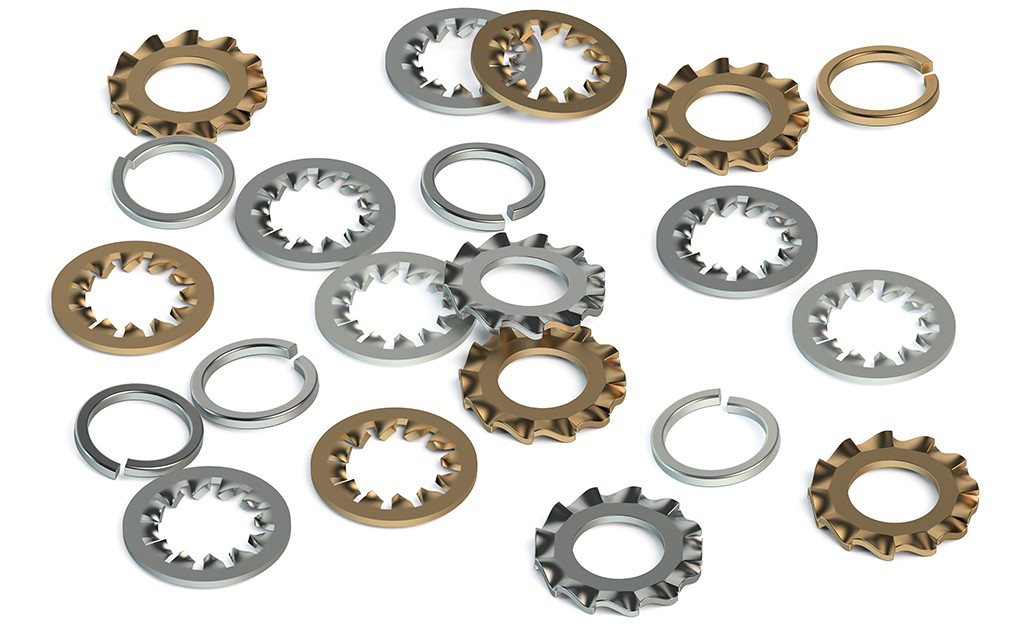
Lock washers are available in two basic types: spring action (or split) washers and tooth washers.
- Split lock washers are helical-shaped split rings. When fastened, the two ends exert a spring force on the fastener to create increased friction and resistance to motion. Helical spring lock washers are the most common form of a lock washer and are best suited to applications with smaller loads. High-collar lock washers are a kind of split washer.
- Internal tooth lock washers have teeth made to bite into the nut/screw head and surface it contacts. They work best on small screws or screws used in electrical grounding.
- External tooth lock washers (also called star washers) have teeth made to bite into the bearing surface. An external tooth lock washer is designed to provide stronger holds than internal-tooth washers as the teeth bite into a larger radius and are best suited to large screws.
When working with lock washers, consider that a tooth lock washer can leave scratches on its attaching surfaces. In addition, a tab washer is designed for harsh environments and has a tab that you can bend against the nut or fastener head to hold it in place.
Tip: Lock nuts are nuts designed to resist loosening from vibration or torque and are sometimes used as alternatives to lock washers.
How to Attach a Lock Washer
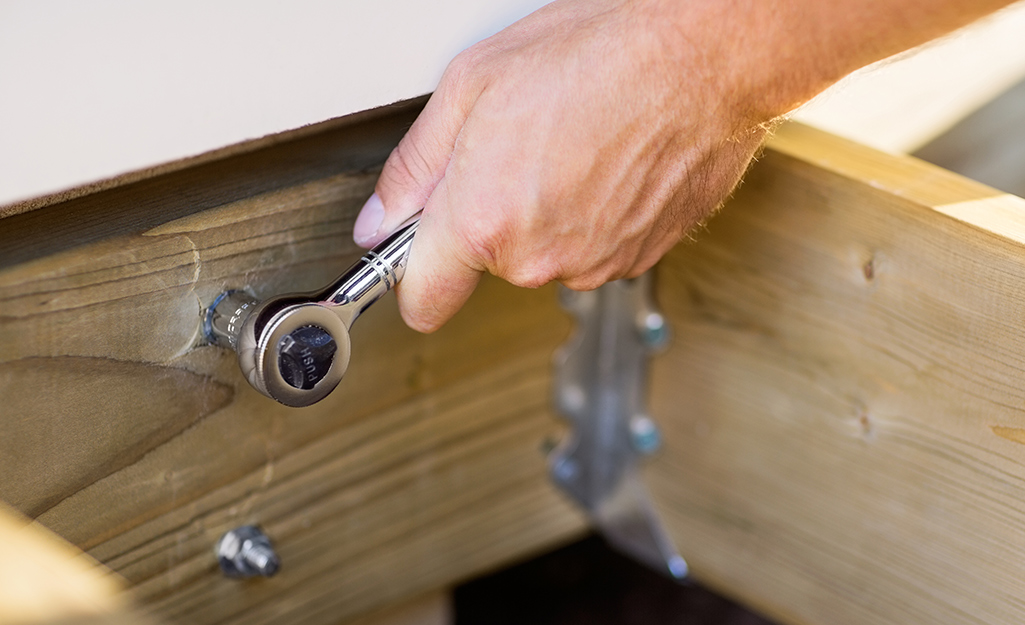
Now that you know how lock washers work and the basic types, you need to know how to attach them.
- First, determine where you want the lock washer to go and which type is best suited for the task
- Use a ruler to measure the shank width of the bolt and choose a lock washer of appropriate size
- Place the lock washer under the threaded fastener and ensure that it has a snug fit. If you’re using a lock washer with teeth, make sure they will engage with the appropriate surfaces. If they don’t, swap out the washer for a different one.
- Turn the fastener with a ratchet or wrench until it tightens to a firm connection. A torque wrench can rotate the fastener to a specific torque.
- After tightening, ensure the lock washer will hold correctly. If a split washer has been flattened to the shape of a standard washer, it will not lock properly, so consider using a toothed washer instead.
Tip: Do not overtighten a lock washer. If a spring washer becomes flat, it can eliminate the extra tension and prevent the locking function from properly working.
How to Remove a Lock Washer
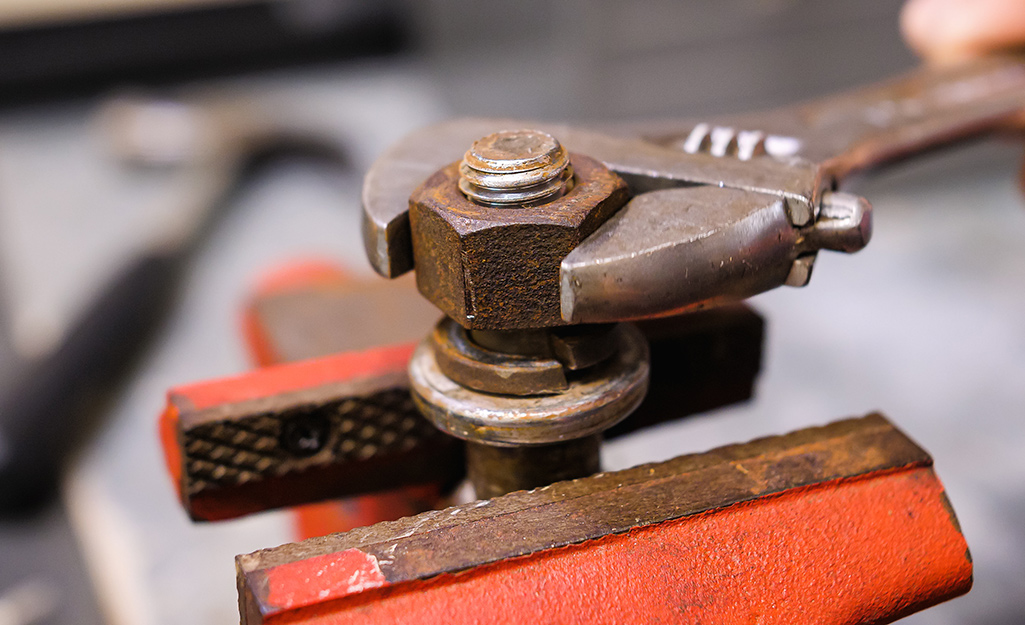
Lock washers offer secure connections that can be removed or separated more easily than welded connections.
- To remove a lock washer, use a wrench or a similar tool to remove the nut or threaded fastener that holds the lock washer in place.
- Next, use a flathead screwdriver to pry the lock washer loose. If you remove a split washer, place the screwdriver head under the washer or inside the split. If you remove a toothed washer, place the head under one of the teeth.
- Work the screwdriver head under the circumference of the washer if it doesn’t immediately pry up.
Tip: If the lock washer resists removal at first, spray with penetrating oil to lubricate it and try again.
Lock washers are designed to resist stress and high vibration in applications. They ensure that mechanical components will hold together when properly installed. When you know how to use a lock washer, you can create strong and lasting connections that’ll hold up in the toughest environments. Shop at The Home Depot for all the necessary tools and supplies so that you can use lock washers correctly.
Ready to get the lock washers and tools you need for your project? The Home Depot delivers online orders when and where you need them.


