How to Use a Multimeter

Last updated September 7, 2023
Gain confidence when doing electrical tasks by taking precautions. Knowing how to use a multimeter is helpful when doing electrical repairs and DIY maintenance projects. It checks alternating current (AC) voltage, direct current (DC) voltage, resistance and amperage. Use a multimeter to test electricity in batteries, appliances and outlets.
This guide will explain how to use a multimeter safely. It will also outline what a multimeter is, its parts and how to read it. You’ll learn how to choose between an analog or digital multimeter as well.
Safety Tip: Never touch the metal tip of the multimeter while testing with live current. You could get an electrical shock.
Difficulty:
Beginner
Duration:
Under 2 hours
Table of Contents
What is a Multimeter?
Parts of a Multimeter
Test Your Probes or Leads
How to Measure AC Voltage
How to Measure DC Voltage
How to Measure Resistance
What is a Multimeter?
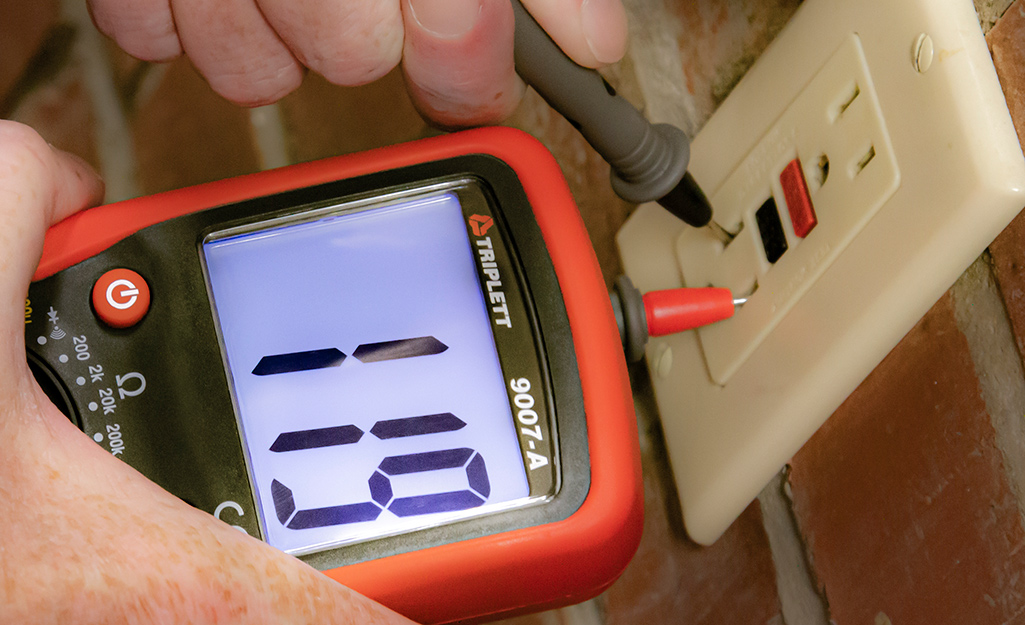
A multimeter is an electrical tool used to measure electricity. It’s pronounced "multi-meter" or "mul-tim-i-ter." You may also hear it called a volt-ohm meter or multi-tester. They come in digital and analog versions.
This specialty meter lets you see if a wall plug is fully functional. It’s also a good idea to test your surge protectors, batteries and power supplies. That way, you can assure your electronics are in working order.
Use a multimeter it to check the following electricity-related properties:
- AC voltage: Tested in items with electrical plugs
- DC voltage: Tested in batteries or other items that hold a bank of electric power
- Resistance: Measured in ohms
- Current: Measured in amperage (ampere), which are usually called amps
Tip: When testing, always start with a high range and dial it down. A range that’s too low can cause problems. Always set your multimeter to the correct unit to avoid danger and blown fuses.
Parts of a Multimeter
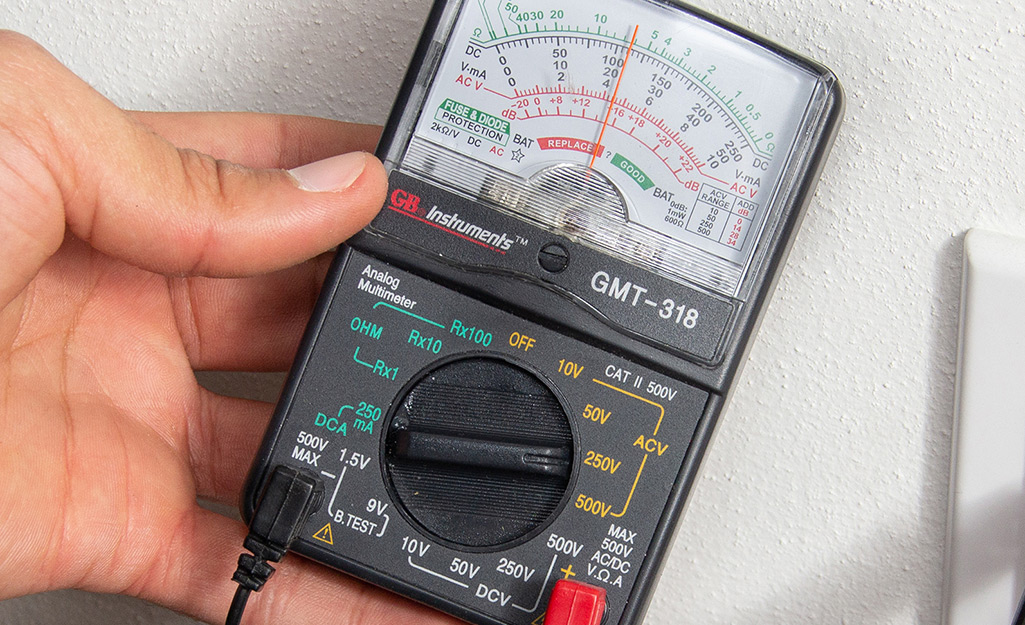
When learning how to read a multimeter, it’s good to know the parts. Labels and options differ from one to meter to the next:
On/Off Switch: Some multimeters have an on/off button or switch. If yours does, turn it off when you’re done testing. Other models have an auto-off feature to save battery.
Display: This can be digital or analog. A digital multimeter shows a number when you measure. An analog display has a meter and an indicator pointing to a number.
Meter Pointer (analog only): A straight line, often red, moves to show the electricity property you selected.
Selector Knob or Button: Turn this knob or press the button to select your unit of measure. The choices on the display match the choices on the knob.
V: The V stands for voltage.
A: The A stands for amperes or amps.
Ohms or Ω: This curvy upside-down letter U is the Greek letter omega. It’s the symbol for ohms.
M: Milliamps are tiny fractions of amperes. Each one is 1/1000 of an amp.
Resistance: This is measured in ohms.
- On analog multimeters, there’s a scale on the display labeled as ohms, resistance or the ohm symbol (Ω).
- On digital ones, look for similar tags next to a number.
Scales: On an analog multimeter, you’ll have different types of scales.
- DC/AC Voltage Scale: These are labeled “AC” or “DC” and have a V for “voltage.”
- DC/AC Current Scale: These also say “AC” or “DC,” but there isn’t a V.
Selector knob labels: On an analog multimeter, you choose the unit that you’re testing. A wavy line indicates AC. A straight line or dash shows DC.
These abbreviations and symbols are often found on multimeters. They vary depending on the make and model:
- Vm: DC voltage
- V~: AC voltage
- VΩmA: AC voltage
- mA~: AC current
- Ω: Resistance
- V–: DC voltage
- VΩ: DC or AC voltage
Jacks or Ports: These holes look like headphone jacks or auxiliary jacks. Most have three ports, but some meters have four.
Here are some types of ports you may see:
- Common Port: This is the grounding or neutral port. The port is black. All multimeters have this.
- V Omega m-A: This red port is used for testing most measurements. Use it to measure volts, resistance and small-amp currents. The tiny currents are measured in milliamps.
- 10-A: This red port is used less frequently. It’s for handling large currents up to 10 amps.
- 300mA: This red port measures up to 300 milliamps.
Probes: Also called leads, a multimeter has two probes that plug in to the ports.
- The black probe always plugs into the common port. It doesn’t carry live electricity and is neutral.
- The red probe plugs into the port for the unit or property you’re measuring. It tests voltage, resistance or frequency. It’s the positive or hot wire.
Your multimeter likely came with probes with pointy metal ends. You can get alligator clips that’ll clamp onto your surface if you’d prefer. It looks like someone split the probe in half and gave it teeth. Alligator clips keep both hands free to adjust the multimeter.
Test Your Probes or Leads
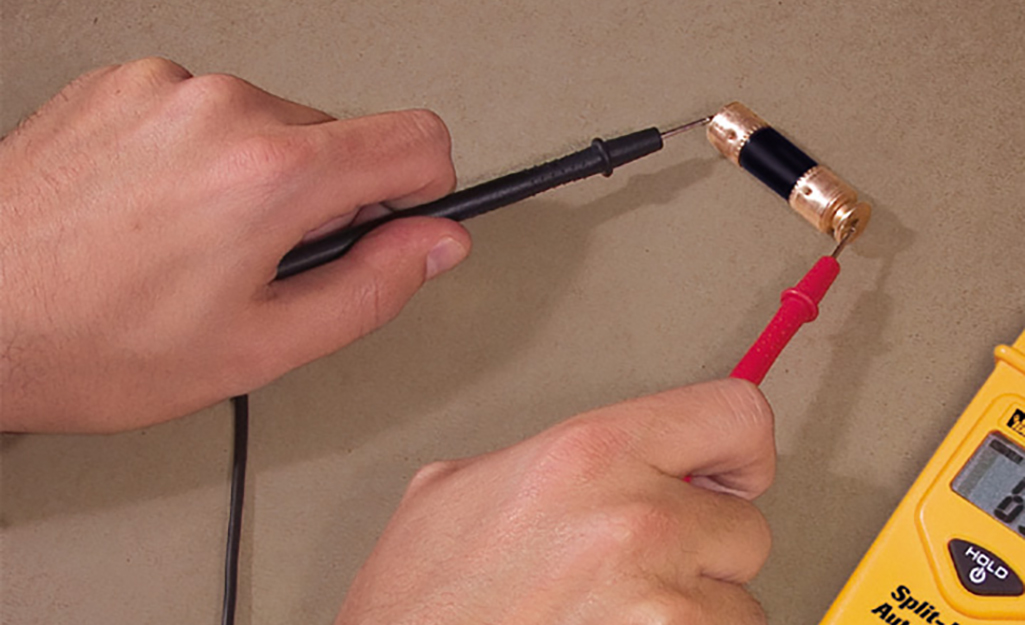
Before you begin, make sure all parts of your multimeter look sound. This may seem unnecessary, but it’s an important step when using an electrical tester. Checking your equipment helps protect you from mishaps that can result in electrical shock.
Assure that the area you’re testing is dry. Check for cracks on the multimeter and for any fraying or nicks in the wires. Don’t test if your equipment is damaged. If you’d like to feel even safer when testing, wear rubber gloves and shoes with rubber soles.
Now that you’ve ruled out obvious damage, it’s important to check that your probes are working internally. Some people call this “ohming-out” the leads:
- Set your multimeter to the ohm meter on the selector knob.
- Plug the black probe into the common port.
- Insert the red probe into the jack marked for ohms.
- Gently tap the red and black tips together. Avoid touching the metal parts with your fingers while you do that.
- Your reading should be 0.5 ohms or less.
- If your reading is higher than that, replace the probes.
How to Measure AC Voltage

Measuring AC voltage is the most common usage of a multimeter. You can check the plug on an appliance or outlet to help isolate an electrical problem.
Tip: If your multimeter has an automatic function, change it manually to the correct AC mode.
You’ll get more accurate results on a digital multimeter.
Follow these steps to check an electrical plug. If you’re testing another electric device, the concept is the same:
- Turn off all power to the plug. This includes circuits and the plug itself, if applicable.
- Set the mode on your multimeter to AC voltage. Start at the top of the range and adjust down.
- Make sure your multimeter is set higher than the voltage number printed on the cord. For small two-prong appliances, that’s usually 120 volts. Three-prong appliances will have a higher voltage.
- Connect the black probe to the common jack on the multimeter.
- Plug the red probe into the jack labeled as AC voltage or ohms/omega. It may also be labeled VΩmA, VΩ or V (for voltage).
- Place the end of the black probe into the neutral slot. On a polarized plug, it's the wider prong.
- Put the red probe into the hot slot on the plug.
- Check your reading. A small hand mixer might be 120 volts, but a coffee grinder could be 300 volts.
- When you’re done, remove the red probe, then the black from the item you’re testing. Unplug in that same order.
Safety Tip: If you must test an AC main, use a multimeter rated Category II or higher. However, it's recommended that you call a professional.
How to Measure DC Voltage
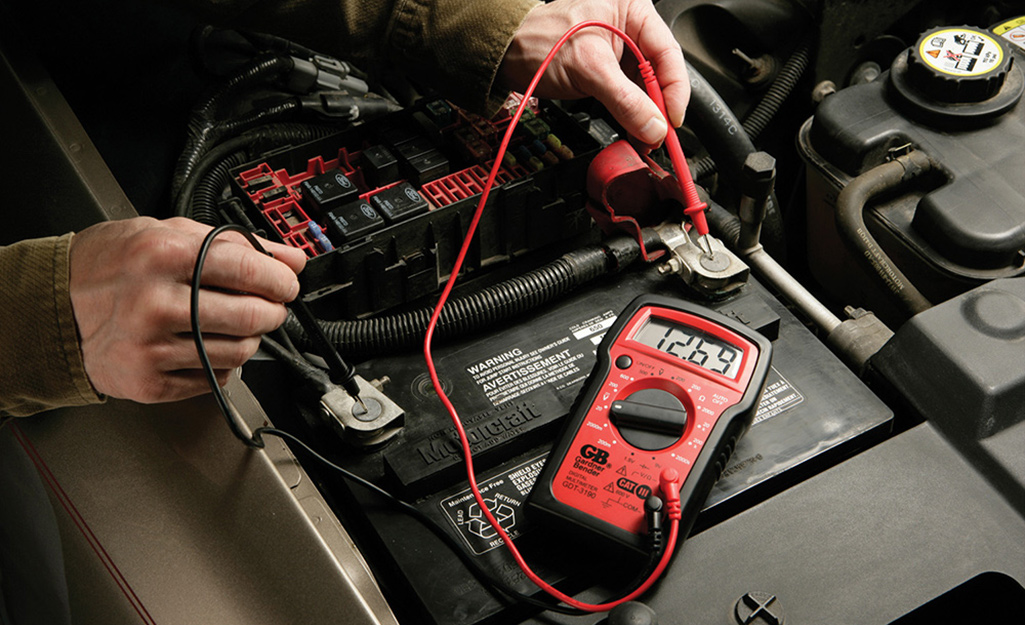
Use a multimeter to check DC voltage. The concept is the same wherever you measure DC voltage. Check a power bank with a similar procedure as a battery.
Follow these steps to test the charge on a battery:
- Disconnect the battery from any power tools or chargers. Car batteries can be tested in place after the headlights have been on for two minutes, then turned off.
- Set your multimeter to measure DC voltage. Use the selector knob or button to choose the expected measurement. For example, if you’re expecting 9 volts from your battery, set it to 9 or 10. In the U.S., it’s usually 30 volts or less. You can also start at the top of the range and work your way down.
- Insert the black probe in the common jack.
- Plug the red plug into the jack labeled for DC voltage, VΩ or V–.
- Touch the black plug to the negative side of the battery.
- Touch the red probe to the positive terminal.
- Write down your reading.
- Disconnect the red probe, then the black one.
Tip: If your digital multimeter reading is negative, switch the black and red probes for a positive reading. It should be the same number, but without a minus symbol. Don’t mix up the positive and negative sides with an analog multimeter. It may damage the tool.
How to Measure Resistance
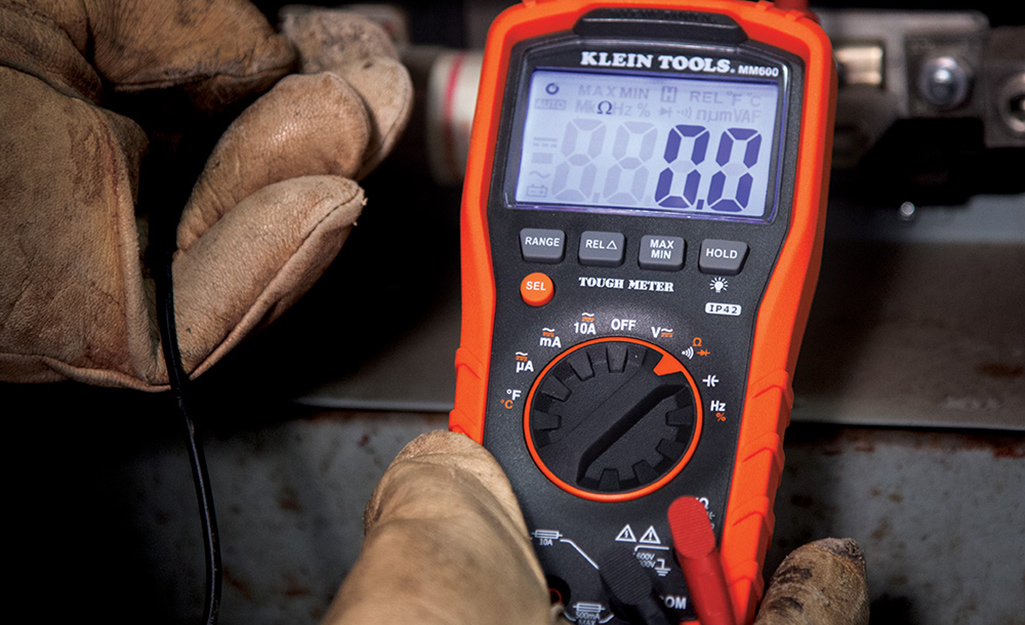
Measuring resistance is useful for DIYers who repair electrical components. Resistors need to carry the correct amount of power to function.
Here’s how you can test resistors for a repair project:
- Completely disconnect the component that you’re testing. Remove it from all live circuitry, including plugs and batteries. You want zero current flowing.
- Set your multimeter to the ohm meter function. If your resistor is labeled with a number, set it to that.
- Plug your multimeter probes into the jacks labeled common and VΩ (DC voltage). Use the black plug for common and the red plug for DC voltage.
- If you’re not sure of your range, start measuring around 200-ohms or higher. Some models will show a “1” reading. This means the resistor has a higher capacity than your current setting.
- Touch the probes to either side of the item you’re testing. Positive and negative doesn’t matter here.
- Move down the ohm range on your multimeter gradually. When you’re in range, the reading will make sense. The “1” or “OL” on a digital multimeter will change to a number.
- If you’re not getting a proper reading, turn down the multimeter range. A high setting won’t pick up low ohms.
If you’re testing multiple resistors, try using alligator clip probes. They clip on to make measuring easier.
How to Choose the Right Multimeter
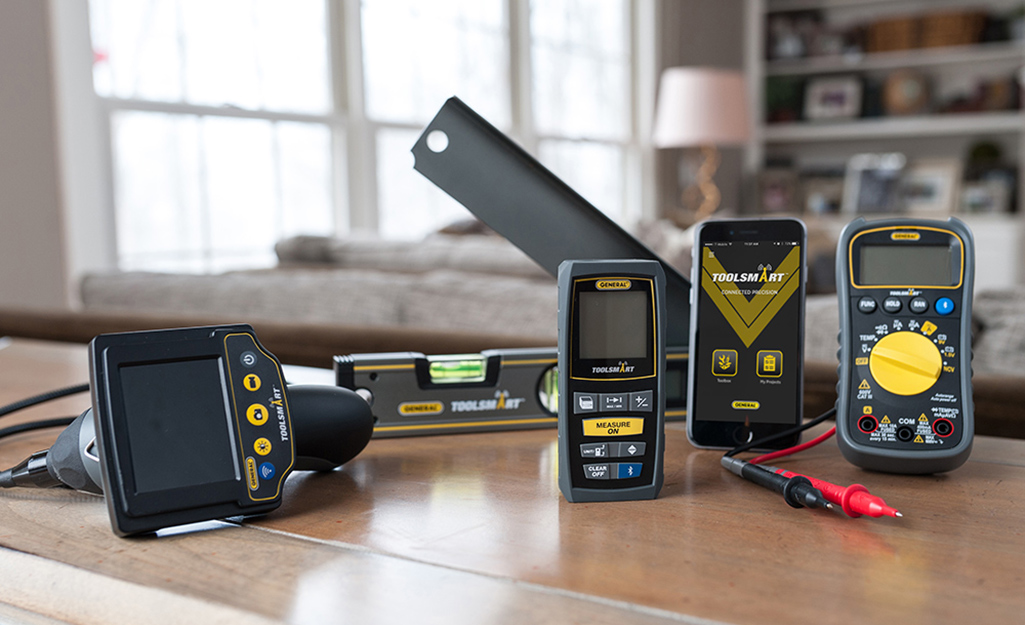
Now that you understand the basics, you can pick the right multimeter for your job. Both types measure DC voltage, AC voltage and resistance. However, they have different strengths and weaknesses.
Digital multimeters are ideal for heavy day-to-day users. They’re also a smart investment for homeowners who want simple and clear readings. Basic models are less expensive than more complex ones.
They feature:
- Easy-to-read and accurate displays
- Auto-shutdown
- Auto-ranging options
- Quick and easy readings for most basic tasks
- Specific functions for specialty work
- More reliability than analog when measuring voltage
Analog multimeters are more affordable. They’re a good fit for DIYers who only need one occasionally. Avoid dropping an analog multimeter, as the impact can damage them.
These multimeters are known for these characteristics:
- Cost-effectiveness
- Taking longer to dial in a measurement
- Measuring amps well, especially milliamps
Now that you know how to use a multimeter, you can test your outlets, plugs and batteries. Ready to troubleshoot that old lamp? The Home Depot delivers online orders where and when you want them.


