How to Use a Scroll Saw
Last updated September 7, 2023
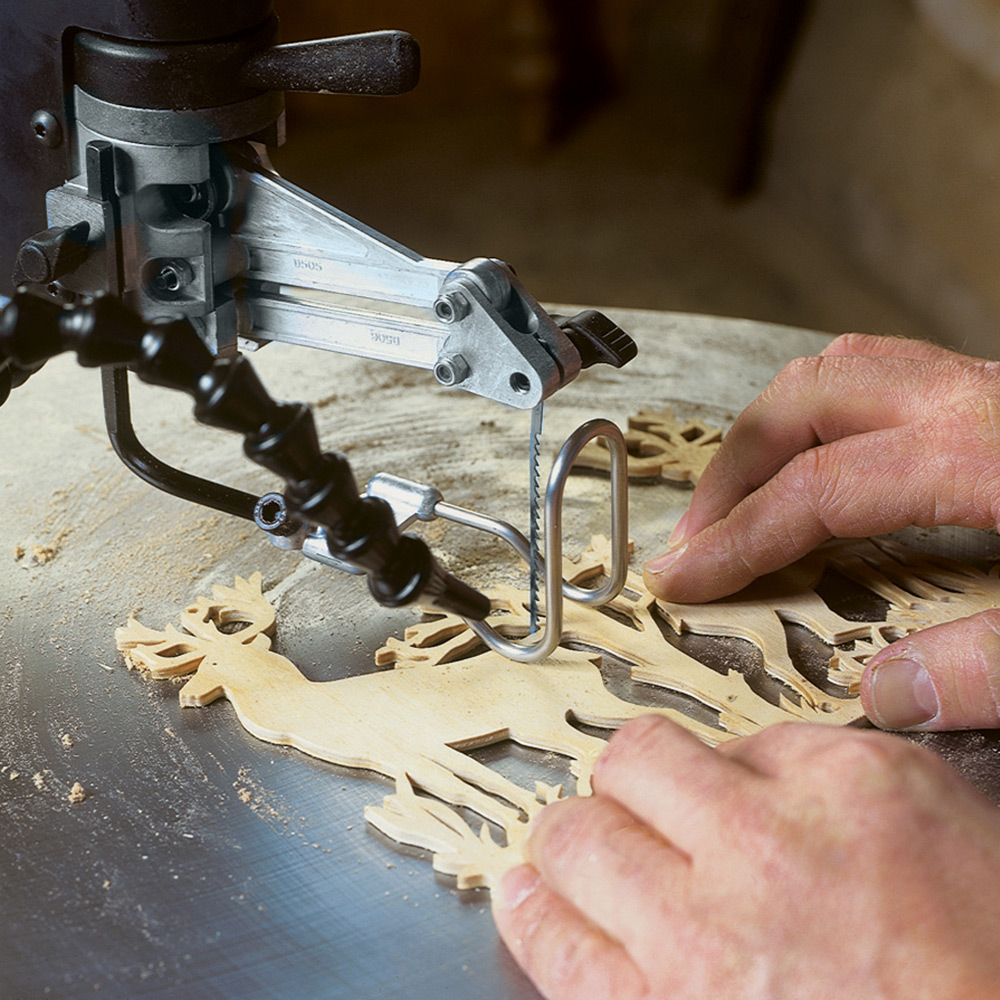
Scroll saws have a thin blade that allows you to cut intricate curves and corners. For advanced users, this means inlay work, musical instruments, dovetail joints and other types of joinery. DIY craft hobbyists can also enjoy a wide range of scroll saw projects such as wooden toys and decoration, state maps and cut-out names or slogans.
This guide teaches you the parts of a scroll saw and how to use a scroll saw. It also includes scroll saw tips and techniques for your DIY woodworking projects.
Difficulty:
Beginner
Duration:
Under 2 hours
Table of Contents
Anatomy of a Scroll Saw
Choose the Right Blade
Install the Blade
Prepare Your Workspace
Get Your Materials Ready
Make Basic Scroll Cuts
Anatomy of a Scroll Saw
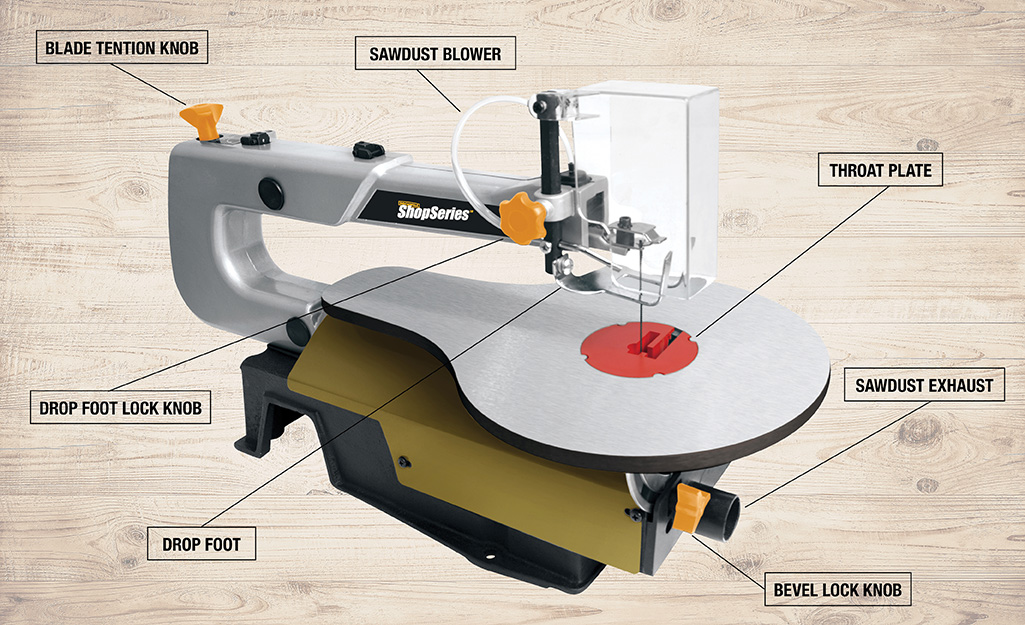
Before you begin using a scroll saw, take the time to learn its basic parts. They include:
- Table tilt adjustment: The adjustment is a bevel scale located under the saw table. It is a convenient guide for setting the approximate saw table angle for bevel cutting. When greater precision is necessary, make practice cuts on scrap material and adjust the saw table as needed.
- Blade tension knob: This knob controls how much flexibility the blade has when it moves. Check tension by the sound the blade makes when plucked like a guitar string. This method of adding tension to the blade can be developed with practice and requires a better understanding of your particular scroll saw.
- Workpiece drop foot: The tall front part of the drop foot acts as a blade guard to prevent accidental contact with the blade
- Workpiece foot lock: To prevent the workpiece from lifting, the drop foot adjusts to rest on the top of the workpiece. Retighten the drop foot lock knob after each adjustment has been made.
- Speed adjustment knob: Turning the adjustment knob increases or decreases the saw’s speed. Manufacturers measure speed by the number of strokes per minute or SPM. The right speed depends on the type and thickness of the material being cut and the number of teeth on the saw blade.
Choose the Right Blade
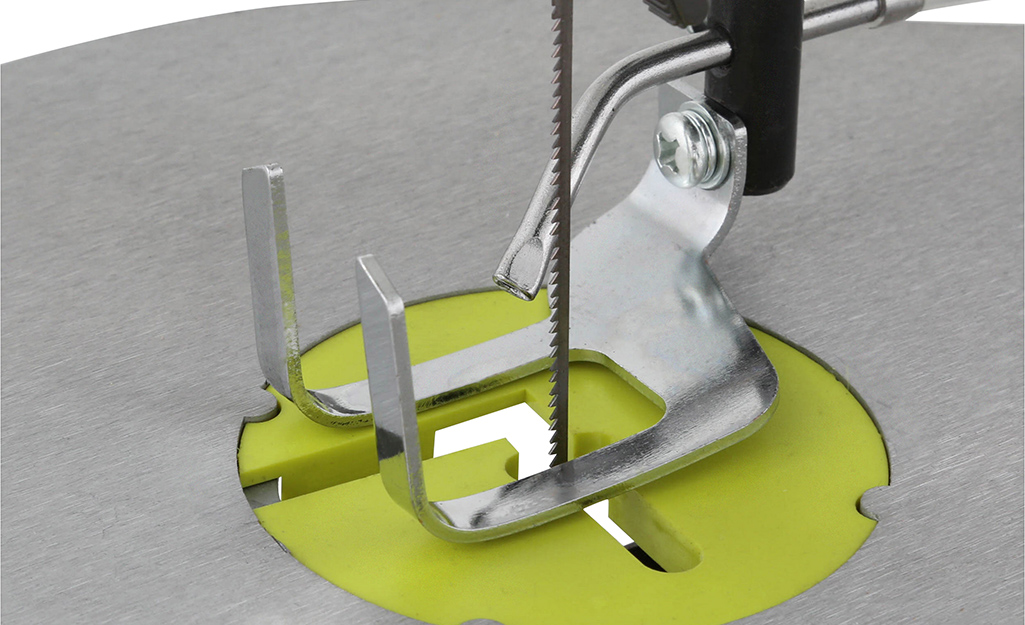
Scroll saw blades wear out quickly and must be replaced frequently for best cutting results. Expect to break some blades while you learn to use and adjust the saw.
When choosing a scroll saw blade, consider the size carefully. Very fine, narrow blades are best for scroll cutting in a thin material that measures 0.25 inch in thickness or less. Wider blades work well for making broader cuts and more flowing curves.
Read the packaging carefully to choose the best saw blade for your job. Most blade packages state the size or thickness and type of material that the blade can cut. The package should also tell you the radius or size of the curve that you can cut with that blade size.
Tip: Scroll saw blades generally stay sharp for up to two hours of cutting, depending on the material type and operation speed.
Install the Blade
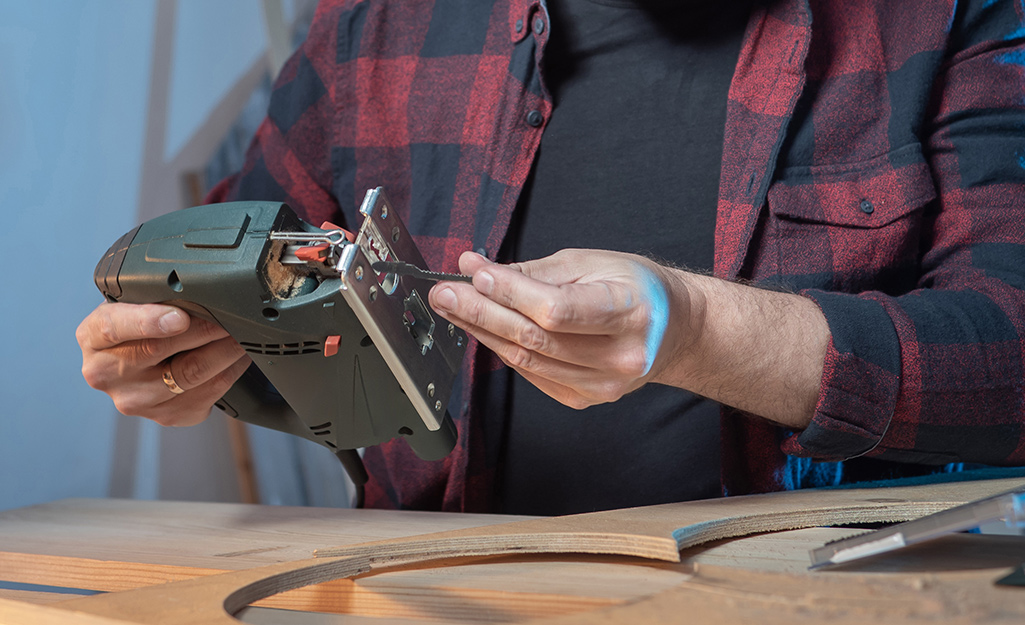
Get your scroll saw ready to cut by installing the blade. To start, find the two holes on the top of the blade and line them up with the screws. Position the blade so that the teeth face the front of the saw and point downward. Begin tightening the screws with your fingers and finish with a screwdriver.
Adjust the tension knob as much as needed. Too much tension could cause the blade to break as soon as you begin to cut. Too little tension may cause the blade to bend or break before the teeth wear out.
Some scroll saws have clamps instead of screws. Check the owner's manual for specific directions on how to install the blade.
Prepare Your Workspace

Once you install the blade, prepare your area for cutting. Turn on a work light or other lighting to help you see. When working in a small space, open windows and use fans for ventilation. A dust mask can help protect you from dust.
For safety, wear eye protection, hearing protection and cut-resistant work gloves while you use your scroll saw. Avoid wearing loose sleeves and jewelry that might get caught in the blade.
Get Your Materials Ready
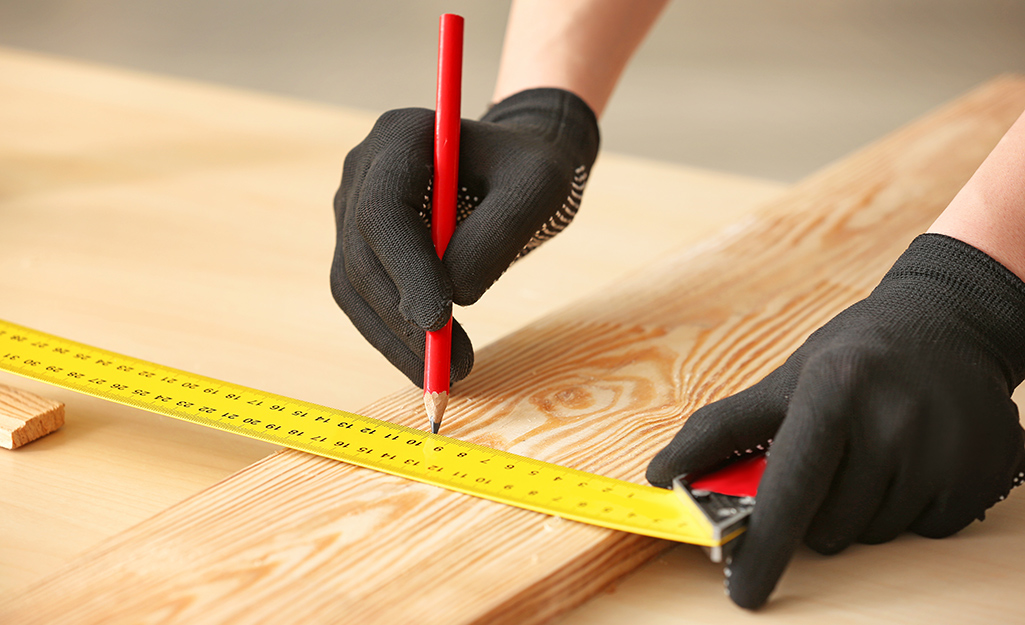
Next, it’s time to prepare your materials. Use a tape measure
and a pencil to trace or mark the wood board, plank, panel or other items that you wish to cut.
For complex cuts, use spray adhesive to attach a pattern right to the wood you'll be cutting.
Make Basic Scroll Cuts
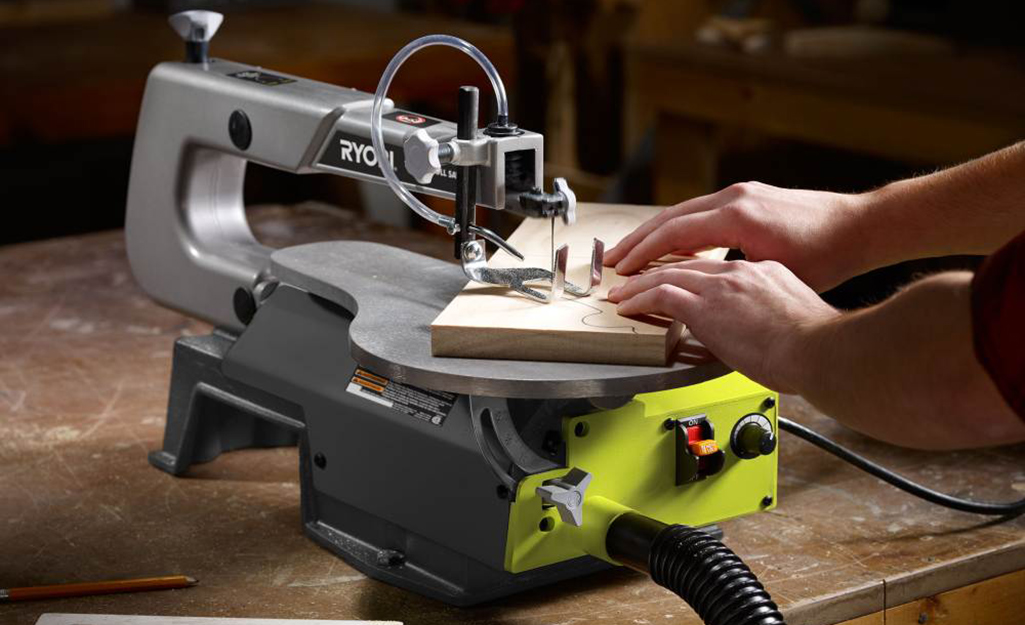
For general scroll cutting, follow the pattern line by pushing and turning the workpiece at the same time.
Don’t try to turn the workpiece without pushing it. Workpieces can bind or twist the thin scroll saw blades without any forward movement.
Cut slightly outside the edge of your line for best results.
When cutting at an angle, the drop foot should also be tilted so that it’s parallel to the saw table and flat against the workpiece. To tilt the drop foot when making a bevel scroll saw cut, loosen the Phillips screw, angle the drop foot and retighten the screw.
Make Interior Scroll Cuts
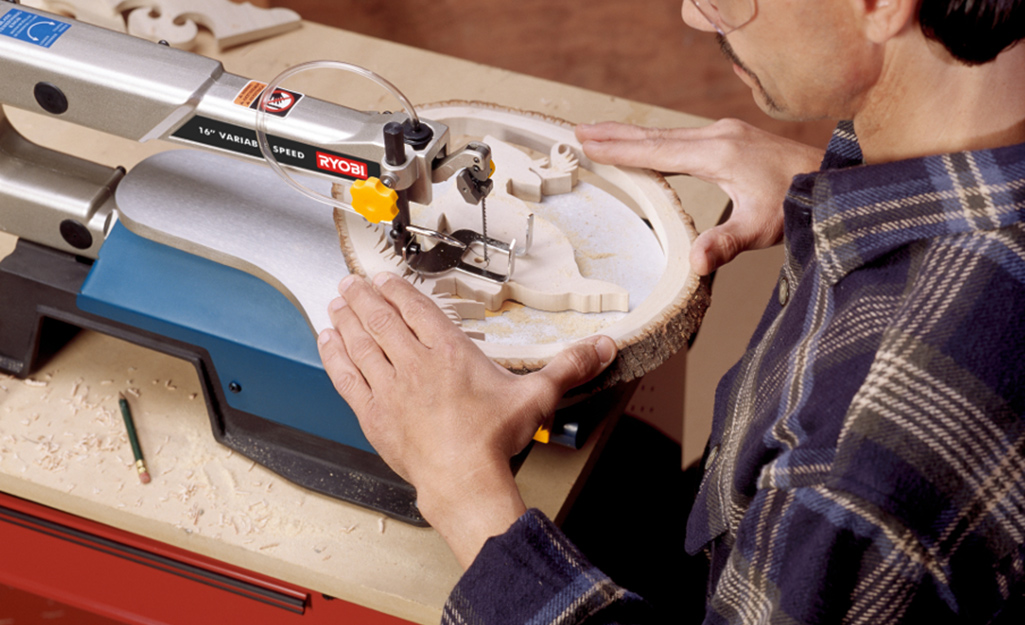
If you want to make a curved interior cut, first drill a 0.25-inch diameter hole along the line with a power drill.
Then, place the workpiece on the saw table with the drilled hole over the access hole in the table. Install the blade through the hole in the workpiece and adjust the drop foot and blade tension. Cut just outside the interior line, pushing and turning the material.
Finish up by removing the blade and sliding your project free. Move to step nine to find out how to take out the blade.
Make Stacked Cuts
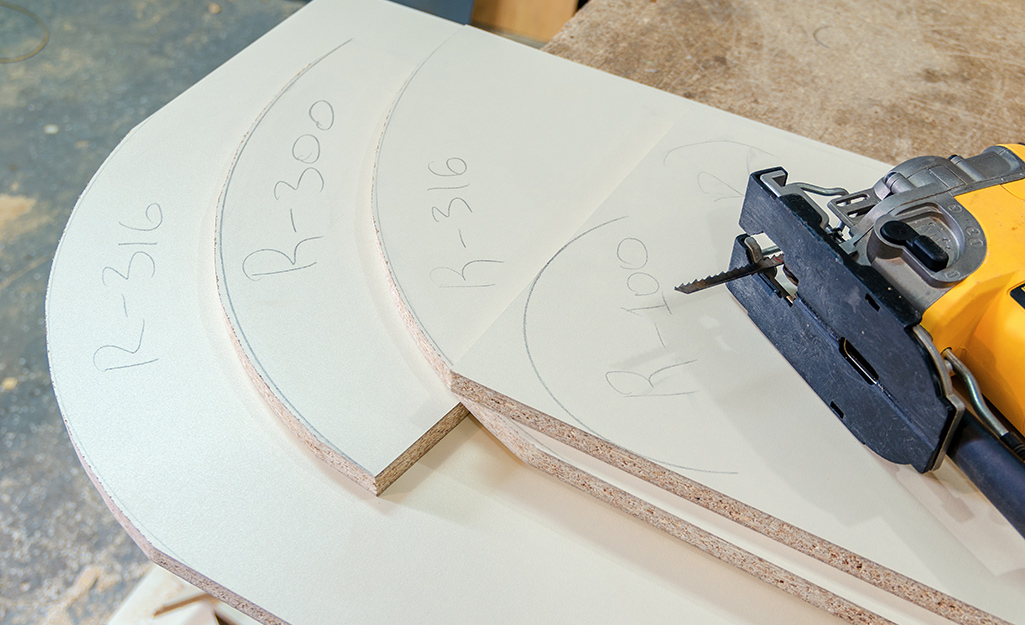
Once you get comfortable with basic cutting, you can try stacked cutting to prepare several pieces of your material at once.
To do it, place double-sided tape between each piece or wrap the stack with masking tape. Wrap or secure tightly so you can move the stacked materials
across the table as a single piece.
Finish Up and Remove the Blade

When you’re ready to remove a scroll saw blade, turn off the saw and unplug it from its power source. Then, turn the blade tension knob to loosen the blade.
Push up from under the saw table to remove the throat plate. Next, loosen both the upper and lower blade clamp screws with a screwdriver. Once you have the screws out, pull up on the blade and push down on the saw arm to disengage the upper pin in the V-notch of the upper blade holder. Finally, push the blade downward to remove the blade from the lower pin and take out the blade.
Wipe off the saw with a cleaning cloth before installing a new blade.
Maintain Your Scroll Saw
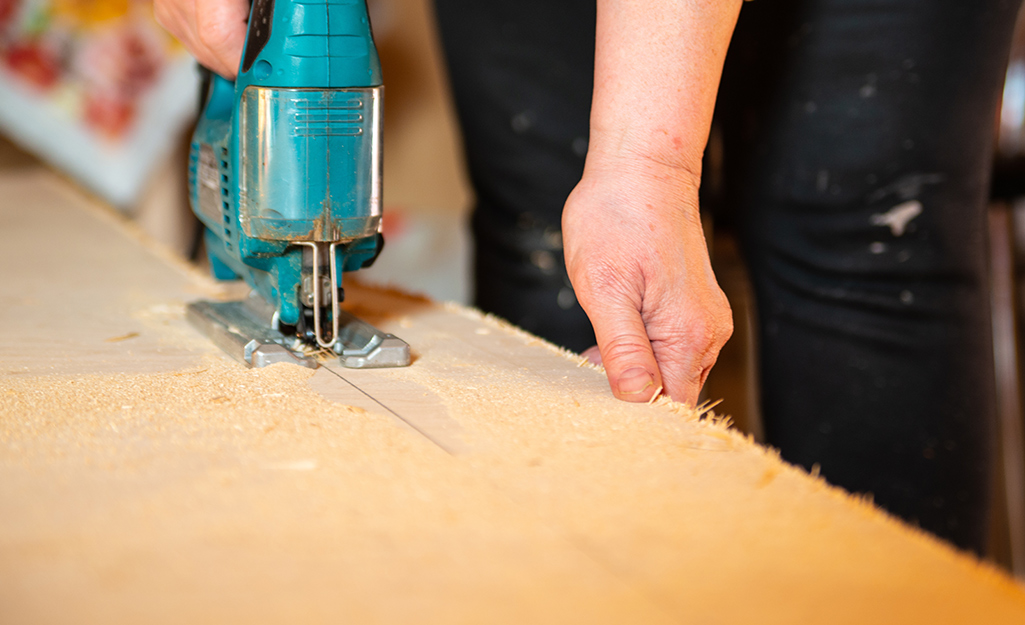
Follow the manufacturer's instructions to clean and maintain your scroll saw. Typically, you can use a cleaning cloth to remove dust and debris. If dirt gets lodged in any parts, free it with a small wire brush. Most scroll saws benefit from applying two or three drops of all-purpose lubricant every few uses.
When you know how to use a scroll saw, you can work on a wide range of projects. Before you begin something new, make a plan and gather the tools and materals you need to complete it.
Ready to get everything on your shopping list, from scroll saw blades to cutting materials to personal protective equipment? The Home Depot delivers online orders when and where you need them.

