How to Waterproof a Floor

Published April 5, 2024
Waterproofing floors will protect them from more than just water; when you waterproof your floors, you protect them from stains and pets and make regular clean-up easier than ever. Whether you are prepping a subfloor to install tile in a bathroom or trying to maintain the polished look of your kitchen hardwood floors, knowing how to waterproof a floor properly will ensure you never have to
remove your floors to fix water damage. As this guide will show, waterproofing floors is a simple task you can complete on your own with just a few hours of work over the course of three days.
Difficulty:
Beginner
Duration:
2-4 hours
Table of Contents
Clean and Prepare the Floor
Prime the Floor
Seal with Silicone
Tape the Walls
Apply the First Coat of Waterproofing Sealer
Apply a Waterproofing Membrane (Optional)
Clean and Prepare the Floor

- If you are waterproofing a wood floor, sand the floor first with medium-grit sandpaper.
- Vacuum or sweep the floor until it is completely clean. Be thorough in this step; cleaning beforehand is often the most labor-intensive part of waterproofing floors.
Tip: Ensure you have proper ventilation while waterproofing floors by opening any available windows and running one or more fans.
Prime the Floor

- Choose a floor primer that is manufactured for type of floor you are waterproofing. Several multi-surface floor primers are available
if you are uncertain or working with multiple flooring materials. - Pour the primer into a paint roller tray.
- Use a paint roller to evenly apply primer over the floor, starting from a far corner and working around the edges of the room first.
- To fully waterproof the room, apply primer to the walls as well, up to about half a foot from the floor. If you are waterproofing a shower recess, apply primer at least 6-feet up the wall.
- Ensure the entirety of the room has a smooth, even layer of primer.
- Allow to dry for at least 4-hours or the minimum time recommended by the primer manufacturer.
Seal with Silicone

- Using a caulk gun and silicone seal, fill the seams between the floor and the wall.
- Fill any cracks in the floor as well.
- Cracks and gaps will attract moisture, so sealing them completely is an important step in making sure your floors are entirely waterproofed.
- Allow to dry for 24-hours.
Tape the Walls

- Once the primer and silicone have dried, use masking tape to line the wall at the top of where you primed and plan to waterproof.
- The tape will act as a guide and will create a clean line of waterproofing when you peel it away later.
Apply the First Coat of Waterproofing Sealer

- Pour the waterproofing sealer into a paint tray.
- Use a paint roller or a sponge mop to apply the first coat of waterproofing sealer to the wall, up to the line of masking tape.
- Next, move on to coating the floor, starting from a back corner and working your way outwards toward the door.
Tip: Oil- or water-based urethane waterproofing sealer is best for waterproofing existing hardwood flooring, since it preserves the wood’s finish. Use a wool mop to spread urethane waterproofing sealer instead of a paint roller.
Apply a Waterproofing Membrane (Optional)

- If you are waterproofing a foundation before laying down new flooring, use a waterproofing membrane.
- Waterproofing membrane comes in rolled strips that you lay and cut to size. Waterproofing membrane guards against moisture that comes from above and below the surface of the foundation, eliminating the chance that mold and mildew will develop underneath your otherwise waterproofed floors.
- Start by laying the
membrane over the gaps between the wall and floor so that half of the membrane’s
width
is on the wall and half is on the floor.
Use a knife to cut it exactly to size. - Spread another layer of waterproofing sealer over the membrane, smoothing the sheets of membrane into the room’s corners and crevices.
- Allow the waterproofing membrane and layers of waterproofing sealer to completely dry for 24-hours.
Apply the Second Coat of Waterproofing Sealer

- Once the first coat of waterproofing sealer has dried, apply a second coat of waterproofing sealer, just as you did in Step 5.
- Allow to dry for another 24-hours.
- Remove the masking tape from the walls.
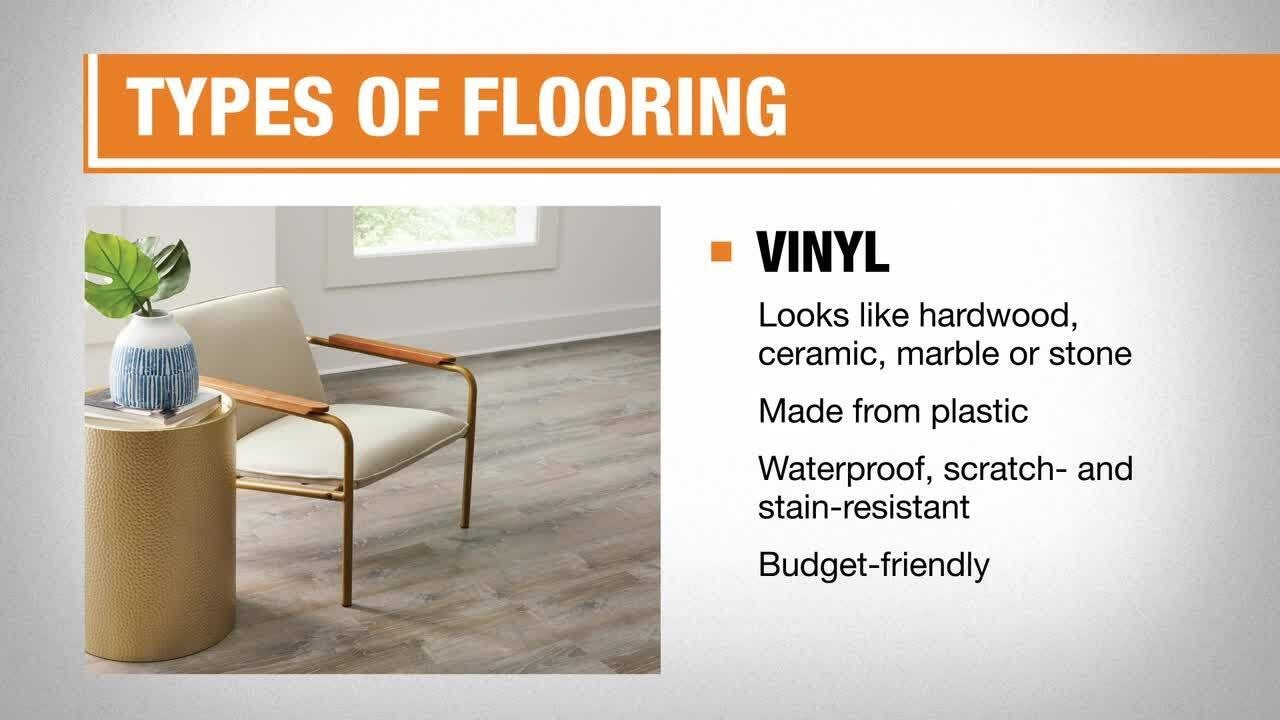
Choose Water-Resistant Flooring

You can either bypass this waterproofing process or double your water damage protection by installing water-resistant flooring.
- Water Resistant Tile: Tile is a natural choice for bathrooms, laundry rooms and kitchens where water damage is a major concern. Tile is waterproof and easy to clean, and some porcelain tile can even resemble wood.
Note that tile flooring is only waterproof if the grout is sealed or if the grout has been mixed with a waterproofing agent. - Water Resistant Laminate:
Laminate is a synthetic flooring material that is sealed through a lamination process. Thanks to this process, laminate flooring resists moisture and spills as well as scuffs and scratches. - Water Resistant Vinyl:
Vinyl flooring is made of entirely waterproof materials, and its planks can withstand being submerged in water.
Glue down vinyl planks do not need waterproofed subfloors, but if you install vinyl as a floating floor, you should waterproof the subfloor for maximum protection. - Water Resistant Hardwood: Hardwood is the most susceptible to water and humidity damage of these four types of flooring, but some types of hardwood are naturally more water-resistant than others. Engineered hardwood is more stable and water-resistant than solid hardwood. Engineered hardwood that has been treated with a waterproofing sealer by the manufacturer will be the most protected against moisture.
Waterproofing floors is one of the best ways to preserve their health and appearance for many years to come. When waterproofing floors is not an option, however, you can rely on The Home Depot installation services to help you find and install pre-treated, water-resistant flooring perfect for your home.