How to Weatherproof Windows

Last updated September 7, 2023
Whether your home is new or decades old, it probably has a draft — nearly every home does. In fact, a typical home’s windows are responsible for 25 to 30 percent of your energy bill due to heat gain and heat loss, according to the U.S. Department of Energy. Even if you have new windows, the smallest air leaks or gaps can make the inside of your house feel sweltering hot or downright frosty. Plus, improperly sealed windows can let cold air in and cause your energy bills to skyrocket.
Fortunately, weatherproofing your windows is an easy DIY project. This guide will teach you about five of the most common weatherproofing methods to eliminate drafts from a typical single or double hung window, along with installation tips to make the job easier.
Difficulty:
Intermediate
Duration:
Over 1 day
Table of Contents
V Strips (Tension Seal)
Foam Tape
Window Film
Felt
Tubular, Vinyl or Silicone Gasket
V Strips (Tension Seal)

- Cut the tension seal with scissors to match the size of your window frame.
- If the strip isn’t a peel-and-stick type, use a hammer and finishing nails to tack in place.
- If the strip has an adhesive backing, simply peel and stick in place.
Tip: V strips that are nailed in place are more secure than their adhesive-backed counterparts, but they are more difficult to install.
Foam Tape

Made from open or closed-cell foam, this type of weather stripping has an easy-to-install sticky back. It’s sold in various sizes and thicknesses and is installed on the tops and bottoms of window sashes. Here’s how to install foam tape:
- Using scissors, cut the foam tape to the right length to match the length of the window sash.
- Stick the tape where needed to fill in gaps or cracks.
Tip: A sure-fire way to tell if you need to weatherproof your windows is if you feel a draft even when your windows are closed.
Window Film

This thin laminate material is installed on either the interior or exterior surface of the window glass. If your goal is to reduce air leakage while improving privacy, window film is a must-have.
Install window film in a few basic steps:
- Clean and dry your windows.
- Use scissors to cut the film to measure around 1/2-inch larger than the surface of the window.
- Use a spray bottle to squirt water all over the surface of the window.
- Remove the back of the film and stick it to the window.
- Use a squeegee to adhere the film to the window and smooth away air gaps.
- Trim the edges with a utility knife to leave a clean, neat appearance.
Felt

Sold in rolls, felt weather strip products are either plain or reinforced with pliable metal strips. Felt is an inexpensive choice, but it tends to last only a year or two. It’s easy to apply around the window sash, but don’t use it in areas that are exposed to moisture or friction.
Here’s how to apply felt weather stripping:
- Clean the perimeter of the window sill with soap and water.
- Allow the surface to dry completely.
- Cut the product to fit the length or width of your window with a utility knife.
- If the felt weather stripping comes with an adhesive backing, peel the backing off, and stick it in place.
- If it doesn’t come with an adhesive backing, use finishing nails to secure the felt around the edges of the window.
Tubular, Vinyl or Silicone Gasket

Tubular, vinyl and silicone gasket weather stripping make effective exterior air barriers that seal leaks and keep critters out. These types of weather strips are extremely flexible and conform to uneven spots.
Here’s how to install tubular, vinyl or silicone gasket weather strips on the exterior of your windows:
- Clean the window frame with soap and water.
- Allow the surface to completely dry.
- Use scissors to carefully cut each weather strip to fit the size of your window frame.
- If the product has an adhesive backing, peel and stick each strip in place.
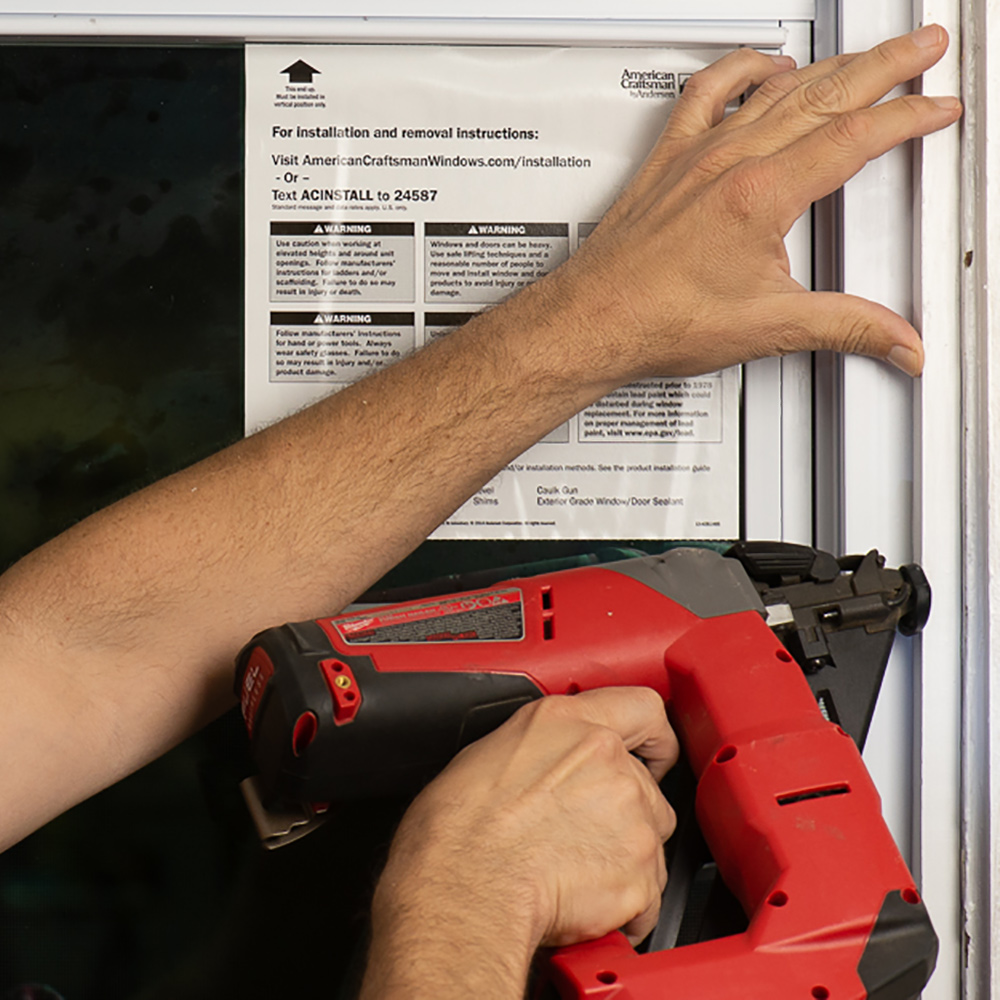
- If it doesn’t have an adhesive backing, drive a finishing nail into the first end, then space finishing nails every two to three inches, pulling the strip tight as you drive each nail.
It’s easy to weatherproof your windows if you have the right tools and understand the basic steps involved. The Home Depot is your go-to, one-stop store for everything you need to tackle your weatherproofing window project. If you decide that a DIY project is not for you, you can opt to have insulated windows installed.
Get same-day, next day or two-day free delivery on online orders, so shop from the comfort of home, and we’ll drop off your supplies where and when you need them.