How to Wire a Light Switch

Last updated November 1, 2023
Wiring a new light switch is a great entry point for DIY electrical work. A single pole switch is the simplest component in a house’s electrical system.
A single pole switch has two positions, on and off. In the on position, it is “closed” and completes the circuit, allowing power to flow to a light, fan or outlet. In the off position, it is “open” and the circuit is broken, not allowing the power to flow.
Difficulty:
Intermediate
Duration:
Under 2 hours
Project Guide
DIY Workshops
Electrical Wiring
Lighting Projects
Outdoor Lighting
Indoor Lighting
Wiring
Switches
Commercial Electric
Table of Contents
Why Replace a Light Switch
Tools
Turn off Power at the Breaker, Check with Voltage Tester
Remove the Switch
Wire the Switch
Replace and Cover
Why Replace a Light Switch

- The obvious first reason is if the switch has quit working. A switch has several moving parts in it that can wear out over time. If a switch has stopped doing its job, replace it with a new one.
- The switch is dingy or dirty. A light switch gets touched over and over again, probably every time you enter and leave the room. A switch can get so dirty that replacement is better than cleaning.
- Your décor is ready for a change. You painted your walls an earth tone and that bright white switch just doesn’t match.
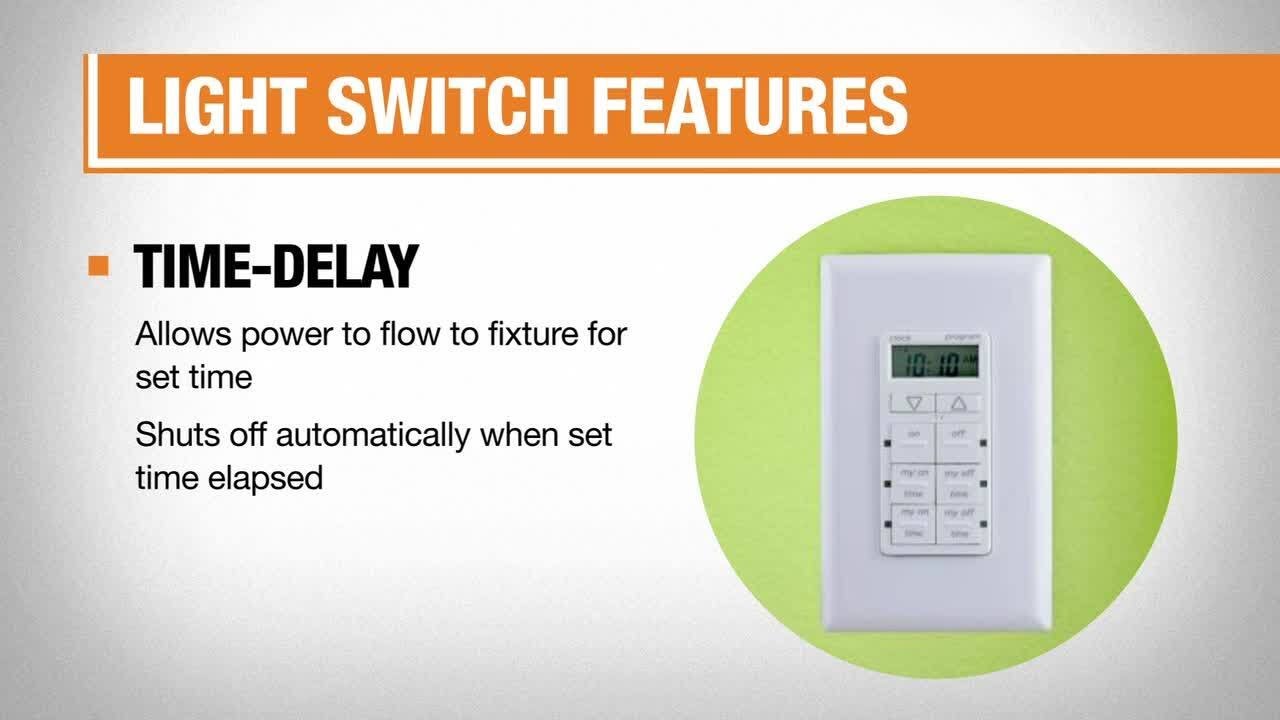
- You want to install a different type of switch, like a rocker or dimmer.
Tools

- At the very least, you’ll need a flat head screw driver and a voltage tester. A non-contact voltage tester is a good option.
- You may need a wire stripper with pliers.
- A Philips head screwdriver would be useful once the cover is off, but a flat head will usually work for all of the screws in this application.
Turn off Power at the Breaker, Check with Voltage Tester

- If other people will be in the house while you are working, make sure everyone knows to leave the panel alone.
- It’s also a good idea to place a note on the panel box that work is being done and no one should tamper with it.
- Find the breaker that controls the circuit that you’re working on and turn it off.
- If the switch isn’t working and you can’t determine the correct breaker by watching the light go off, turn off breakers until everything in that room is off.
- You can turn off the main breaker in the panel but that means everything in your home will be without power while you work on the switch.
- Before removing the switch plate, touch the switch with the non-contact voltage tester. If it indicates there is no power, remove the plate. If it indicates that there is power, go back to the breaker box and turn off more breakers.
- Now that the plate is removed, use the voltage tester again to confirm that the power is off. Touch the wires with it to see if any power is present.
- When working with electricity, it is best not to take anything for granted. When doing repair or remodel work, you will often find situations that are not as they should be.
Remove the Switch

- Remove the two screws that hold the switch in the wall box.
- Pull the switch away from the box.
- There should be two screws on one side with insulated wires attached and a bare wire attached to a green screw.
- The bare wire is the ground.
- The wires attached to the side of the switch are the power coming into the switch AND power going out to the light.
- In some cases, these wires will both be black. In other cases, one may be white with a piece of black tape wrapped around it. If the switch controls a ceiling fan or the light on a fan, it may be red or blue.
- The colors don’t matter in a single pole switch. They do matter in a 3-way or 4-way switch.
Wire the Switch

- A single pole switch only breaks the circuit, so there’s no way to wire it backwards. However, a good habit to develop is changing the wires one at the time.
- There are two basic ways that wires connect to switches, with screws or push-in connectors, that are known among electricians as a “backstabber.”
- A push-in connector releases the wire by way of a release that’s located next to the wire. Push something into the small hole and it will release the wire. Many times, the wire can be pulled out with a good tug and twist.
- In other cases, remove one wire from the old switch by loosening its screw.
- Check the wire to see if it’s in good shape. If it has any corrosion on it, trim with wire cutters.
- For most screw terminals, strip about 3/4-inch of insulation from the wire.
- Bend the wire in a loop to go around the screw on the new switch.
- Place it around the screw that corresponds to the place where it was on the original. Be sure to loop it around the screw in a clockwise direction, so that the screw doesn’t unbend it when tightened.
- Tighten the screw so that the wire will not move.
- If using push-in connectors, the new switch will have a measurement marked on it for stripping the wire.
- The wire must be straight and in good condition for push-in connectors. Read the instructions that came with the switch to find the procedure for wire installation for your switch. Some require the screws to be tightened to hold the wires in place.
- Repeat with the other wire.
- Most switches that use push-in connectors will have a screw for the ground wire. Attach it to the green screw.
Replace and Cover

- Grip the wires together, then fold them in the middle as the switch is pushed back into the electrical box.
- Align the screws to the appropriate threaded holes and begin to tighten.
- With both screws almost tightened, align the switch to the center and hold it in place while you tighten the screws.
- Replace the switch plate, attaching with its screws.
Restore Power and Test

Turn the breaker on and test the switch.
Enjoy your success and get ready for the next job, updating your outlets.