How to Install Landscape Lighting

Last updated June 6, 2025
Landscape lighting is a simple improvement that can make a huge difference in how your home looks after sunset. Installing outdoor lighting improves safety and security as well. The right landscape lighting can enhance the trees, gardens or other features in your yard and provide security along a walkway or around a deck. This guide will teach you how to install landscape lighting and make your home more welcoming to guests and neighbors.
Difficulty:
Advanced
Duration:
Over 1 day
Table of Contents
Types of Landscape Lighting
How to Install Solar Landscape Lighting
Determine the Layout – Solar Landscape Lighting
Assemble and Install the Lights – Solar Landscape Lighting
How to Install Low Voltage Lighting
Wire the Transformer - Low Voltage Landscape Lighting
Types of Landscape Lighting
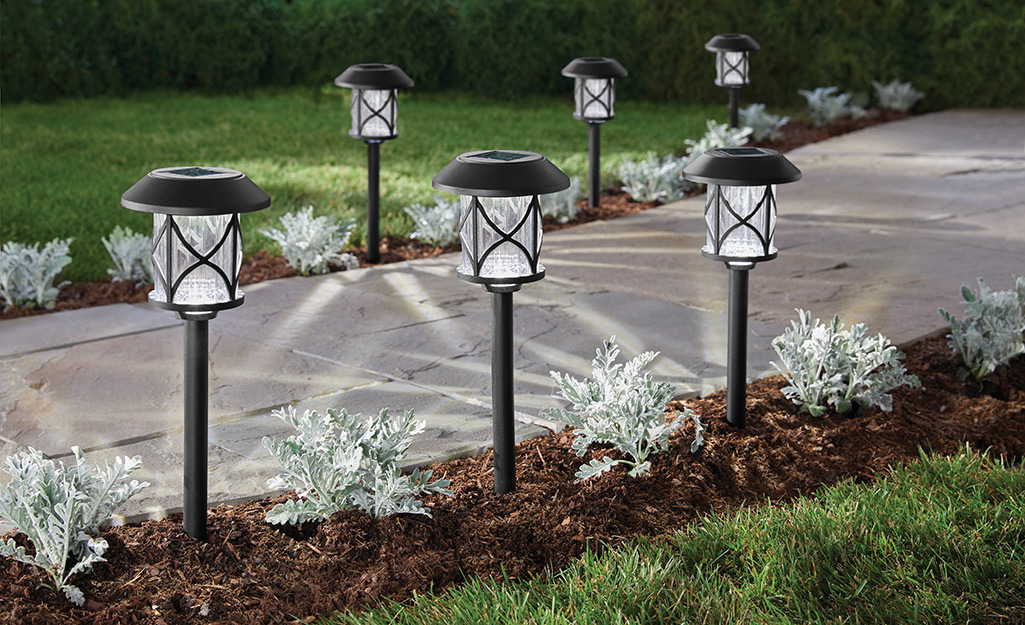
Before learning how to install landscape lighting, choose which type of lights you want. There are three types of landscape lighting, which all have different install methods:
- Solar landscape lights are powered by a photovoltaic cell that is charged during the day. They don’t require any wiring, making them the simplest to install. They require six to eight hours of direct sunlight a day to fully charge.
- Low voltage landscape lights are powered through a transformer that lowers the regular voltage down to 12-volts. These systems are safe to work with, energy efficient and easy to install and move. They are plugged into a GFCI outlet outside.
- Line voltage landscape lights operate at 120-volts, the same voltage as the appliances in your home. Line voltage lights are hardwired to your home’s electrical system with the use of an electrical junction box and a conduit that protects the wires. Due to the complexity of these systems, they’re best installed by a licensed electrician.
Solar and low voltage lights are by far the most common landscape lighting systems installed today. In this guide, we’ll show you how to install all three types of landscape lights.
How to Install Solar Landscape Lighting
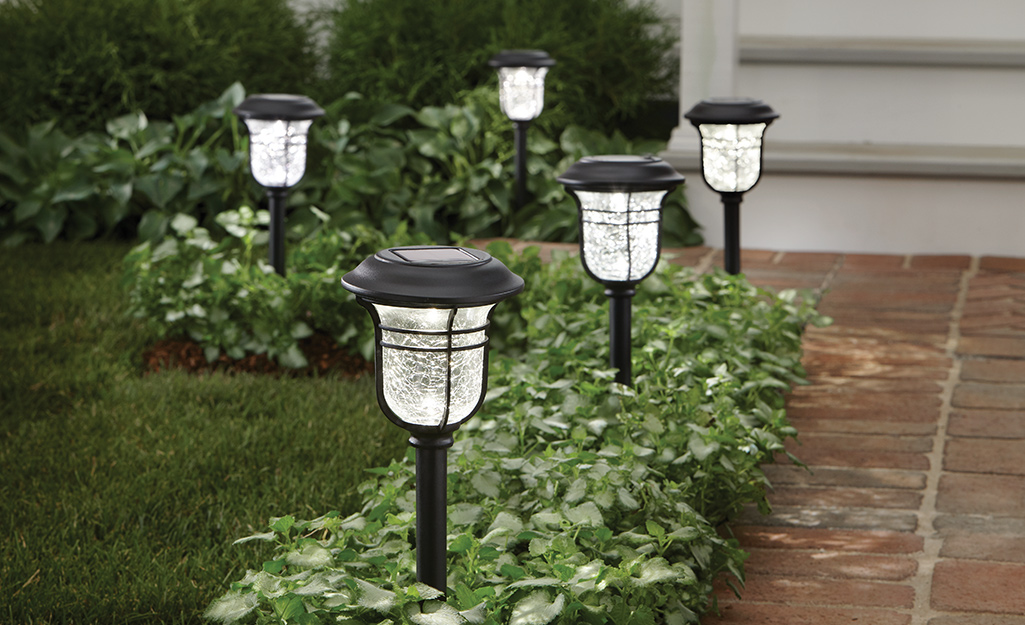
Solar landscape lighting looks great and offers you convenient installation without having to worry about wiring. Since solar landscape lights don’t rely on an outlet for power, you can place them anywhere that gets good sunlight during the day.
A quality installation of solar lighting depends on advanced planning:
- Consult the manufacturer's packaging or website for suggested lighting applications and spacing before you choose your lights.
- Plan your fixture layout carefully. While many solar lights don’t require constant direct sunlight, it is best to place them where they will receive at least six to eight hours per day of bright sunlight. You may also need more lights spaced closely together to illuminate a pathway.
- Be sure to edge your walkway if you are planning for pathway lights or trim back foliage in other areas where you may be planning to add solar landscape lighting. Starting with a clean canvas will ensure nothing shades your lighting plan.
Determine the Layout – Solar Landscape Lighting
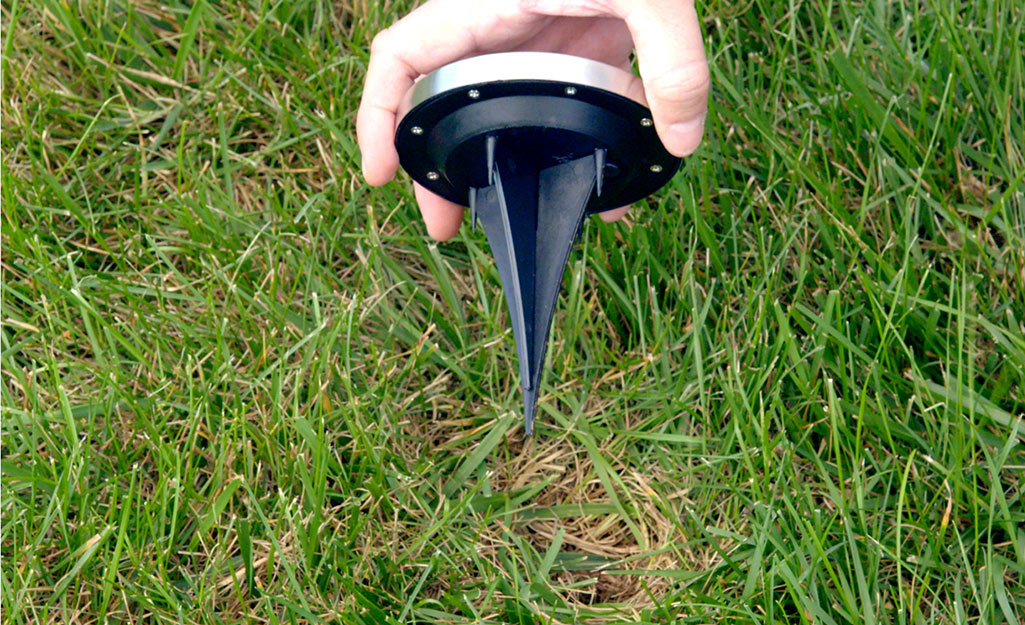
- Using a tape measure, layout the lights along the pathway. Be sure your line is no more than 6-inches from the edge of the path or the light may not illuminate it properly at night.
- Temporarily place each light where it will go. Check the manufacturer’s instructions for suggested spacing.
Assemble and Install the Lights – Solar Landscape Lighting
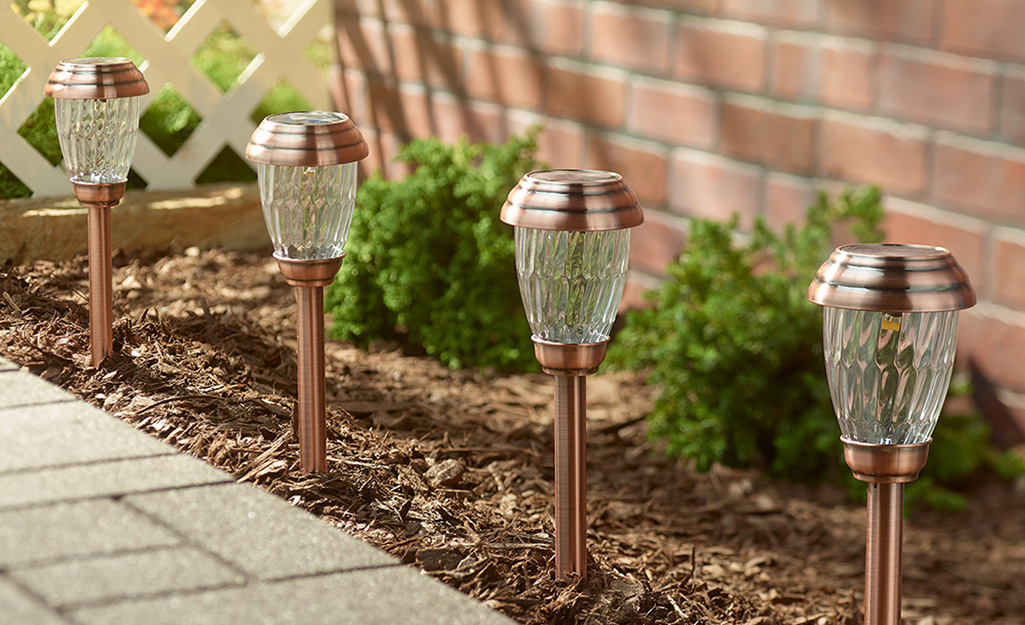
- Remove the cover tag over the solar battery of each light, then put the top of the light back together, if necessary.
- Assemble the lights according to instructions. Usually, this requires placing the light top into the support and then attaching the light stake to the bottom of the support.
- Expose the solar lights to full sun for 12- to 14-hours before starting installation. This will allow the battery to fully charge and uncover any lights that may be defective before you install them.
- If the ground is hard or dry, lightly water the soil along the area there the lights will be installed. Allow the soil to soak for a few hours.
- Once you have the fixtures where you want them, drive their stakes into the ground. Make sure they remain plumb. The lights should install easily. Don’t force the lights into the ground as this might damage the stakes.
Tip: Most solar lights install in generally the same fashion, but you should follow all manufacturer’s instructions for your choice of solar landscape light.
How to Install Low Voltage Lighting
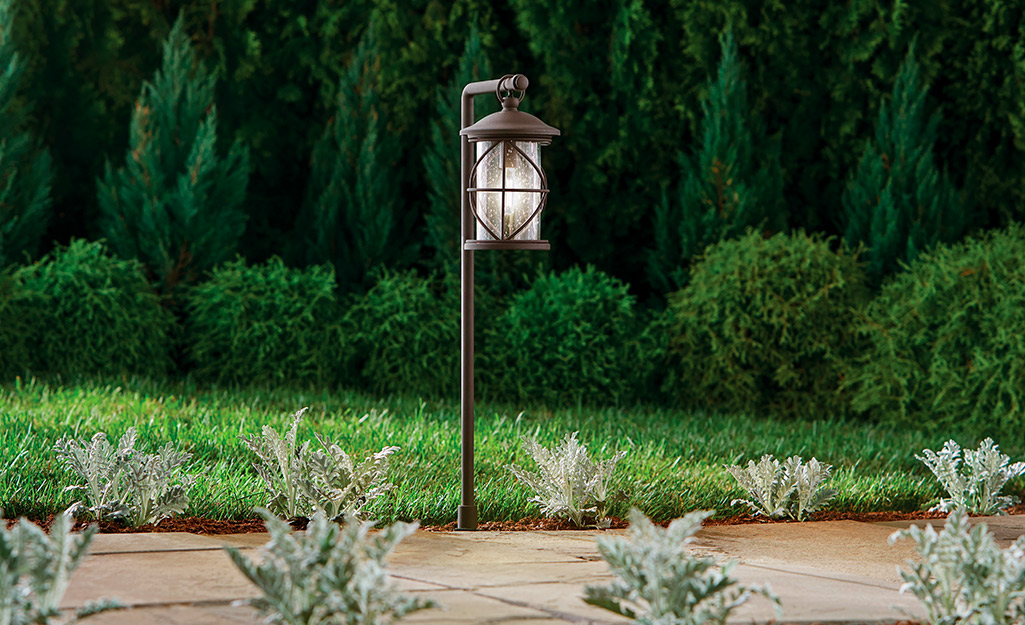
Most low voltage lighting systems include a transformer that is plugged into a regular outdoor-rated GFCI electrical outlet. The transformer reduces, or "steps down," the 120-volt household current to 12-volts. Connecting landscape lights with a transformer is more involved than installing solar lights, but still easier than installing line voltage lighting.
- Most transformers are rated to handle a load of 100- to 300-watts. A higher rating means a longer cable, and thus more light fixtures you can connect to the system.
- If you want to add more path lights than a transformer is rated for, you will need a bigger transformer. It can be more cost-effective to buy a whole new system in a landscape light kit, rather than buying just a new transformer.
Wire the Transformer - Low Voltage Landscape Lighting
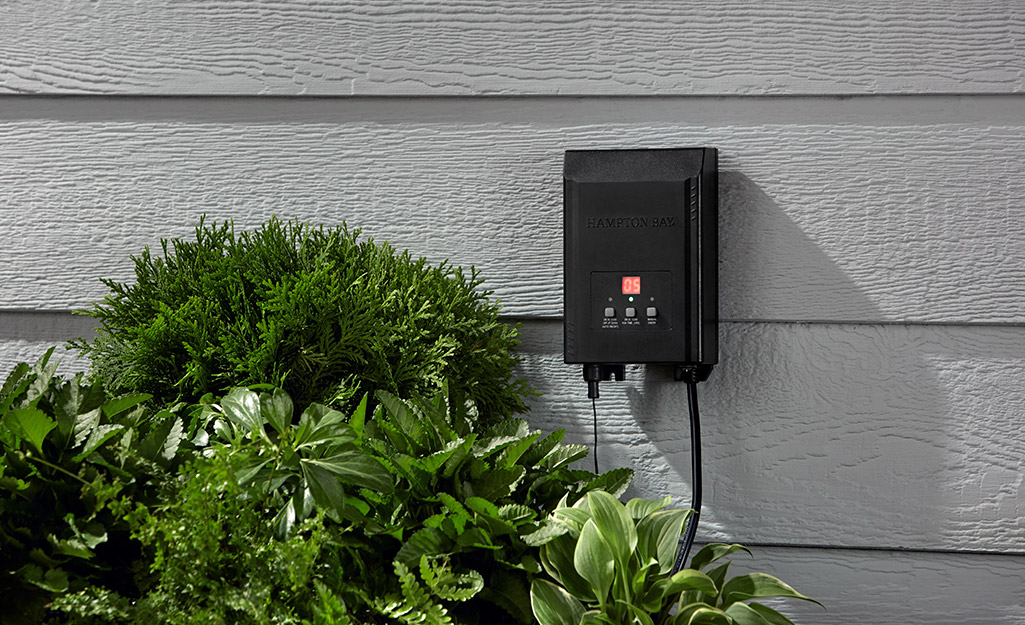
- Mount the transformer according to the manufacturer’s instructions in an easily accessible location near a GFCI outlet.
- For most types of siding, you can make the attachment with a wood screw. Use screws long enough to drive into the sheathing underneath the siding.
- For masonry, drill a hole for a lag shield, then screw into the shield.
- Another option is to stake a wooden post near your home to mount the transformer.
- Strip about 3/4-inch of insulation from the two conductors on the 10-gauge main wire that will feed the landscape lights.
- Connect each conductor to the terminals in the transformer according to the manufacturer’s instructions.
- Do not plug in the transformer yet.
Assemble and Place the Lights - Low Voltage Landscape Lighting
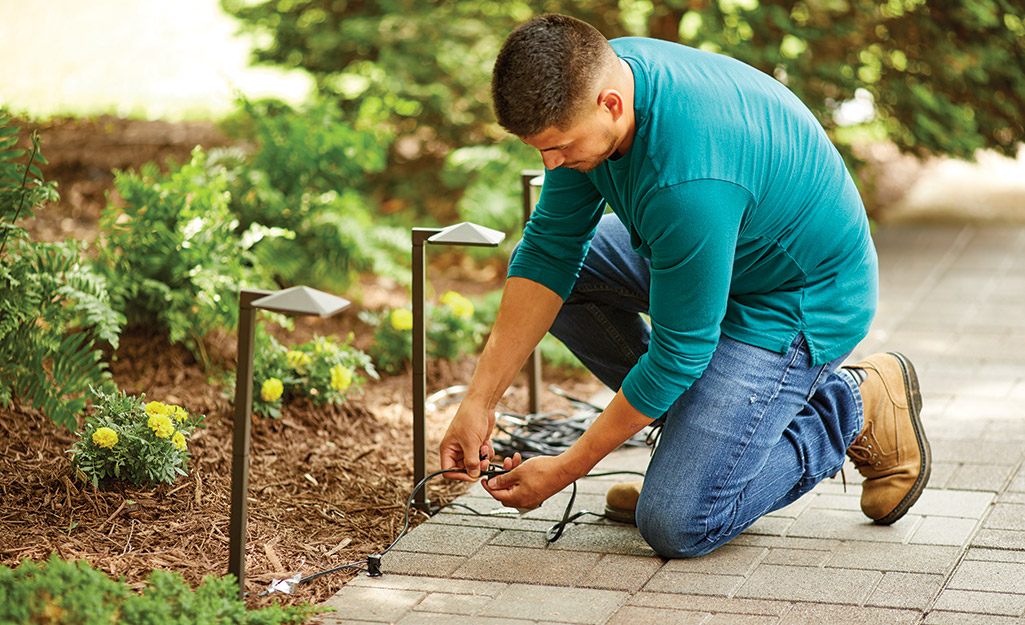
- Low voltage light fixture kits usually require assembly. You'll need to snap the sockets in place at the very least, and you may need to do some simple wiring. Follow the manufacturer's directions.
- For path lights, measure a consistent distance between the fixtures and place them temporarily on the ground.
- Once you have the fixtures where you want them, drive stakes into the ground making sure that they remain plumb.
- Run the cable from the transformer along the path of fixtures you just installed.
- Keep the wire above ground.
Connect the Lights - Low Voltage Landscape Lighting
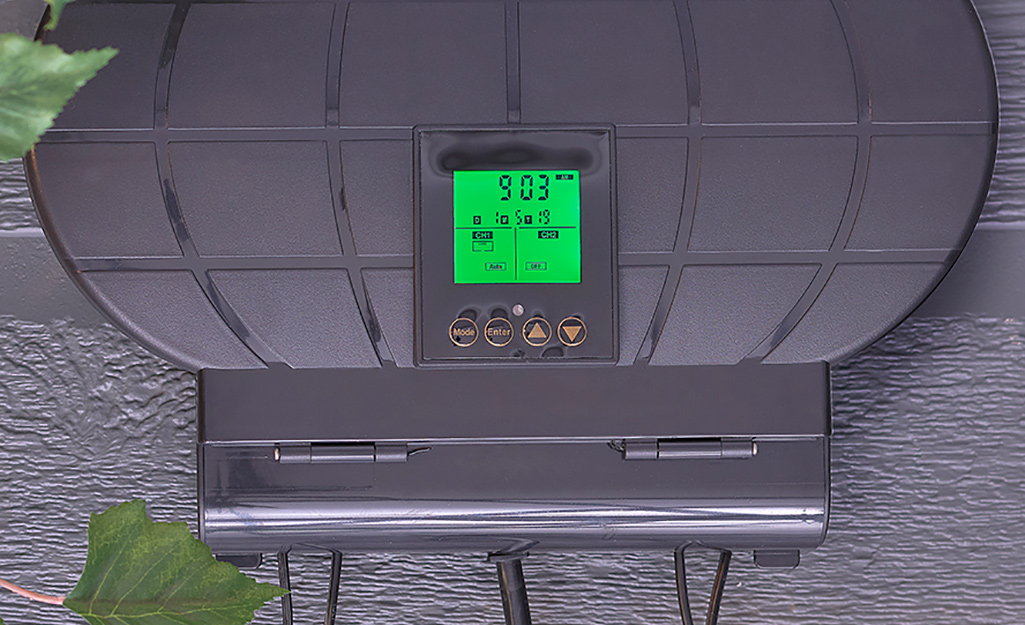
- To make the electrical connections, make sure there is about 18-inches of slack at each fixture. This will give you enough wire to move or adjust the fixture location later, should you need to.
- Most low voltage lighting kits come with a quick-connect system. To use it, open the housing and slip it over the electrical cable.
- When you push the two parts of the connector together, it will pierce the insulation on the cable and make contact with the conductors inside.
- Wrap the connector with electrical tape.
- Another option is to use a permanent, watertight connection. Start by stripping an inch of insulation off the wires coming from the fixture.
- Then cut the cable, separate the conductors, and strip those wires as well.
- Place a brass “butt-splice connector” over each conductor and tighten the set-screw on one side.
- Repeat for the other conductor.
- Slide heat shrink tubing over each wire. Twist one wire from the fixture with one of the remaining conductors.
- Slide those wires into the end of the brass connector and tighten it down.
- Repeat this process with the other wire from the other fixture and remaining conductor.
- Slide the heat shrink over both brass connectors.
- Use a butane or propane torch to heat the tubing until it shrinks tightly over the wires.
- Repeat the process for each fixture.
- Plug the transformer in and turn the system on.
- If the lights are too dim, the cause is probably an underpowered transformer. Upgrade the size of the transformer if needed.
Bury the Cable - Low Voltage Landscape Lighting
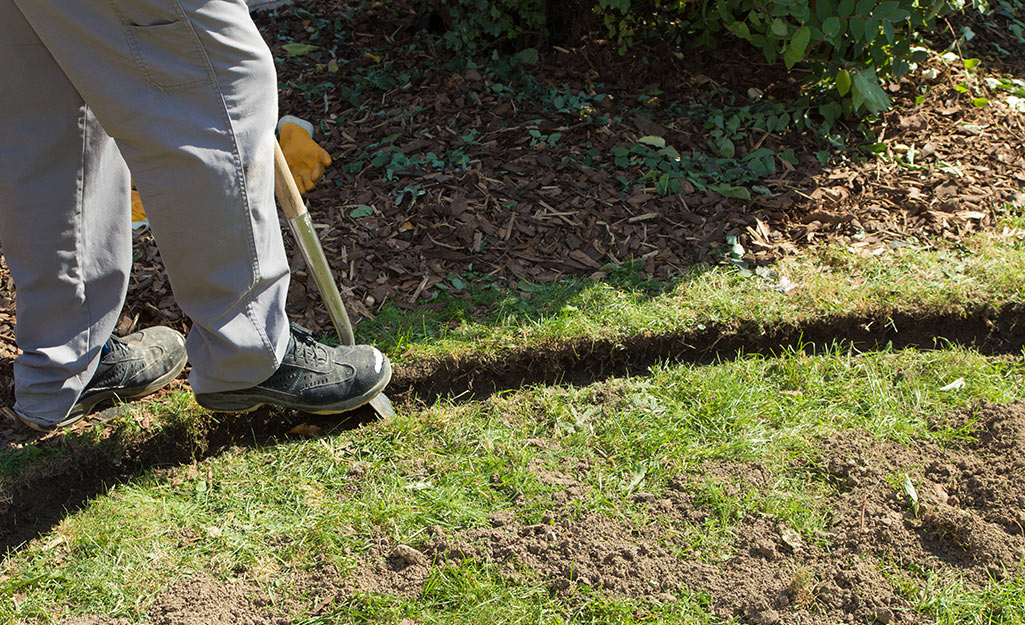
- Using a lawn edger or a shovel, dig a thin 6-inch trench along the path of the cable.
- Place the cable in the trench and bury it.
Set the Timer - Low Voltage Landscape Lighting
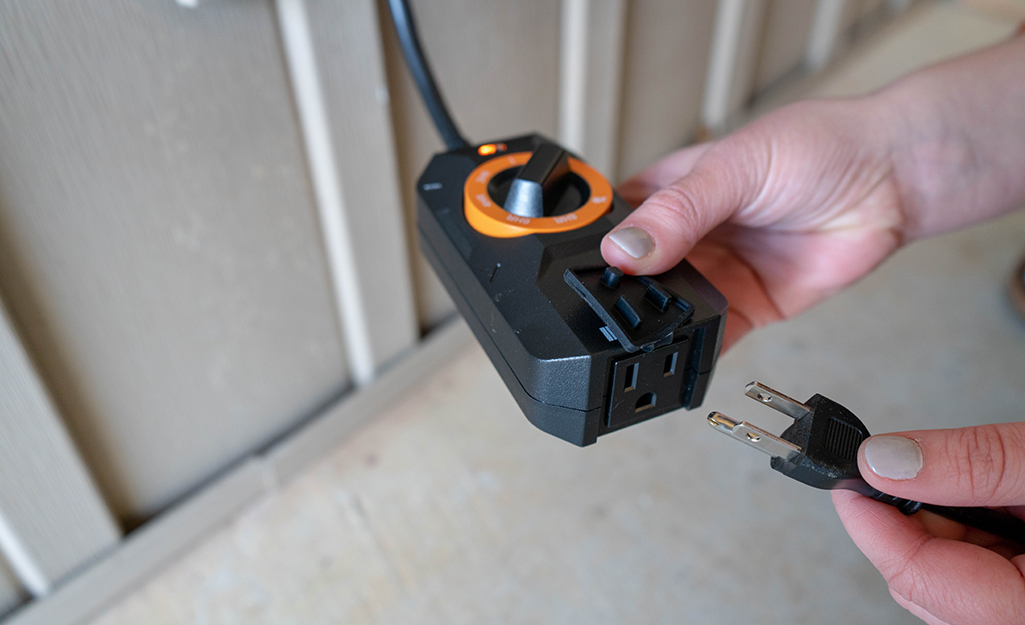
- The last step is to program the timer or set-up the photo sensor on the transformer to turn the lights on and off automatically.
How to Install Line Voltage Landscape Lighting
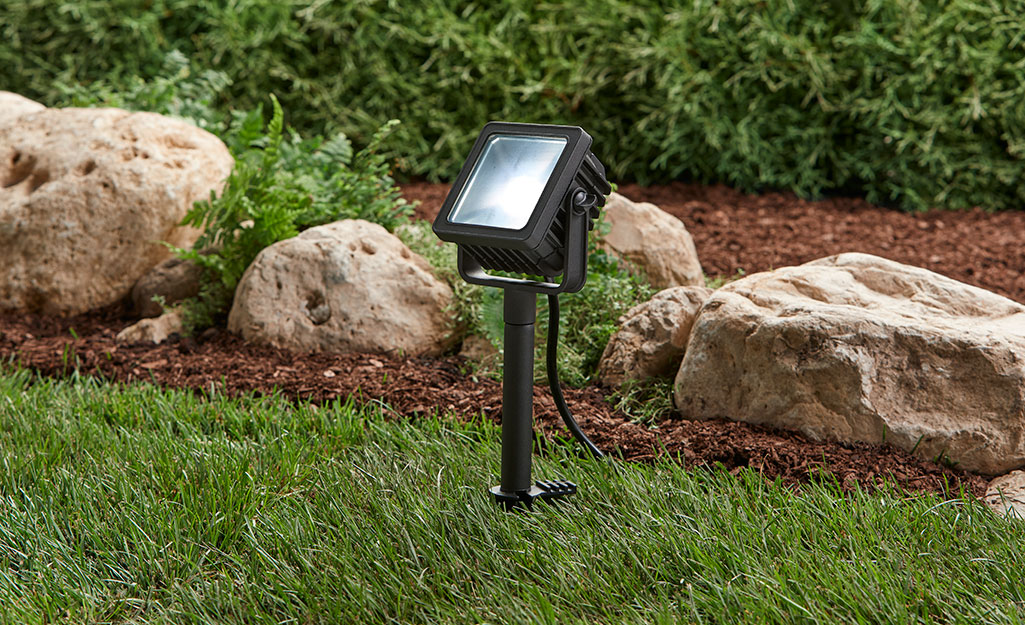
Line-voltage lighting is an advanced DIY project and may require an electrical permit from your local building department. Since it’s a complex project that requires professional inspection anyway, most people opt to have the work done by professional electricians.
The following steps will give you an overview of what is involved in installing line voltage landscape lights. Be sure to carefully consult and follow all manufacturer directions if you opt to do the work yourself.
Prepare for Installation - Line Voltage Landscape Lighting

- If you decide to install line voltage lighting on your own, contact your local building department to ensure you are complying with necessary codes.
- Decide where to locate your light fixture and choose the light switch to operate it.
- Measure from the fixture location to the place on your house where you will install the light switch and from the switch location to the circuit breaker panel box. This will give you the amount of wire you will need.
- Depending on your area and the location of the lighting, you may be able to use underground feeder (UF) cable. UF cable is designed to be buried directly in the ground. It’s also possible that you will need to run your wire inside conduit that’s buried in the ground. You cannot run sheathed wire inside conduit, so you will need separate conductors to do this.
- Remember to purchase an extra 30 percent of cable to ensure you have enough to complete the job.
- Install the light switch box in the wall between two studs, about 60 inches up from the floor.
Install the Electrical Cable and UF Cable - Line Voltage Landscape Lighting
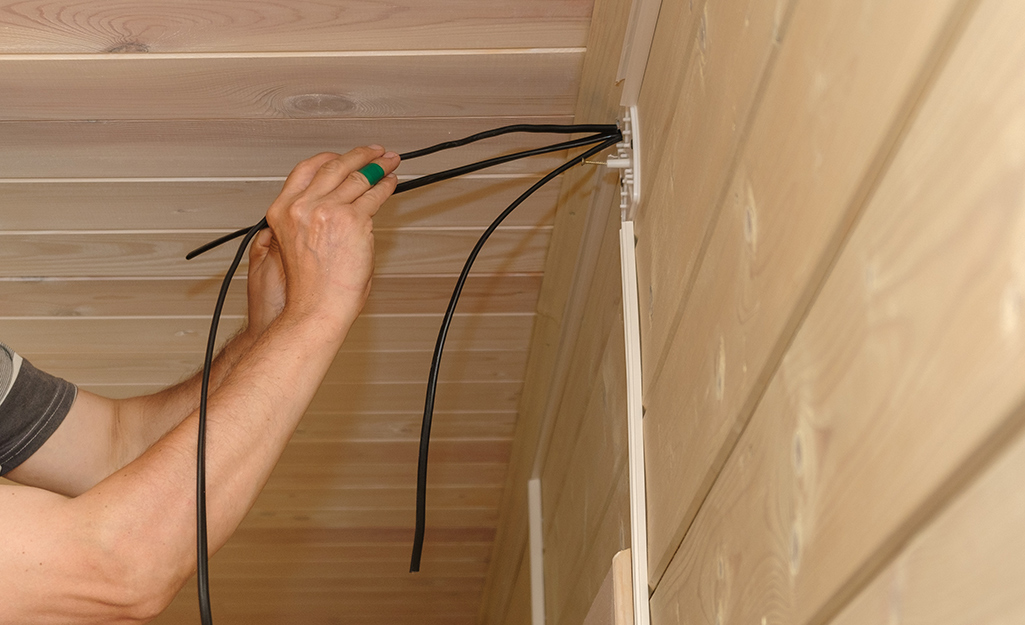
- Dig a trench that’s at least 18-inches deep. It should run from the location at the house where the power cable will exit to the location of the fixture.
- Run the cable and then pull it through the wall. If you encounter a fire block, you’ll have to drill a hole or notch to accommodate the cable.
Wire the Light Fixture and Switch - Line Voltage Landscape Lighting
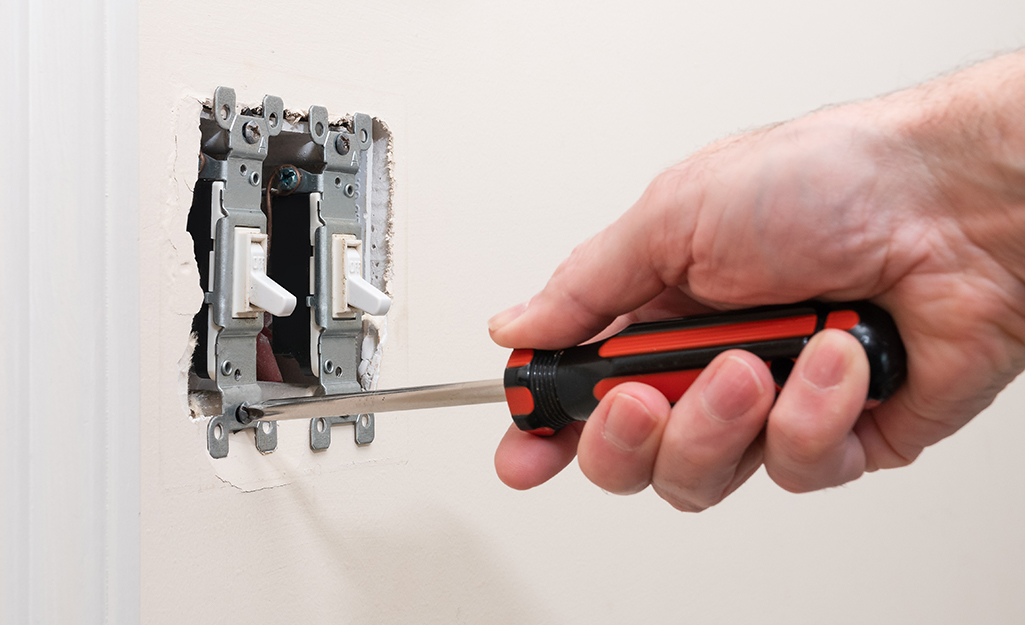
- Turn off the main circuit breaker in your home’s electrical panel.
- Wire the light fixture per the manufacturer’s instructions.
- Next, wire the light switch.
- Then, connect the cable to the GFCI circuit breaker.
Safety Tip: Never work in a panel box unless you are knowledgeable and comfortable doing so. Even with the main breaker off, the wires coming from the power company are still energized. Be careful when working in the panel box.
Test Your Light and Have Wiring Inspected - Line Voltage Landscape Lighting
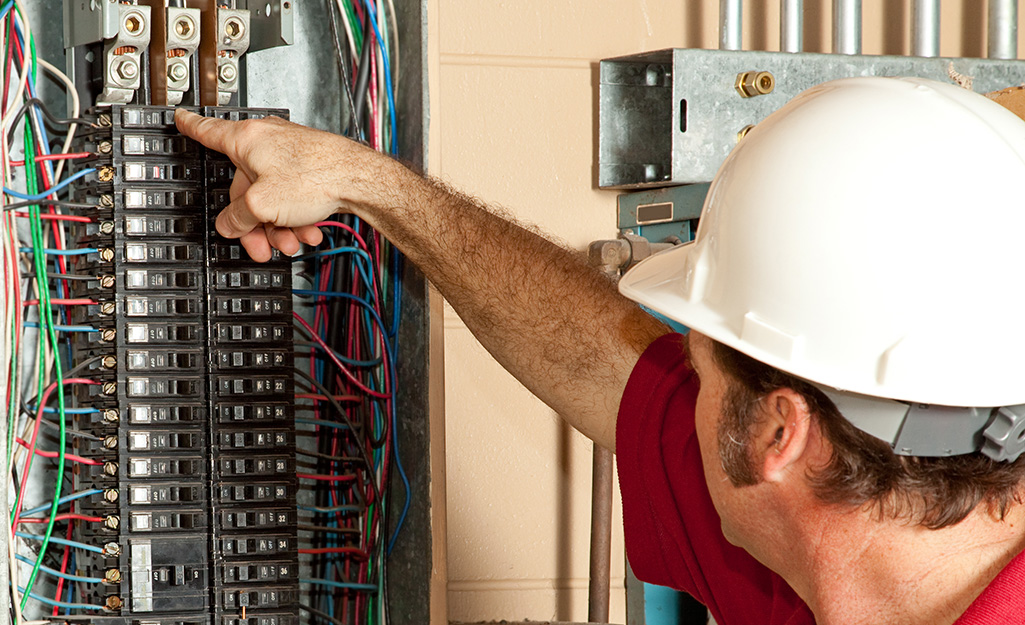
- Turn the power back on at the panel box and circuit breaker.
- Test that your light switch and light fixture are working properly.
- Before burying the UF cable, call the electrical inspector to schedule your wiring inspection.
- Once your wiring has passed inspection, bury the cable.
Learning how to install landscape lighting can be a great home improvement project for any time of year. Your new landscape lighting will ensure the walkways and gardens in your yard are safe and welcoming after dusk. Ready to find the supplies you need for installing outdoor lighting? Use The Home Depot Mobile App to locate products and check inventory.


