LED Retrofitting: How to Convert Fluorescent Lighting to LED

Last updated September 7, 2023
LED retrofitting is a cost-effective way to upgrade fluorescent lighting. The days of drab fluorescents in homes and offices is ending. LEDs save energy and last longer, so it's worth the switch.
Converting fluorescent fixtures to luminaries for LED lights optimizes energy efficiency. Create a new look in any room with LED lighting units. LED troffers are an attractive light source for residential and commercial spaces.
Read this guide to learn how to convert fluorescent tube lights to LED lighting in your home.
You'll also learn about safety precautions. With some patience and attention to detail, you'll be enjoying LED lighting in no time.
Difficulty:
Intermediate
Duration:
2-4 hours
Table of Contents
Take Safety Precautions
LED Retrofitting Considerations
Shut Off the Power Source
Replace the Lamp Holders
Wire the Fixture
Install the New LED Lamps
Take Safety Precautions

Safety is a priority when upgrading lights. Take precautions when updating your space with LED shop lights, drop lights or wraparound lights. LED retrofitting of a fluorescent lighting unit requires working with electrical wiring. This can be dangerous to a novice.
Consider working with a knowledgeable partner with experience in electrical work. Safety glasses and work gloves are recommended for an LED retrofit project.
Homeowners replacing fluorescent lights with LED fixtures should work slowly. Take care and avoid cutting corners. Getting the job done safely and correctly means your LED retrofit will shine bright for years.
LED Retrofitting Considerations

Take these considerations into account when choosing an LED retrofitting project for your home.
- LED retrofit kits use current fluorescent fixtures to fit LED bulbs without the need for replacement. Retrofit kits, however, might not be compatible with fluorescent lamp ballasts. The ballasts regulate the current to the lamp and provide sufficient voltage for the lighting.
- Quality LED bulbs are a safer option, but more costly upfront. Broken fluorescent bulbs can expose you to mercury, but LEDs won't.
- LED lighting emits more heat and lasts longer than fluorescent bulbs. LED lights are designed to reduce energy usage by 75 percent. A retrofit to an existing fluorescent ballast or tombstones might reduce an LED bulb lifespan.
Shut Off the Power Source

The first task of an
LED retrofitting project is to shut off the electric at the breaker box. Cut the power to the room where you're replacing the fluorescent fixtures. The electrical panel or circuit breaker board is often in the garage or a closet.
- Look for a label or etched marking that notes the room or appliance corresponding with the circuit breaker.
- Turn off the circuit breaker to that room before moving ahead with this process.
- Flip the light switch in the room to make sure the electrical power is off.
- Once the light fixture is open, check the wires with a non-contact voltage tester. This is to ensure there are no live wires due to incorrect wiring.
Replace the Lamp Holders

Disconnect the wiring connecting the fluorescent fixture ballast. Remove the ballast. If there's one on the fixture, take off the starter too.
- Remove the existing shunted lamp holders or tombstones from the fluorescent lighting fixtures you're upgrading. Using shunted lamp holders or tombstones for LED retrofitting can damage the bulbs or the fixture itself. Replace them with a non-shunted variety.
- Purchase the correct number of non-shunted lamp holders. Do this before starting the process of converting fluorescent to LED.
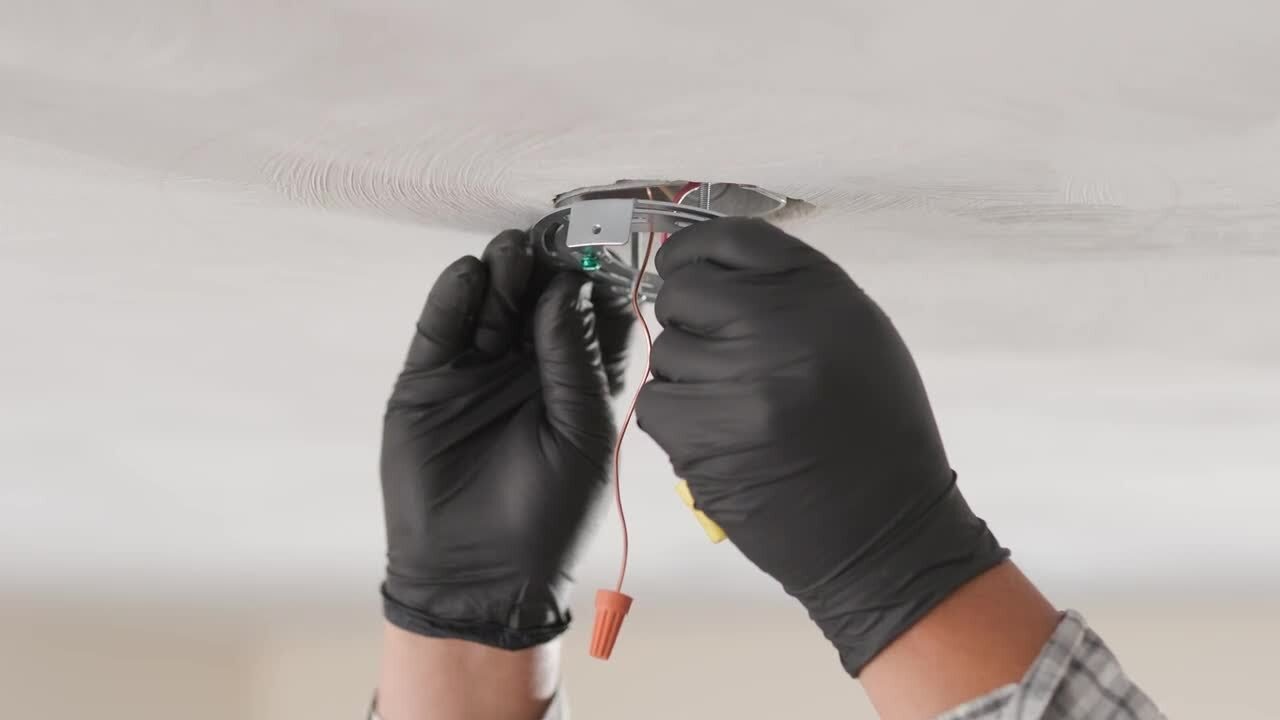
Wire the Fixture

Mark the live end of the lighting fixture with a permanent marker. That makes it easy to identify. Leave the lamp holders on the other end of the fixture unwired.
- Begin the LED retrofitting wiring by connecting the positive lead to one of the leads on the marked live end.
- Wire the negative lead to the open lead on the live end side of the lamp holder.
- Take a few minutes to properly secure your connections with wire nuts.
- Reconnect the luminaire to power.
- Double check the connections at this point.
Safety Tip: Wear insulated work gloves for protection when working with wires.
Install the New LED Lamps

Mount the lamp holder to the ceiling box. Tighten the mounting screws.
Consider attaching a cautionary lighting replacement sticker to the inside of the fixture. The sticker warns that the fluorescent fixtures have been re-wired for LED bulbs.
Restore the Power

Now the wiring is complete. When the LED lamps are in place, complete the LED retrofitting by turning the power back on. The new LED lights should light up right away.
Now you know how to upgrade a room in your home by switching its fluorescent lighting to LED lighting. When you're ready to shop for LED retrofitting supplies, download the Home Depot Mobile App. Use it to locate products and check inventory. We'll take you to the exact aisle and bay.