DIY Umbrella Stand Planter

Last updated September 7, 2023
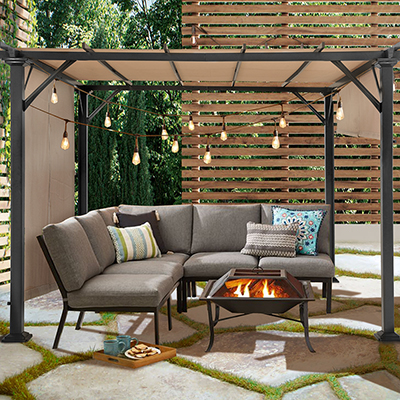
Sipping cold drinks under a patio umbrella is the perfect way to unwind. A cool breeze is a welcome relief for you, but don’t let the wind carry away your shade.
Properly secure your patio umbrella by making a sturdy planter stand. This DIY umbrella stand planter is easy to make and can be customized to match any decor. Pick a very large container with drainage holes and fill with flowers or herbs for instant color and umbrella support for your outdoor space.
Difficulty:
Intermediate
Duration:
2-4 hours
Table of Contents
Tools and Materials
Assemble the Weighted Support for the Umbrella Stand
Add Filler
Add Potting Soil and Plants
Add Umbrella
Tools and Materials

The only tools you'll need are a drill with a 1/2-inch bit and a level. You'll also need some PPE, gloves, safety glasses and a dust mask. Concrete dust is a skin, eye and lung irritant.
For materials, you'll need:
- 5 gallon Homer bucket
- Large planter
- 24 inch piece of 1-1/2 inch or 2-inch PVC or ABS pipe, depending on the diameter of the umbrella shaft
- A cap to match the pipe size
- 50lb bag of fast setting concrete, and water according to directions
- Duct tape or heavy packing tape
- River pebbles or lava rocks
- Potting soil
- Plants
Assemble the Weighted Support for the Umbrella Stand

- Work on a level surface.
- Tape one end of the pipe closed.
- The pipe can be painted with the appropriate spray paint if a specific color is desired.
- Place the taped end of the pipe into the center of the bucket.
- Use a few strips of tape inside the bucket to hold the pipe in place.
- Fast setting concrete doesn't need to be mixed. Pour the dry mix into the bucket.
- Use the level to make sure the pipe is level side to side and front to back. Builders call this "plumb".
- Stretch tape across the bucket and against the pipe to hold it plumb.
- Slowly pour in the amount of water indicated on the bag. Pour it in several spots to ensure proper distribution.
- Follow the instructions on the bag for drying time.
- Drill a series of 6 to 8 drainage holes around the perimeter of the bucket, level with the top of the concrete.
- Turn the bucket on its side and drill a few holes through the center, into the open end of the pipe.
- Drainage is nessecary because mosquitoes multiply and mold grows in standing water.
Add Filler

- Set the planter in the desired location.
- Carefully lower the bucket into the planter.
- Pour in pebbles or lava rock
Add Potting Soil and Plants

- Add a few inches of potting soil and place plants in the soil.
- Follow the thriller, filler, spiller rule. Choose aromatic herbs and colorful flowers.
- Avoid plants that attract bees, since you’ll likely be sitting in close proximity to the plants chosen.
- Backfill with additional potting soil.
Add Umbrella

- Slide the umbrella into the pipe sleeve and enjoy your newfound shade.
- Remove the umbrella in windy weather.
Tip: When you’re ready to store your patio umbrella, slide it out of the sleeve and add a pipe cap to keep rain out of the pipe.
An umbrella stand planter will give you a beautiful, shady spot, to relax in your yard.
From concrete to pipe, The Home Depot delivers online orders when and where you need them. Find the Homer bucket, pipe, or tape you need to get started today.